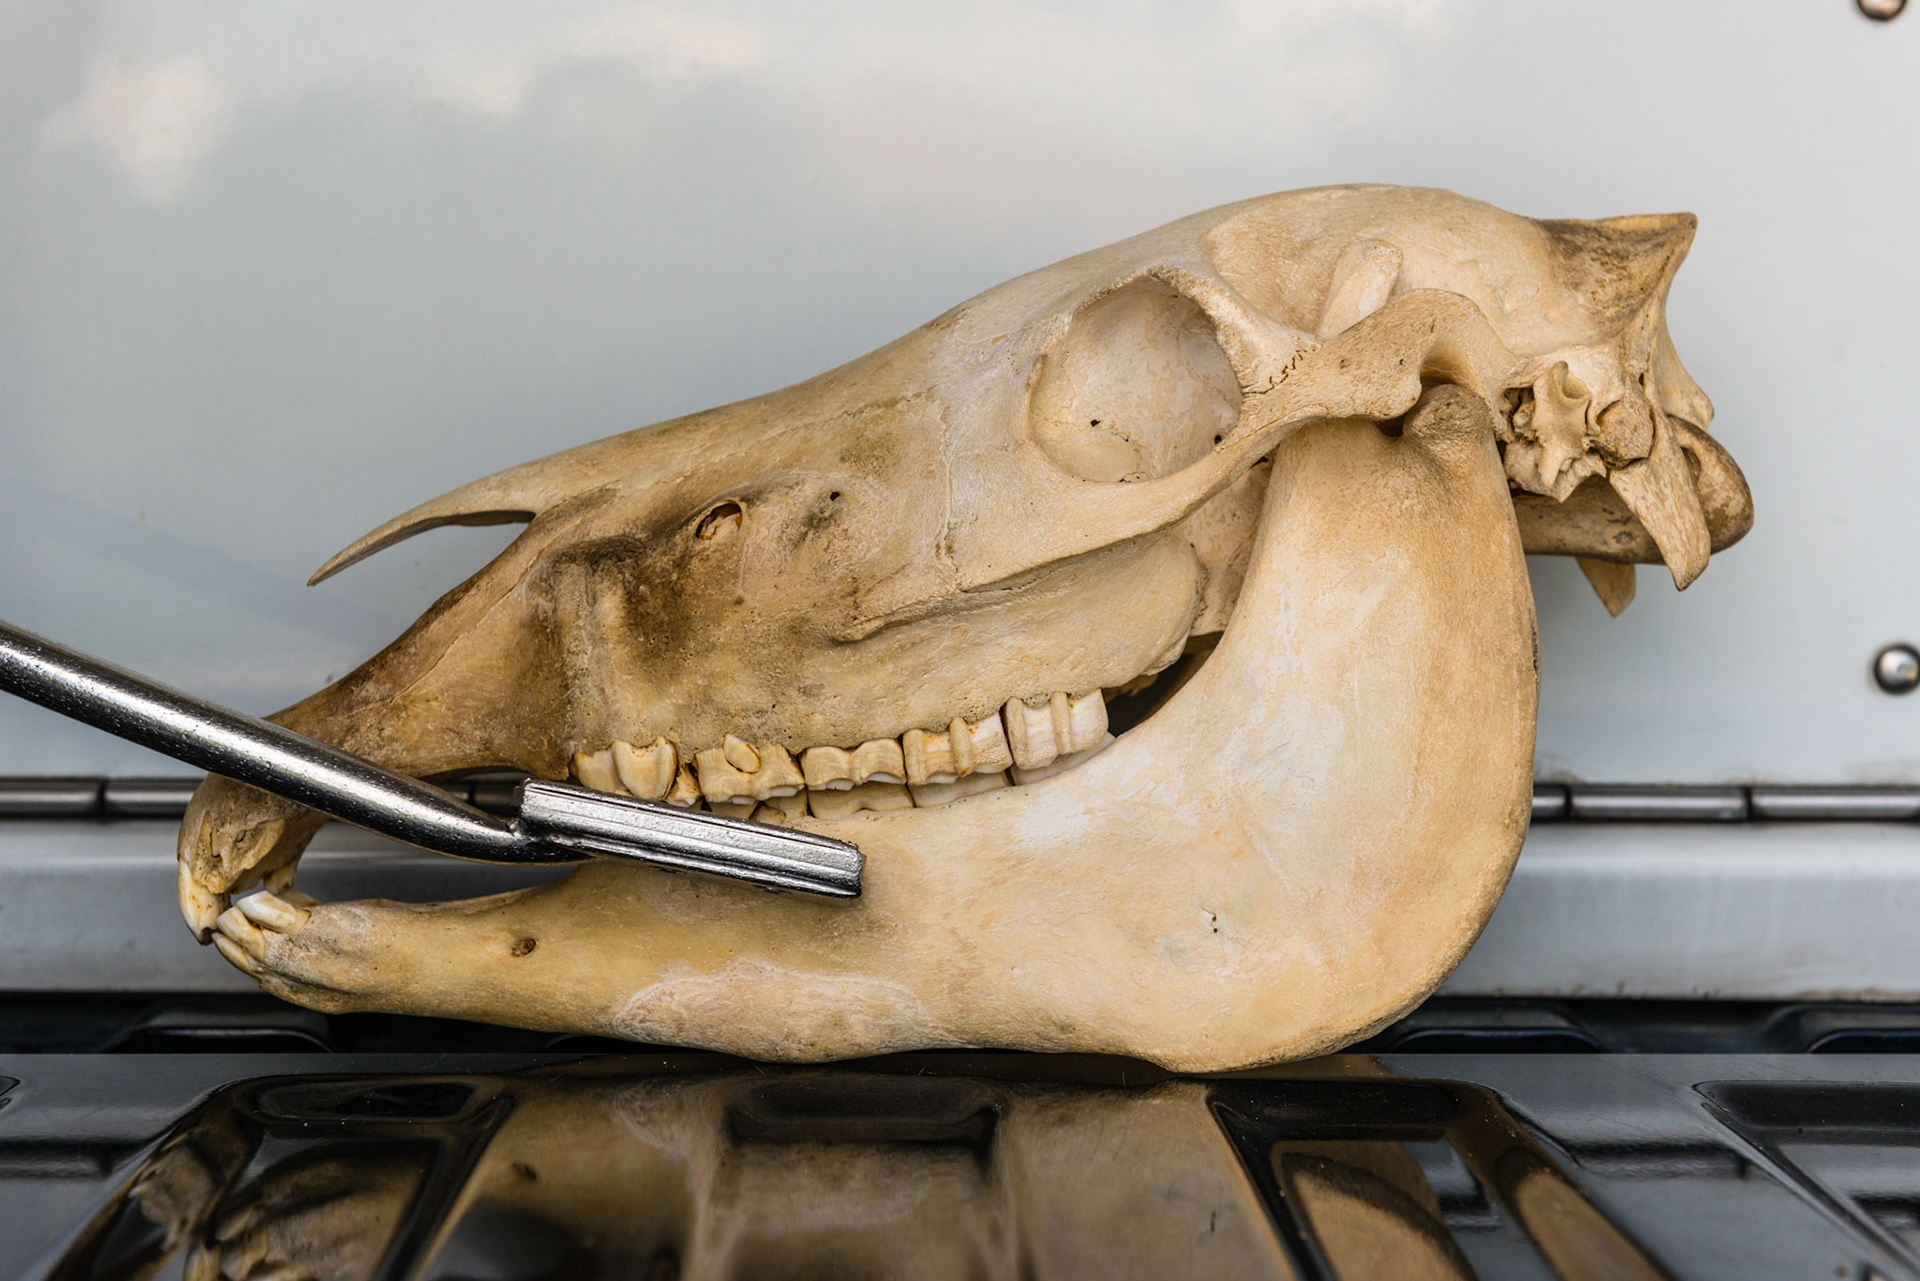
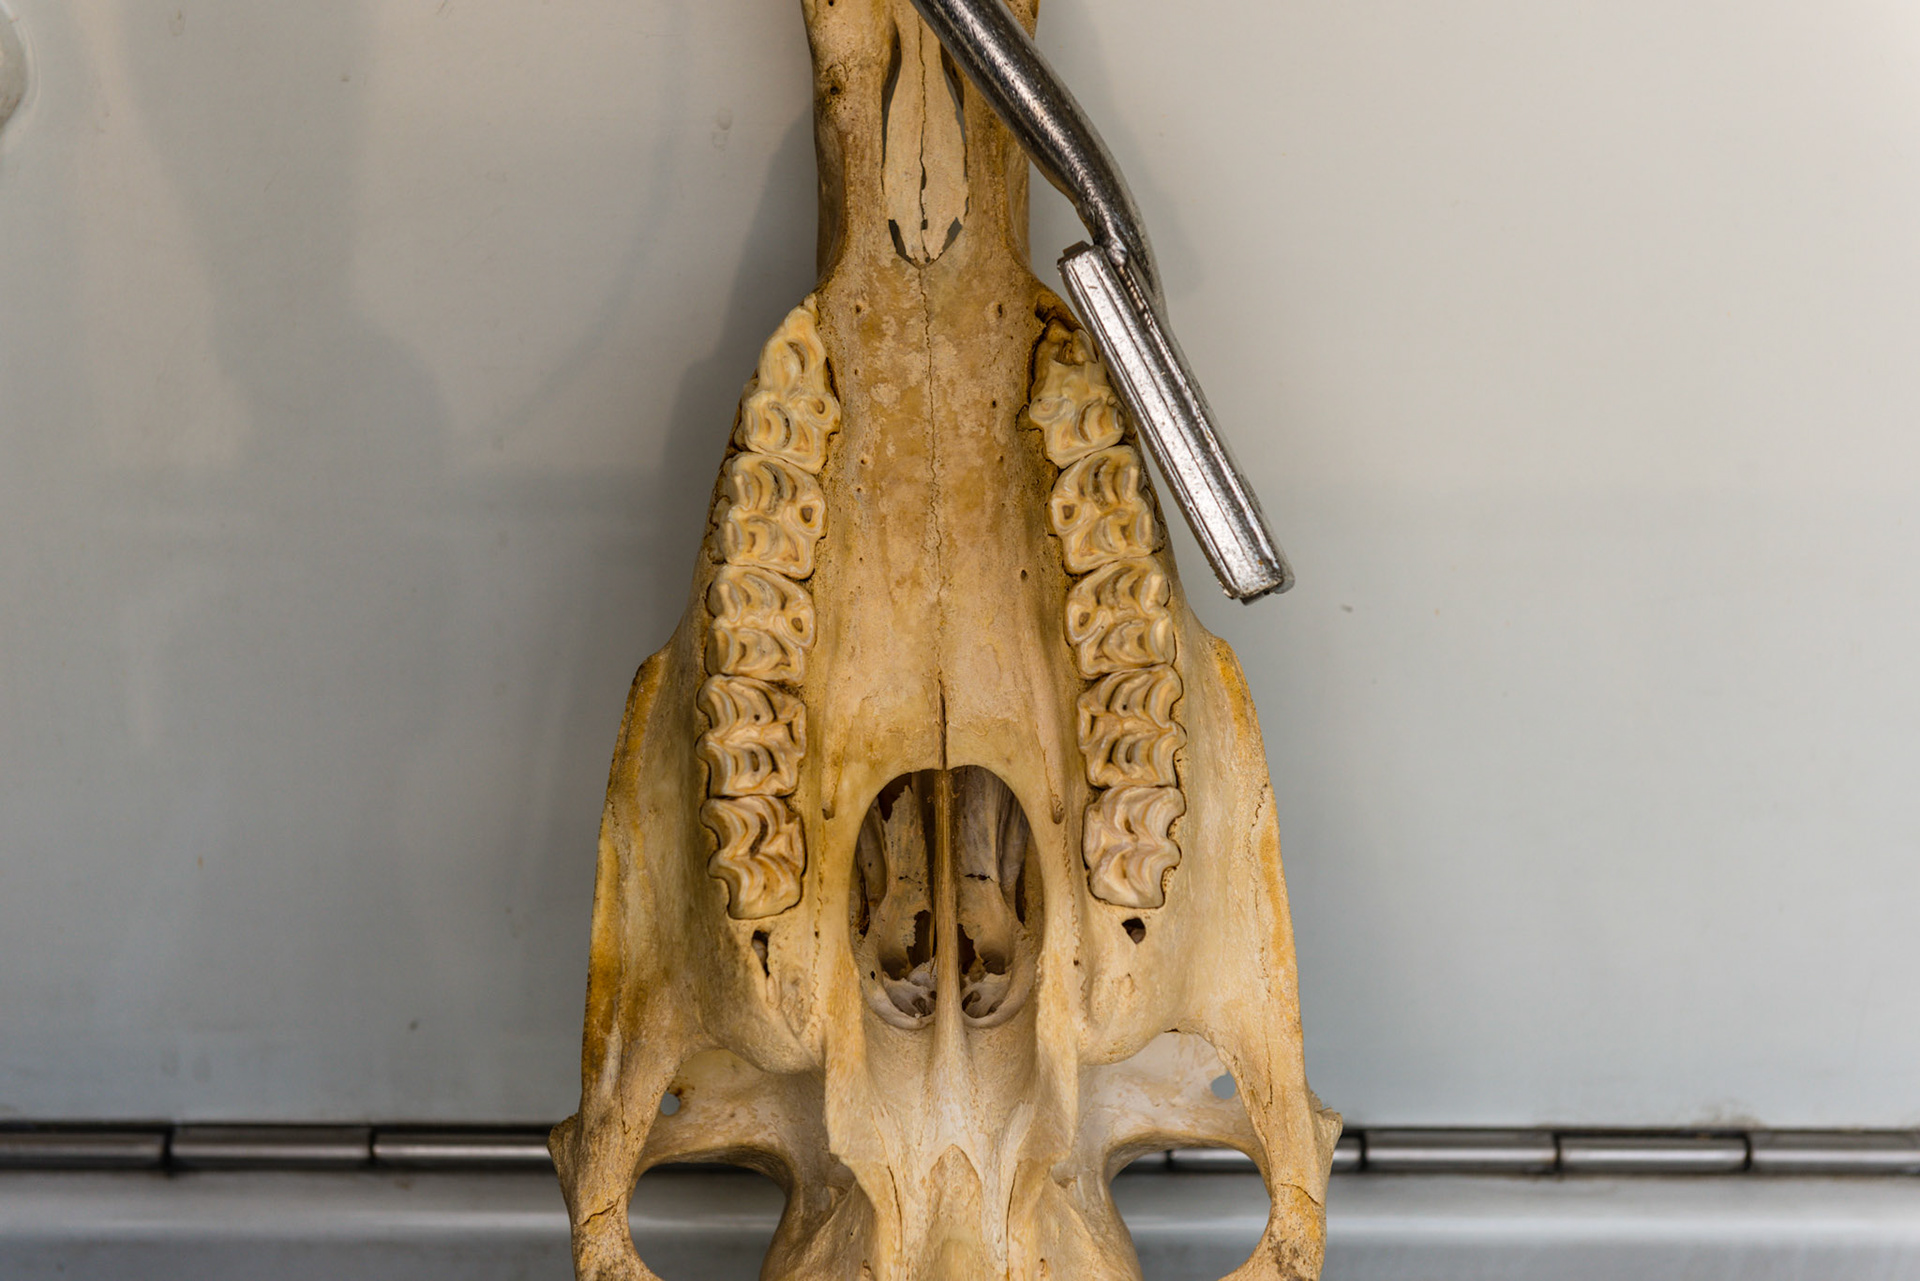
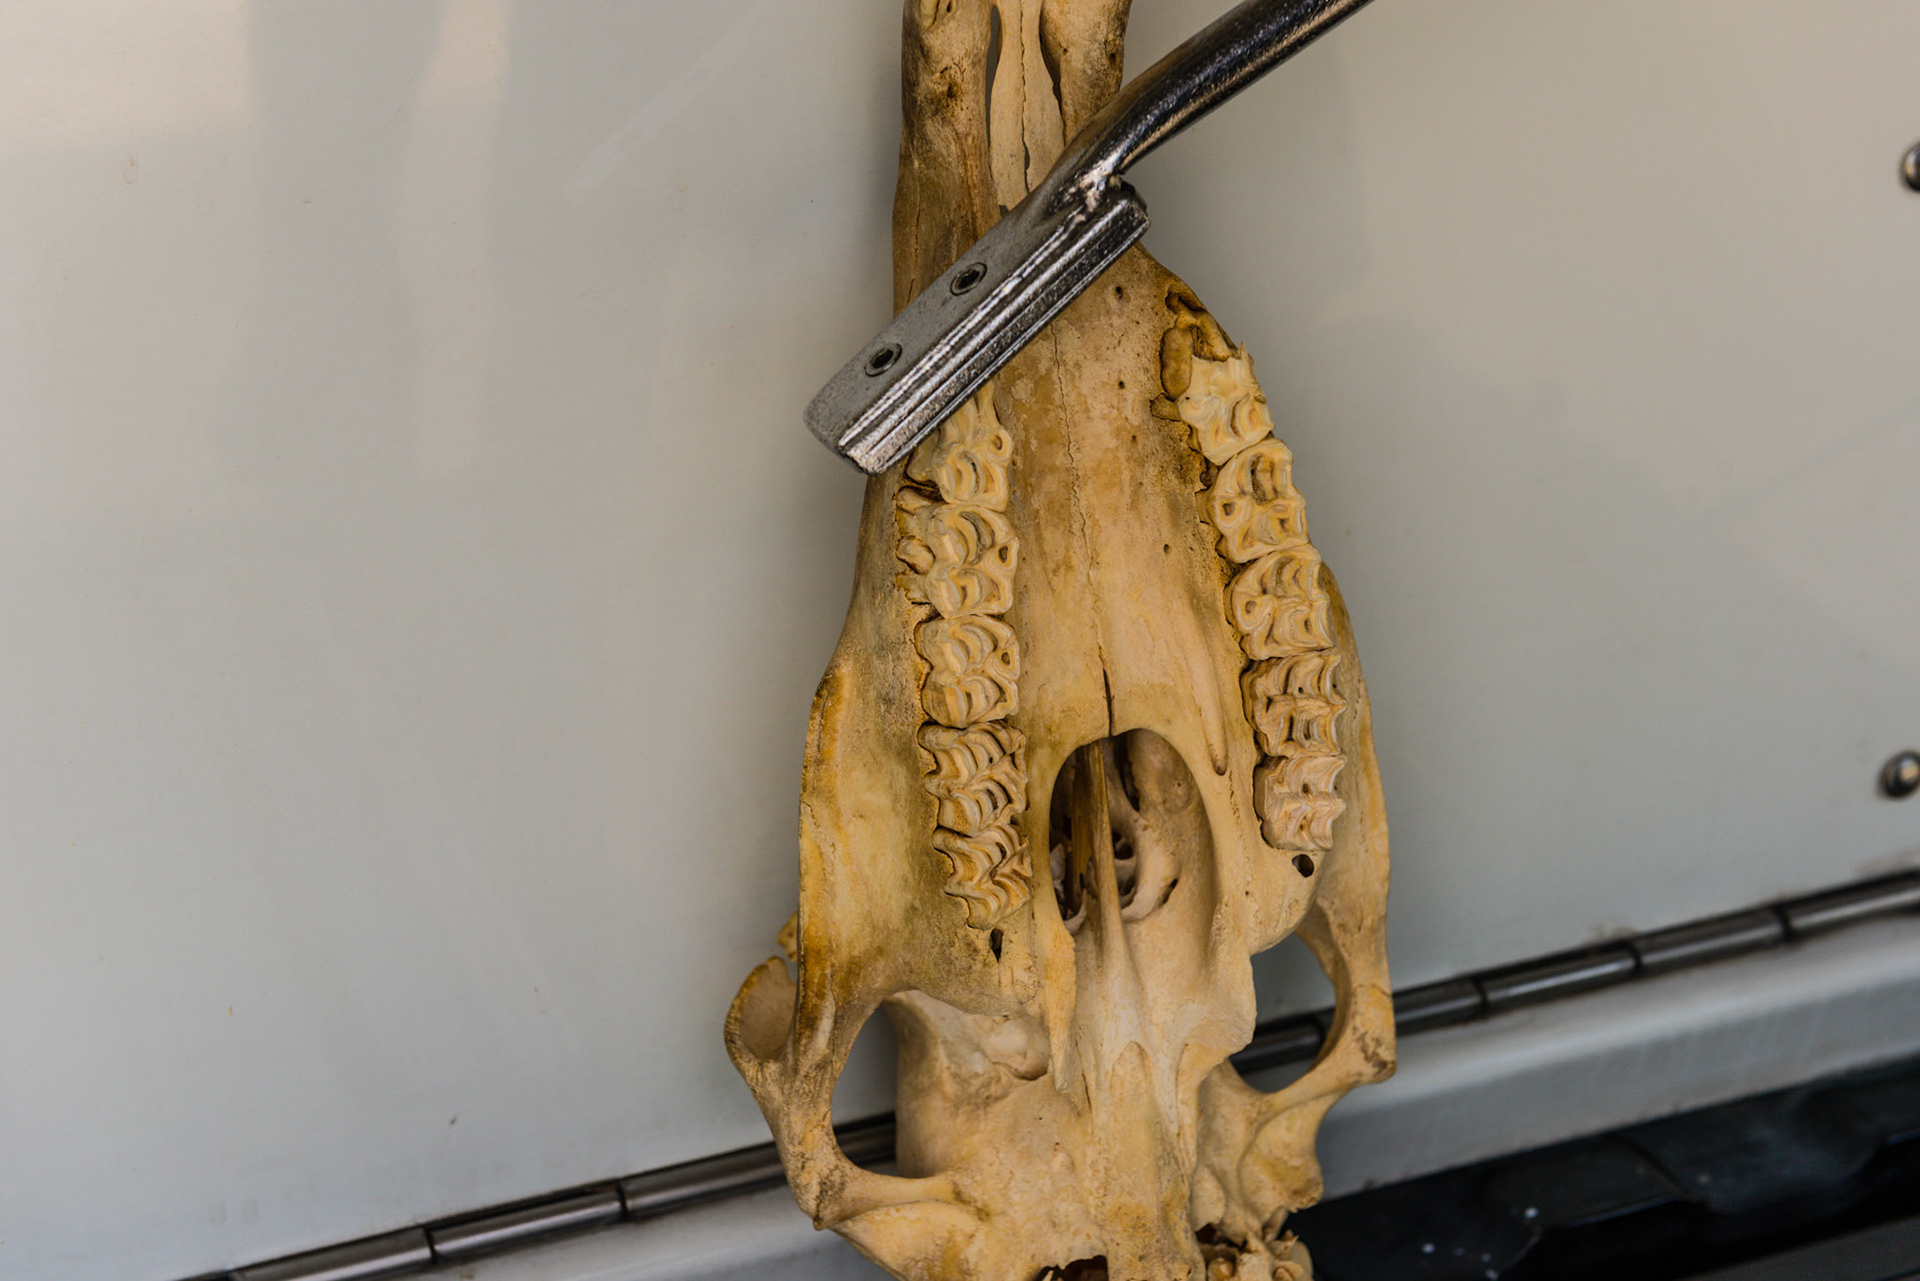
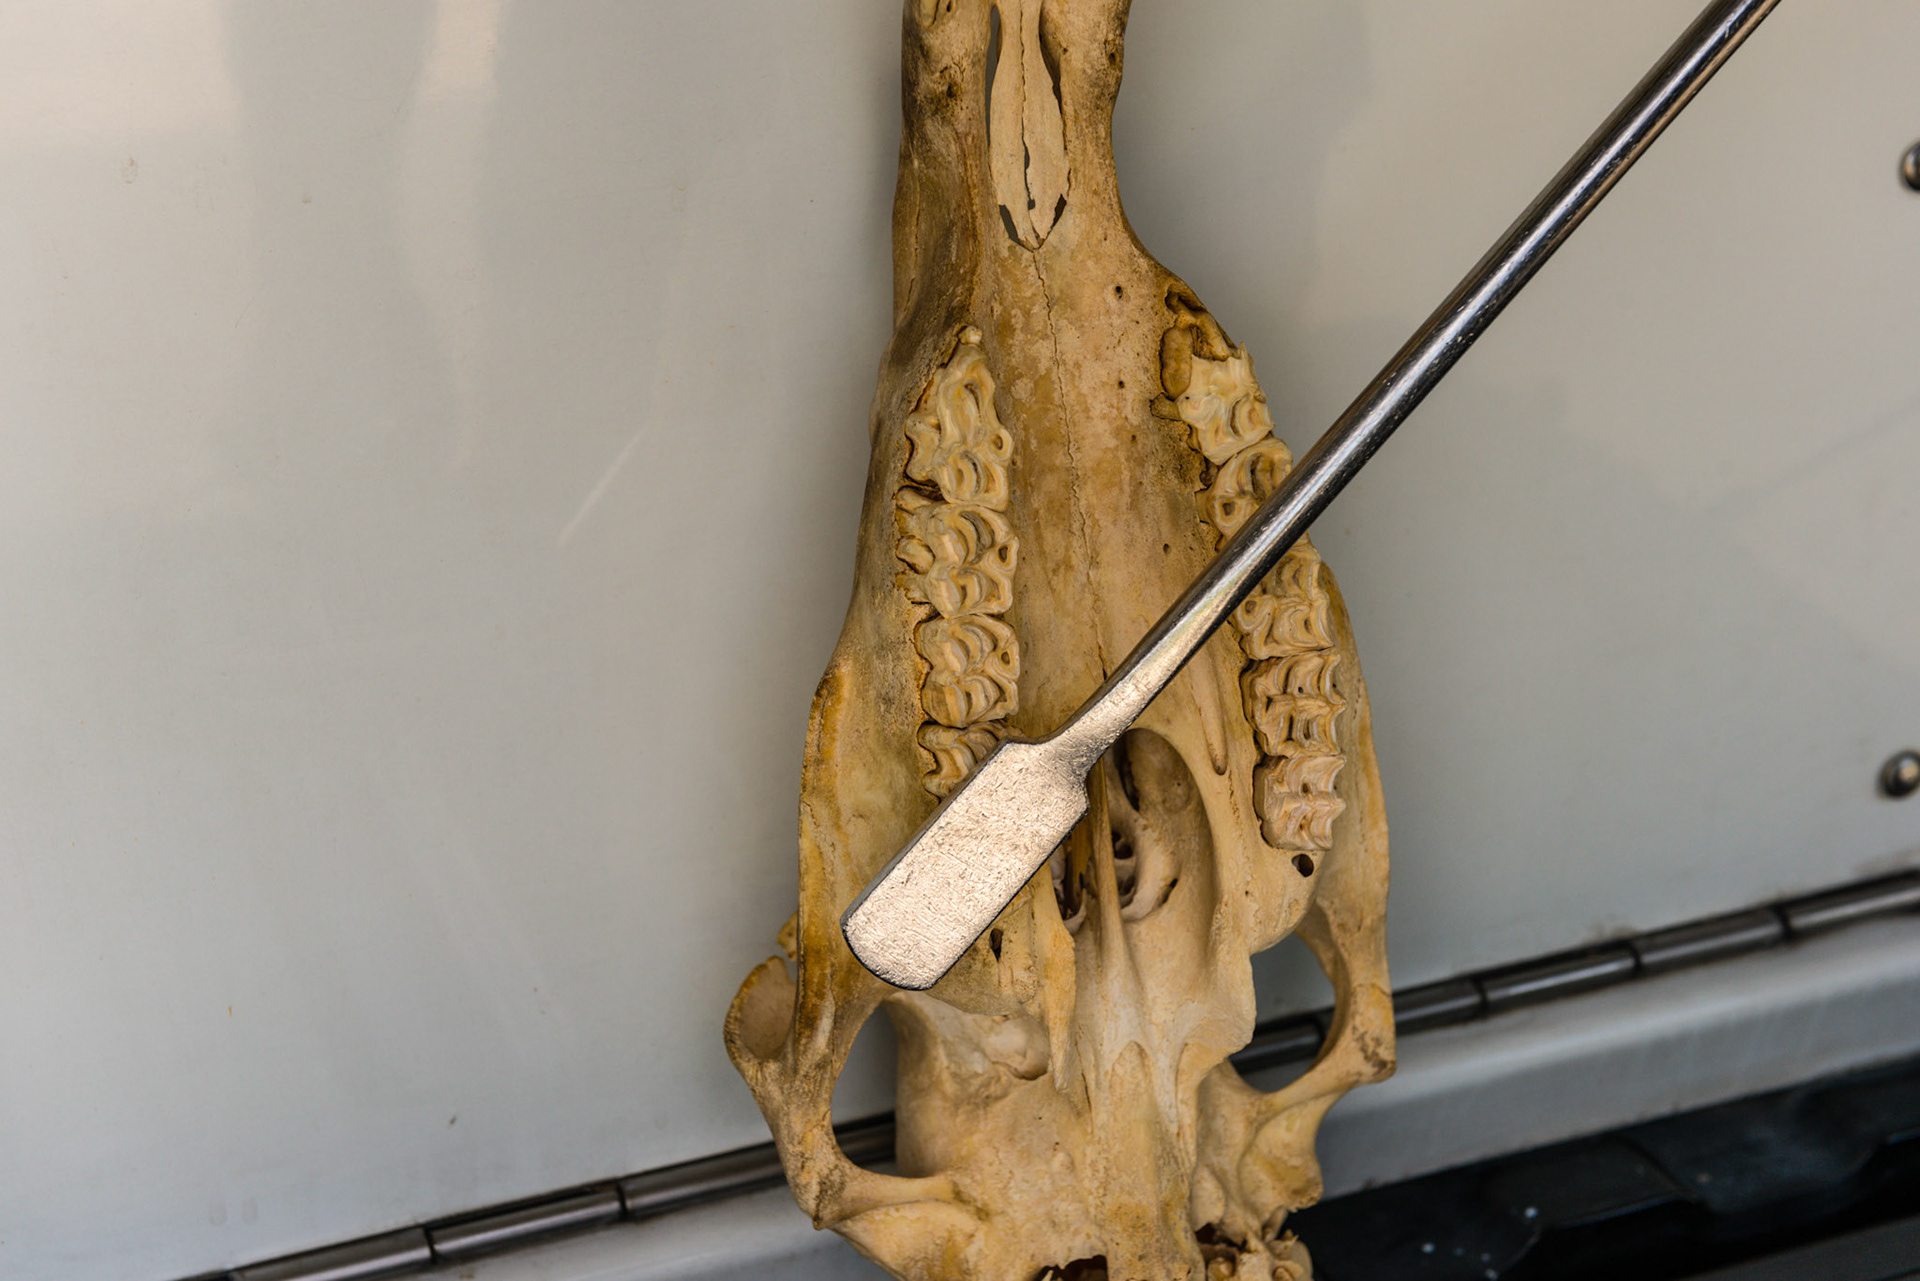
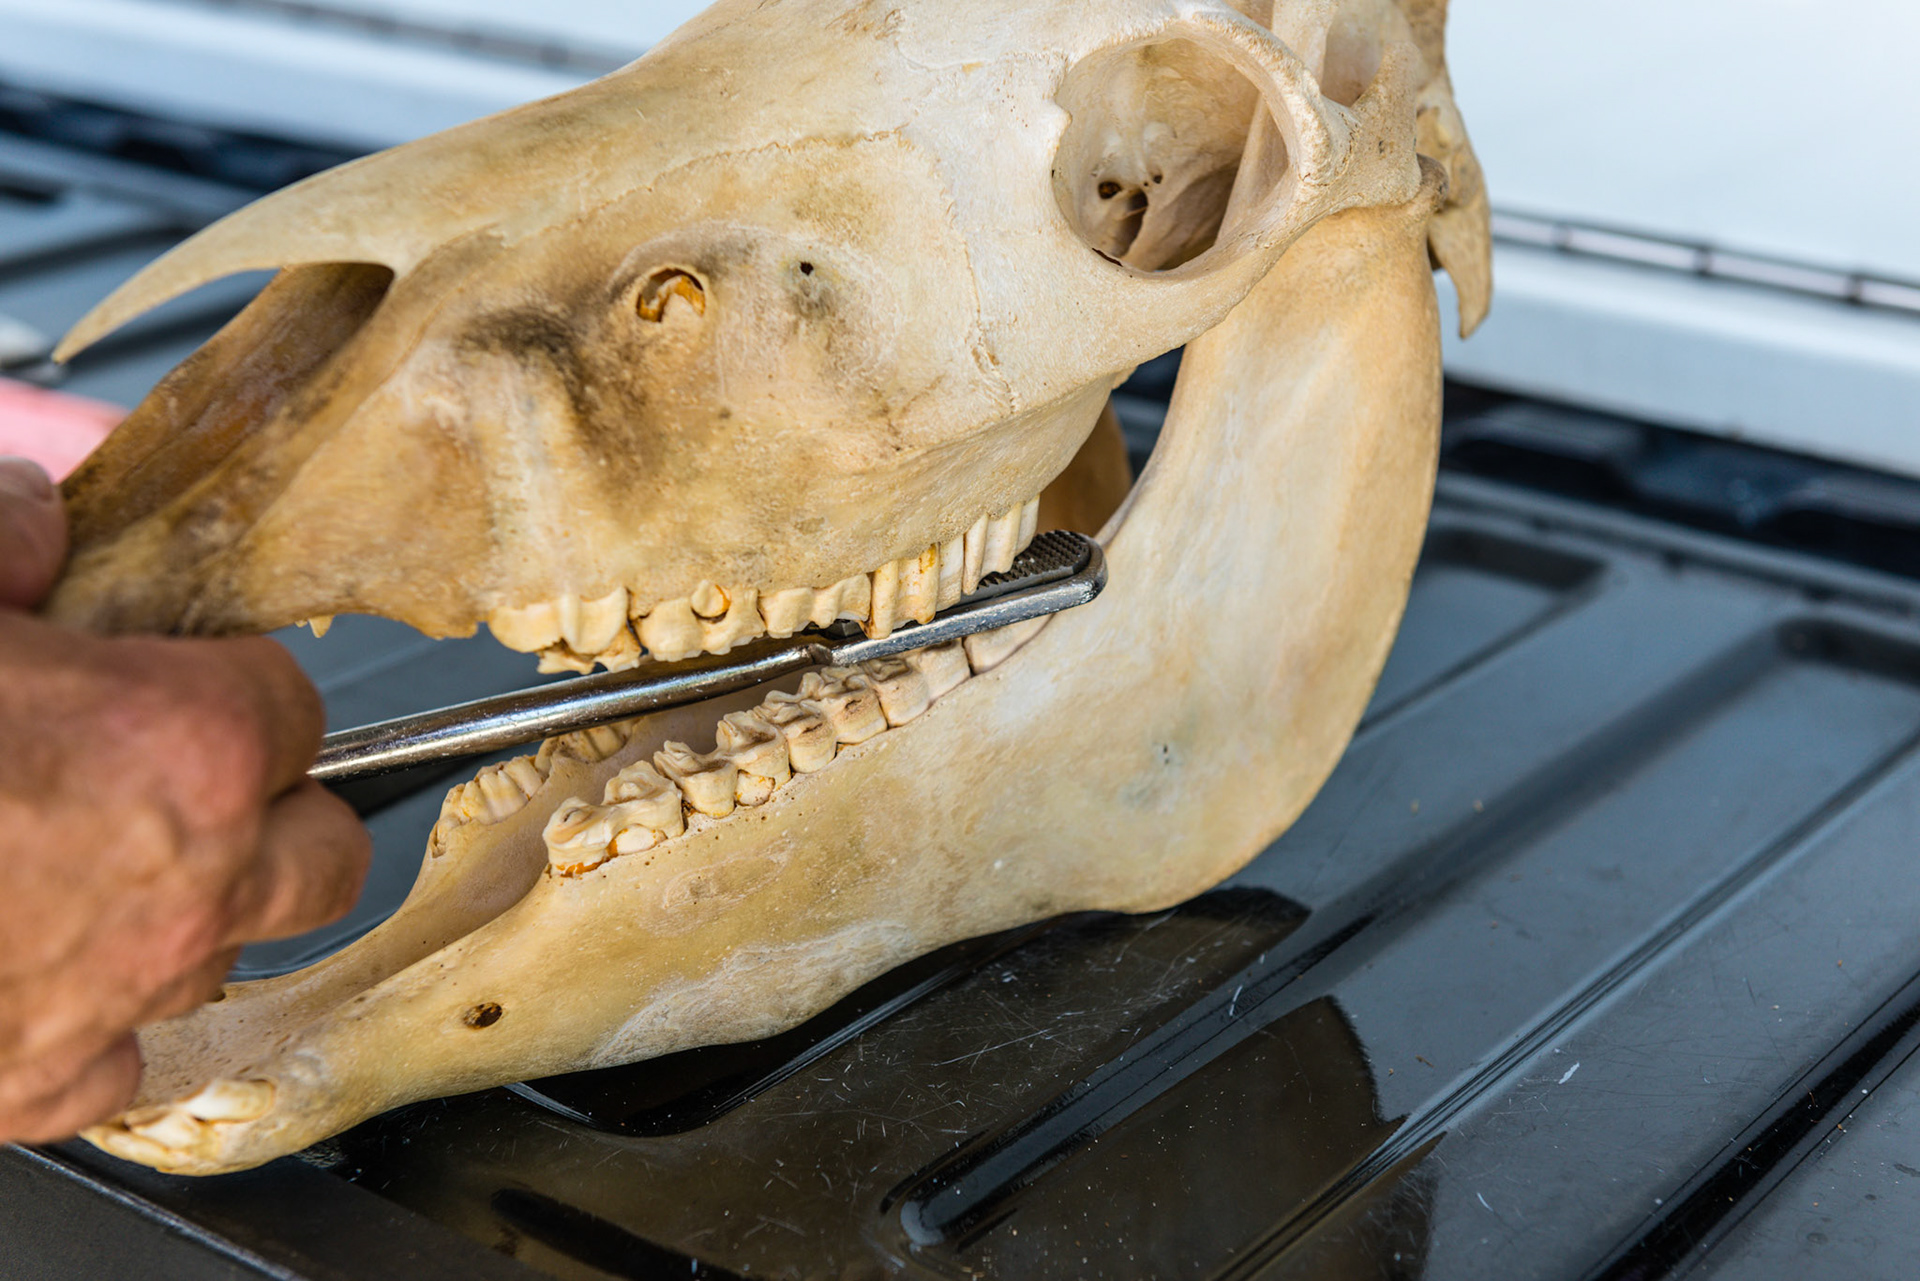
Pitch down - the tip is lowered
Pitch up - the tip is elevated
Roll to vertical
Roll to horizontal
Roll to a 45 degree angle
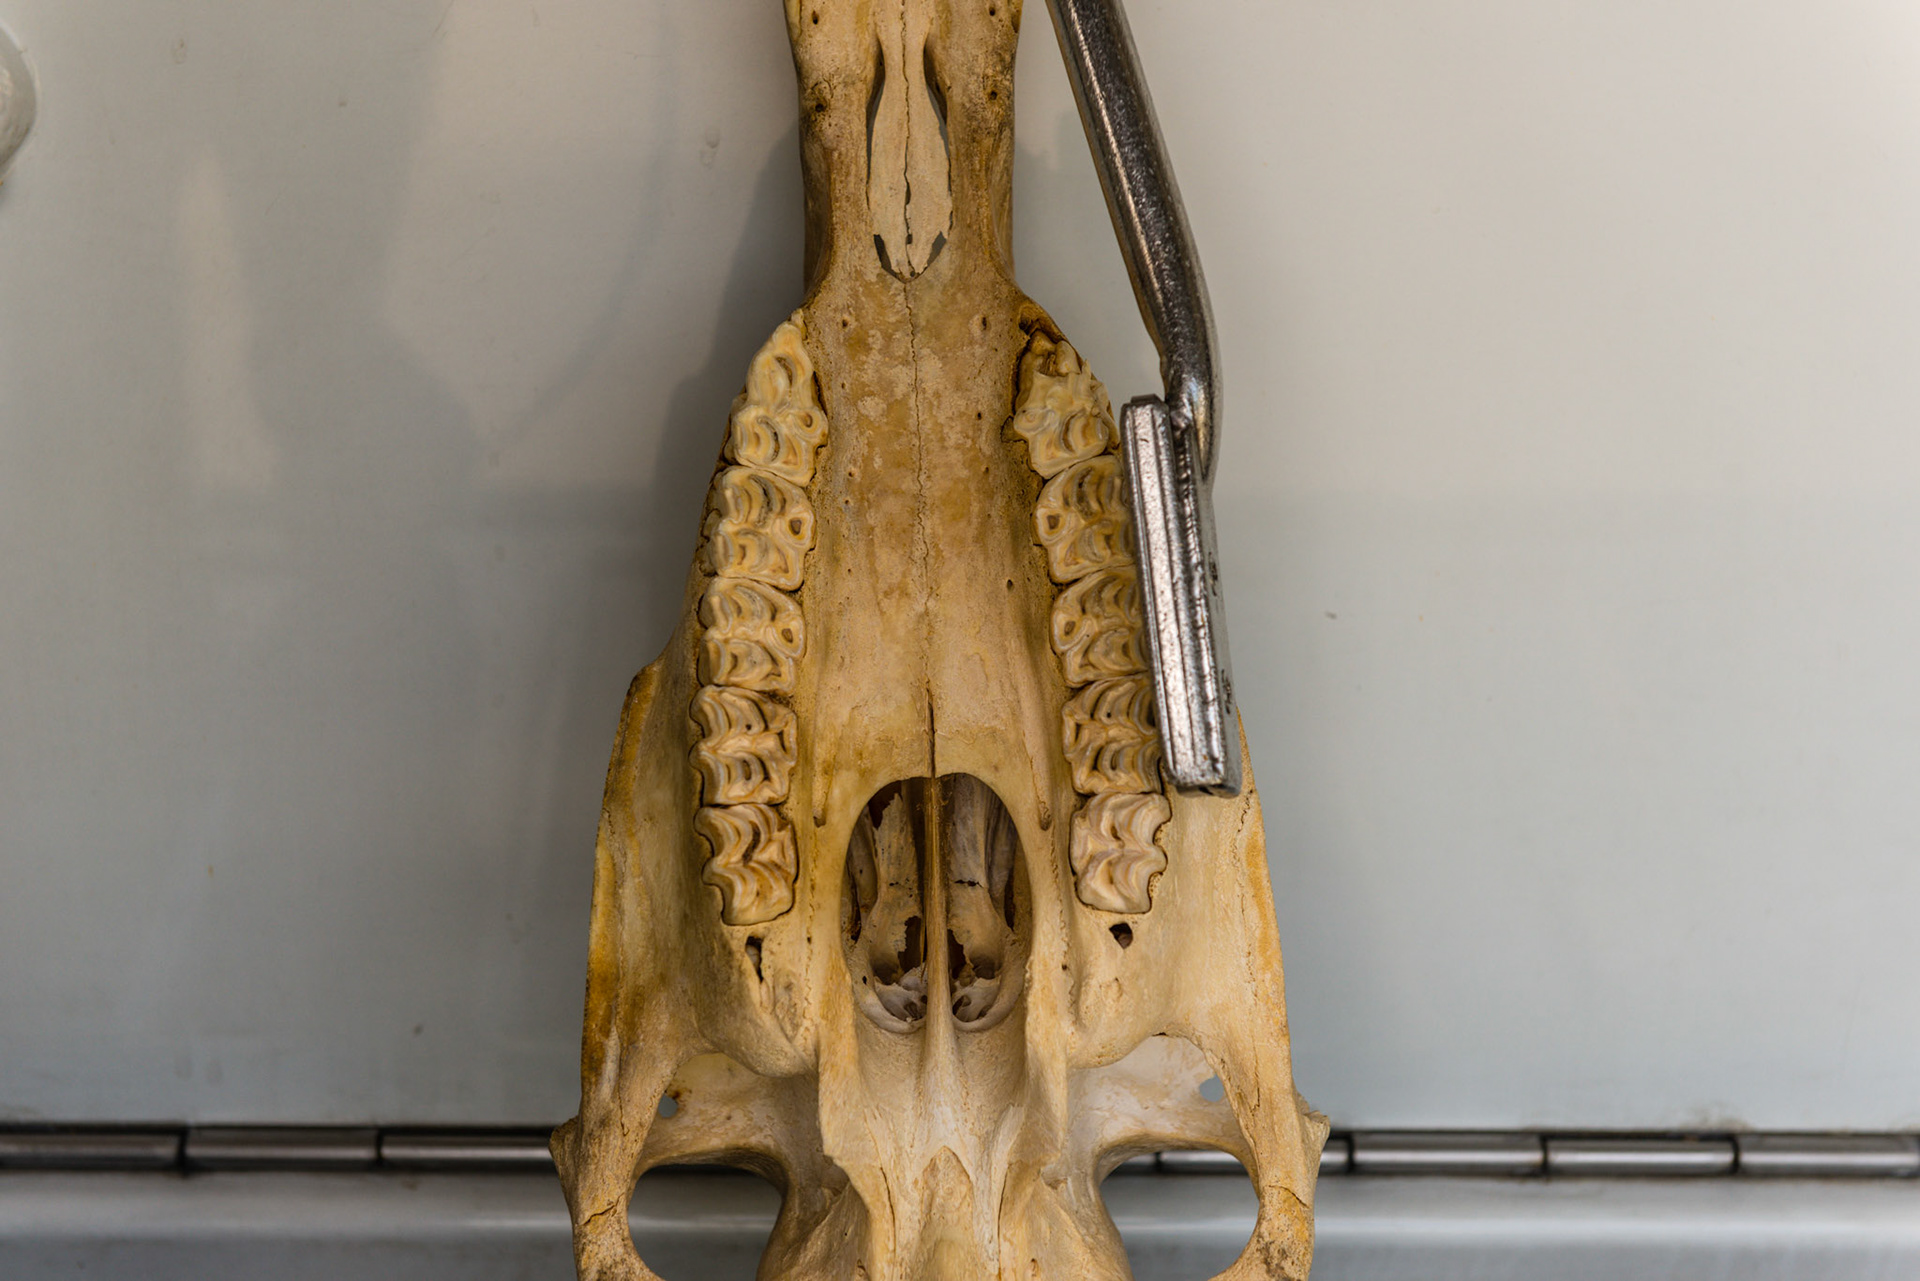
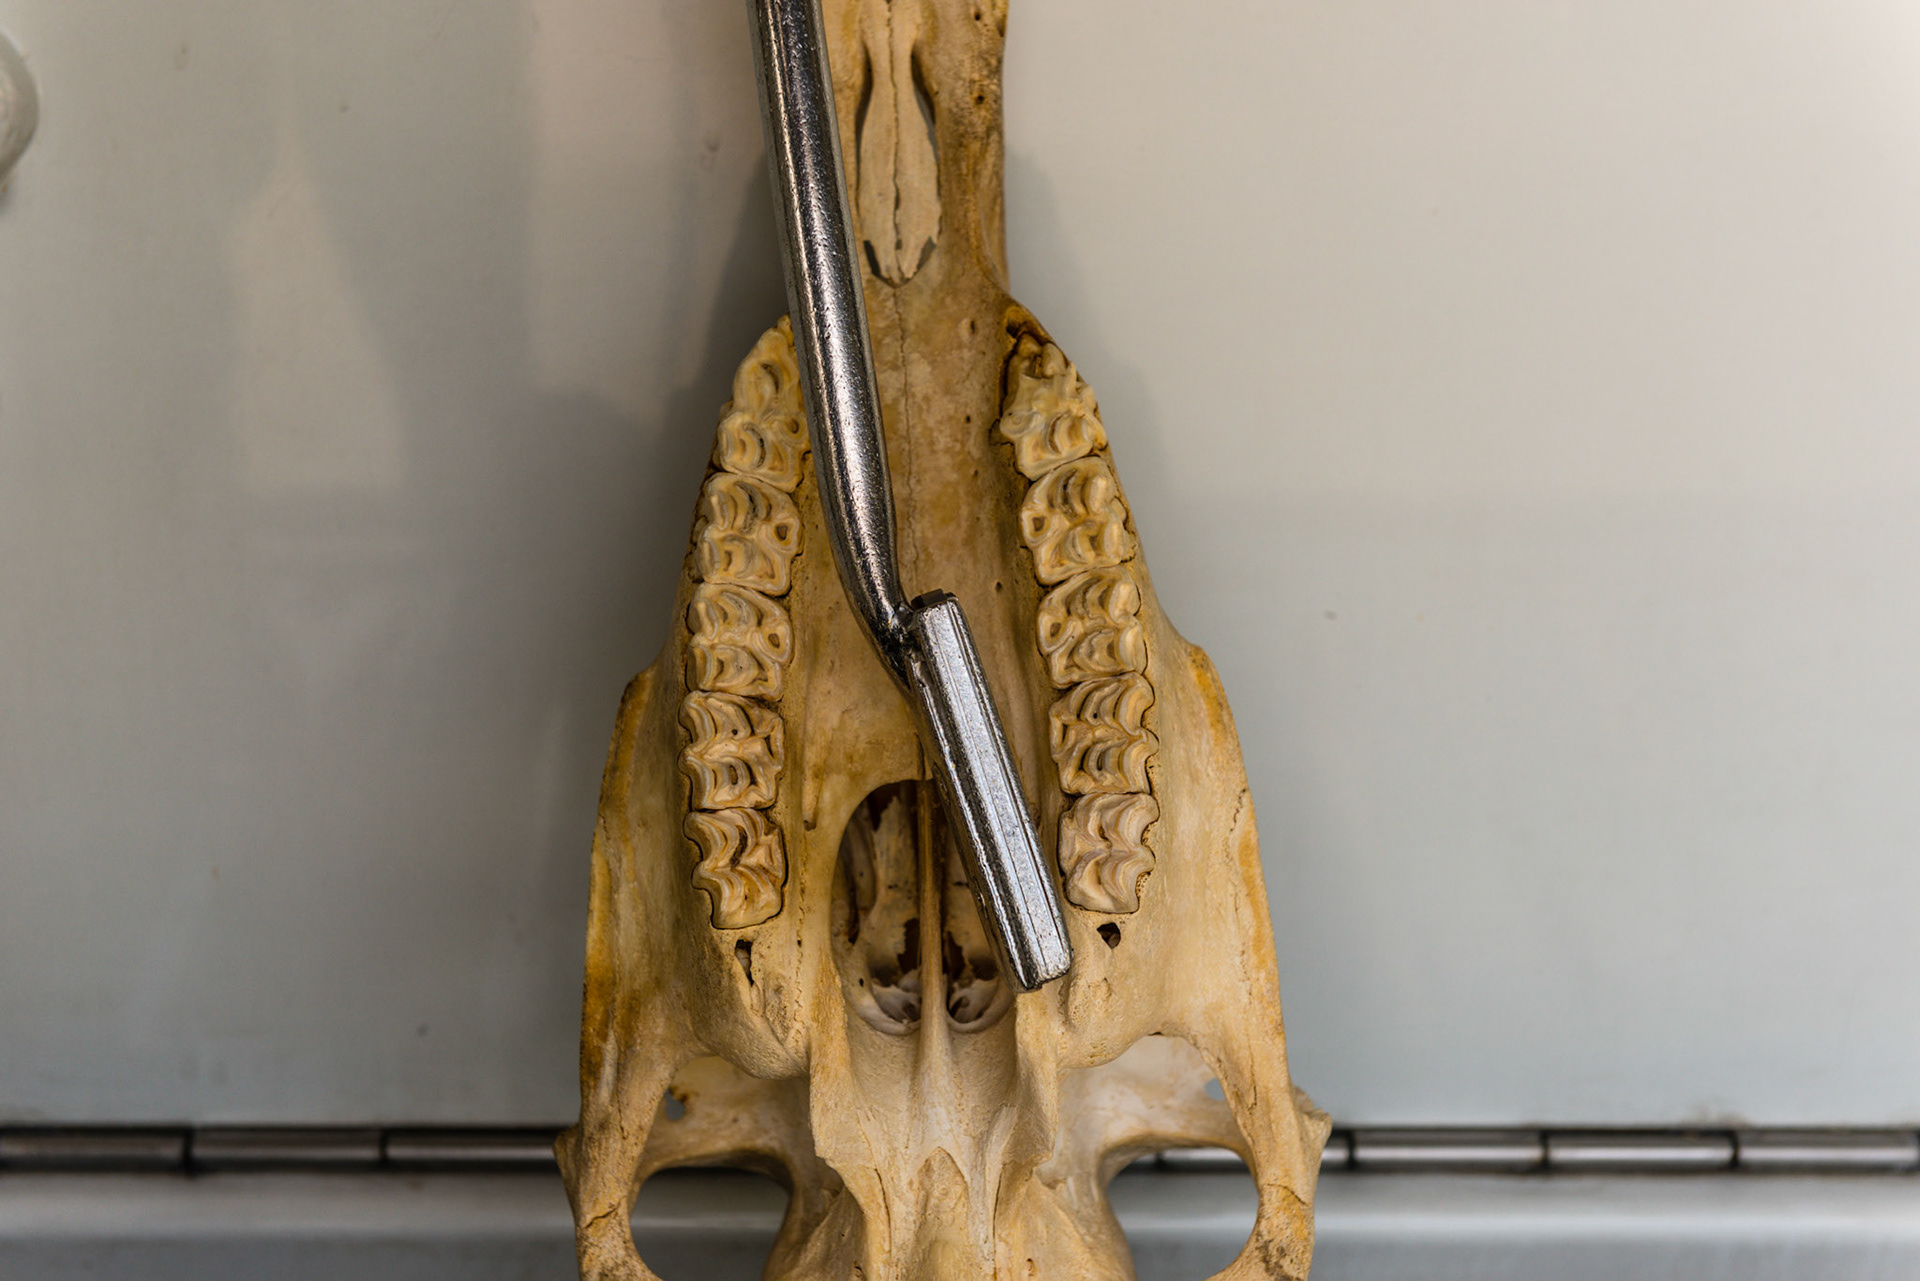
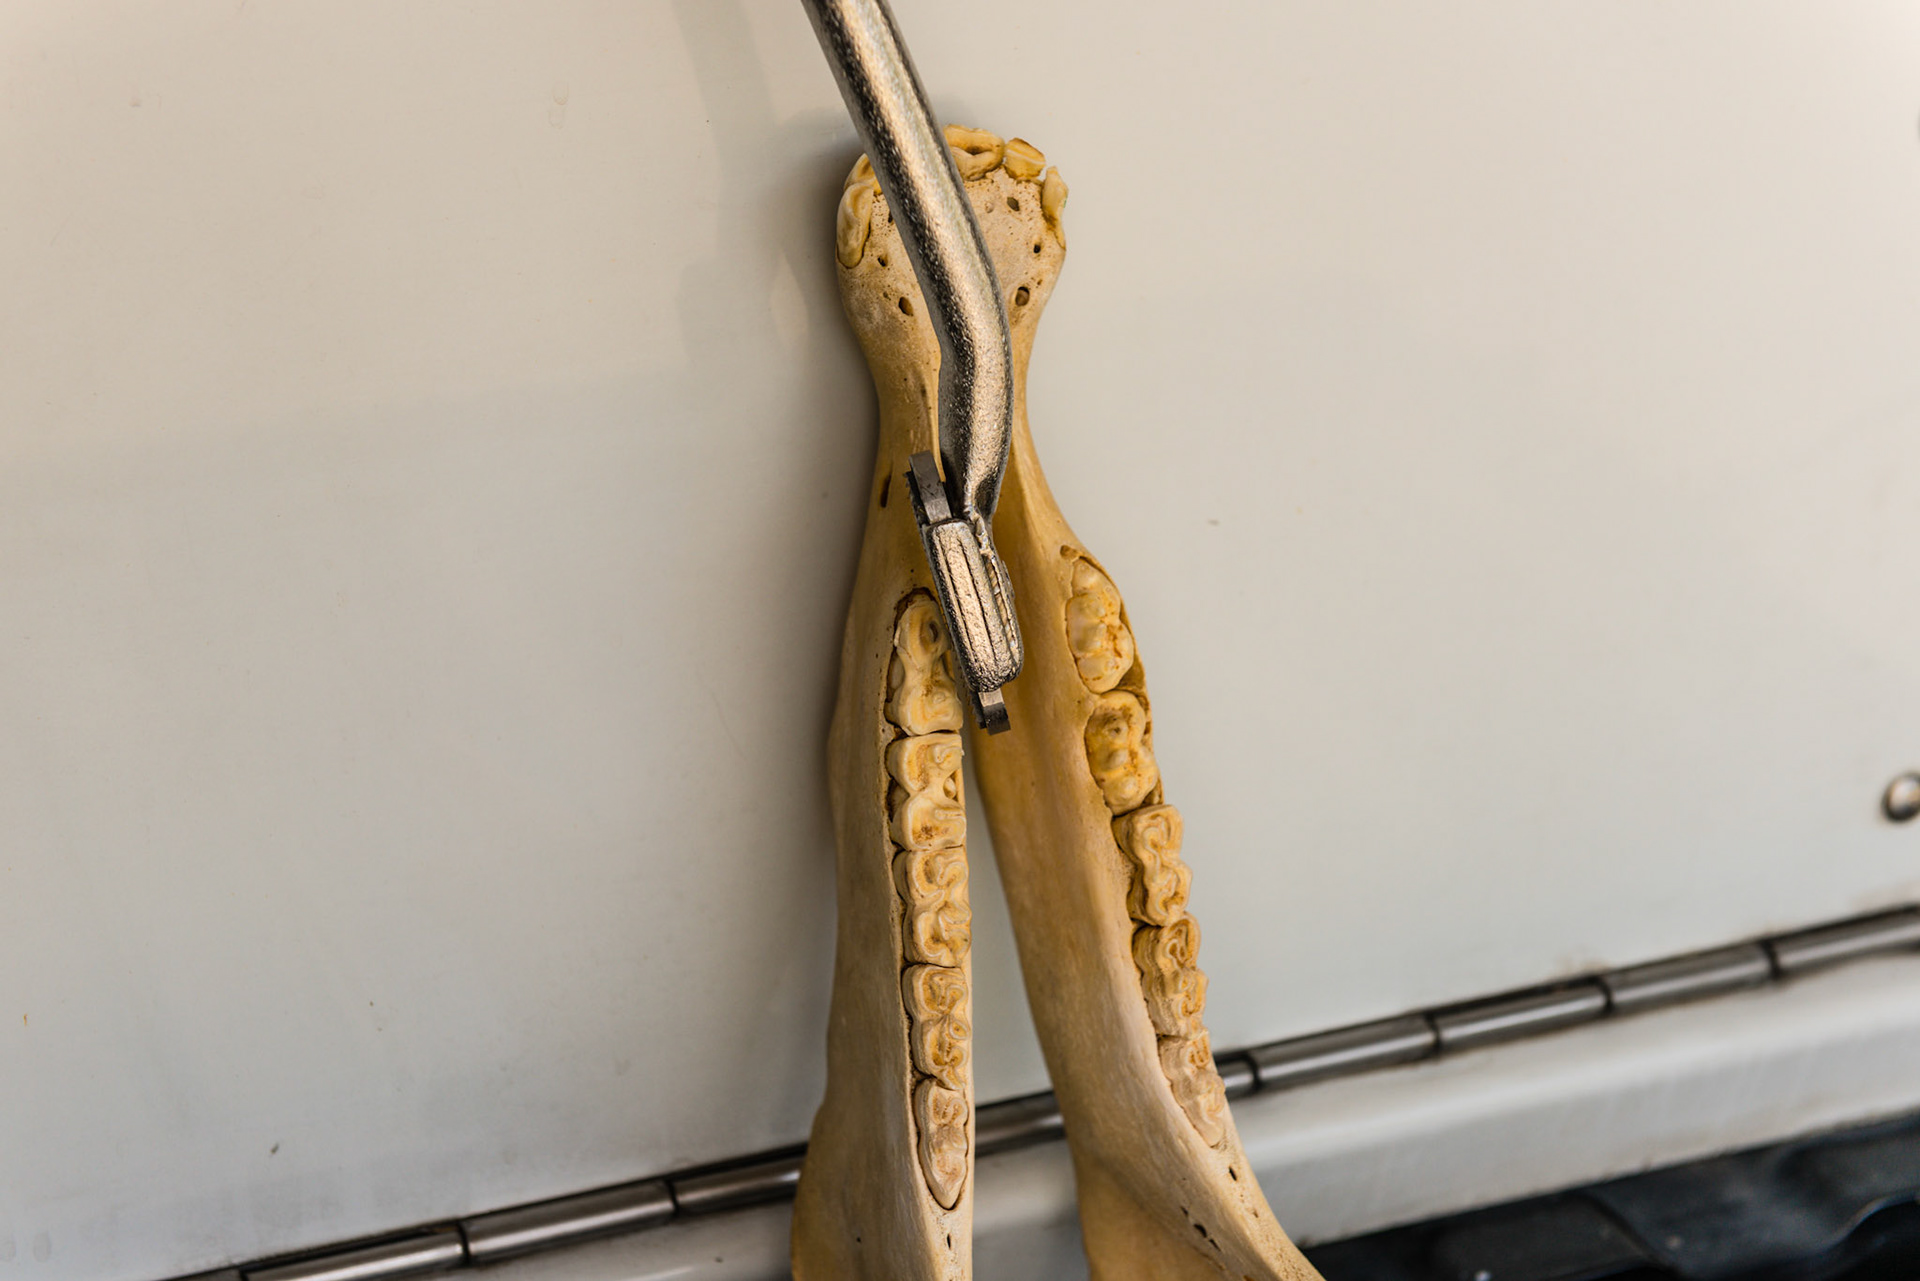
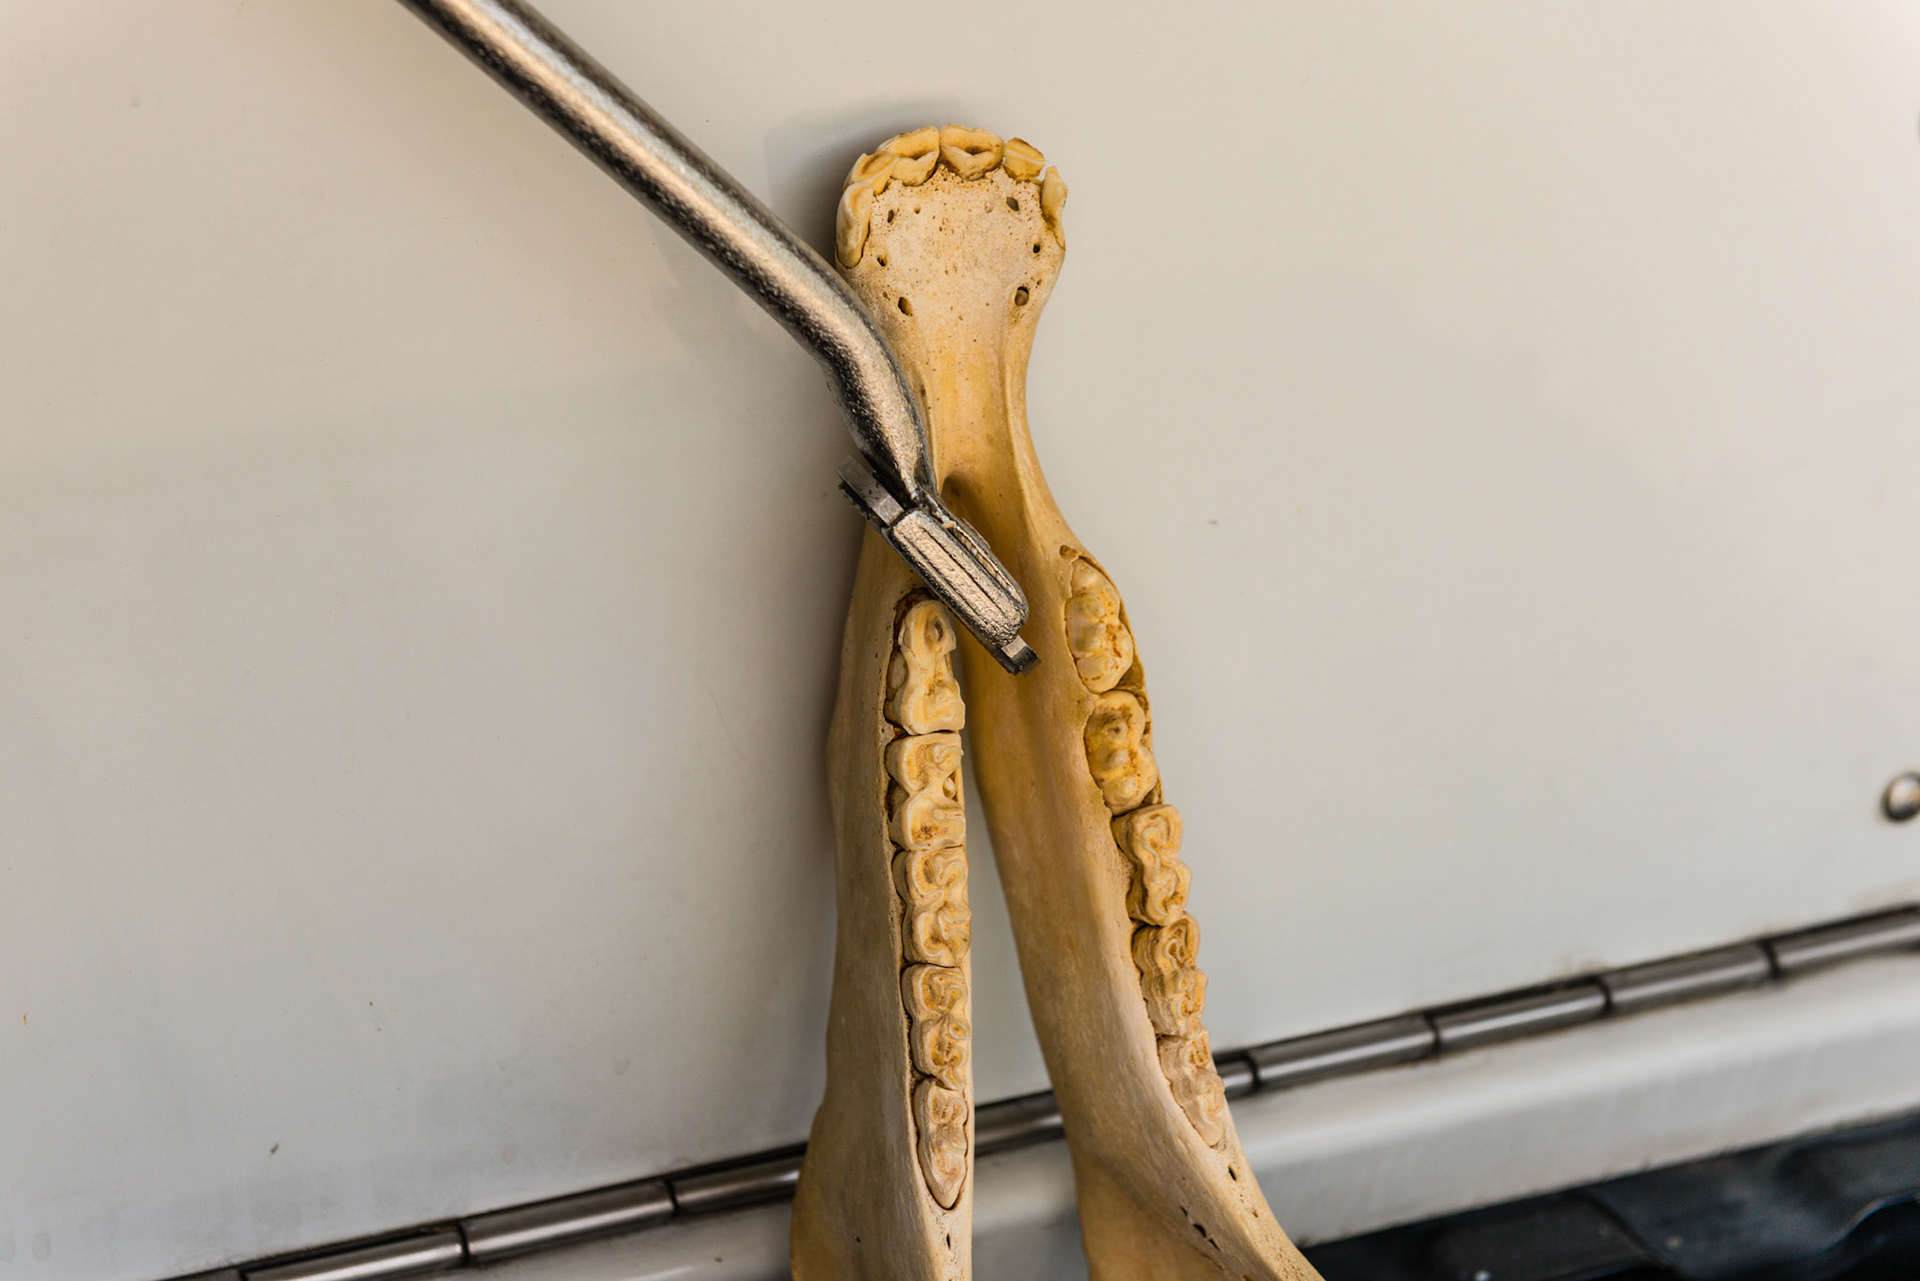
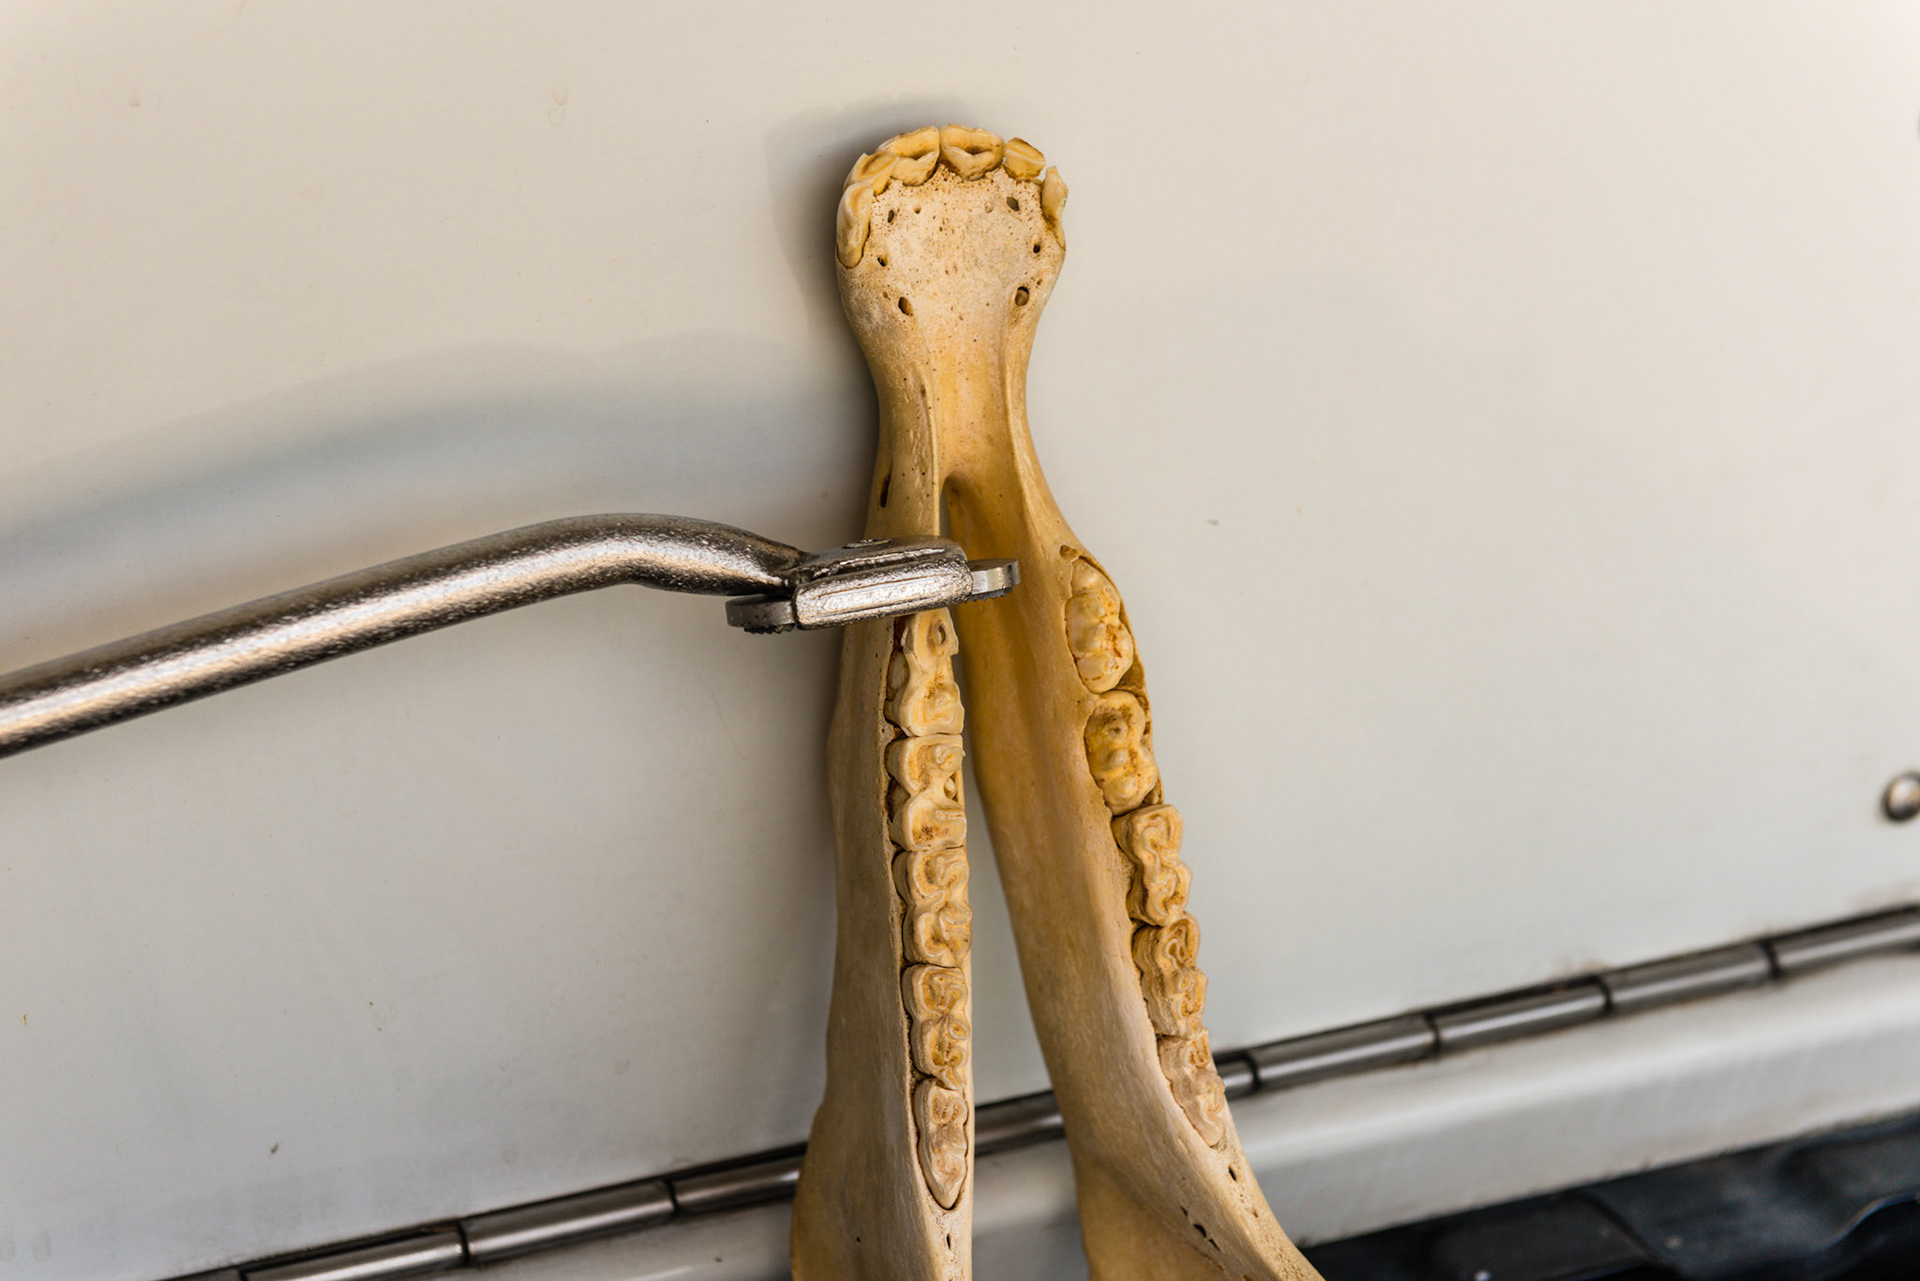
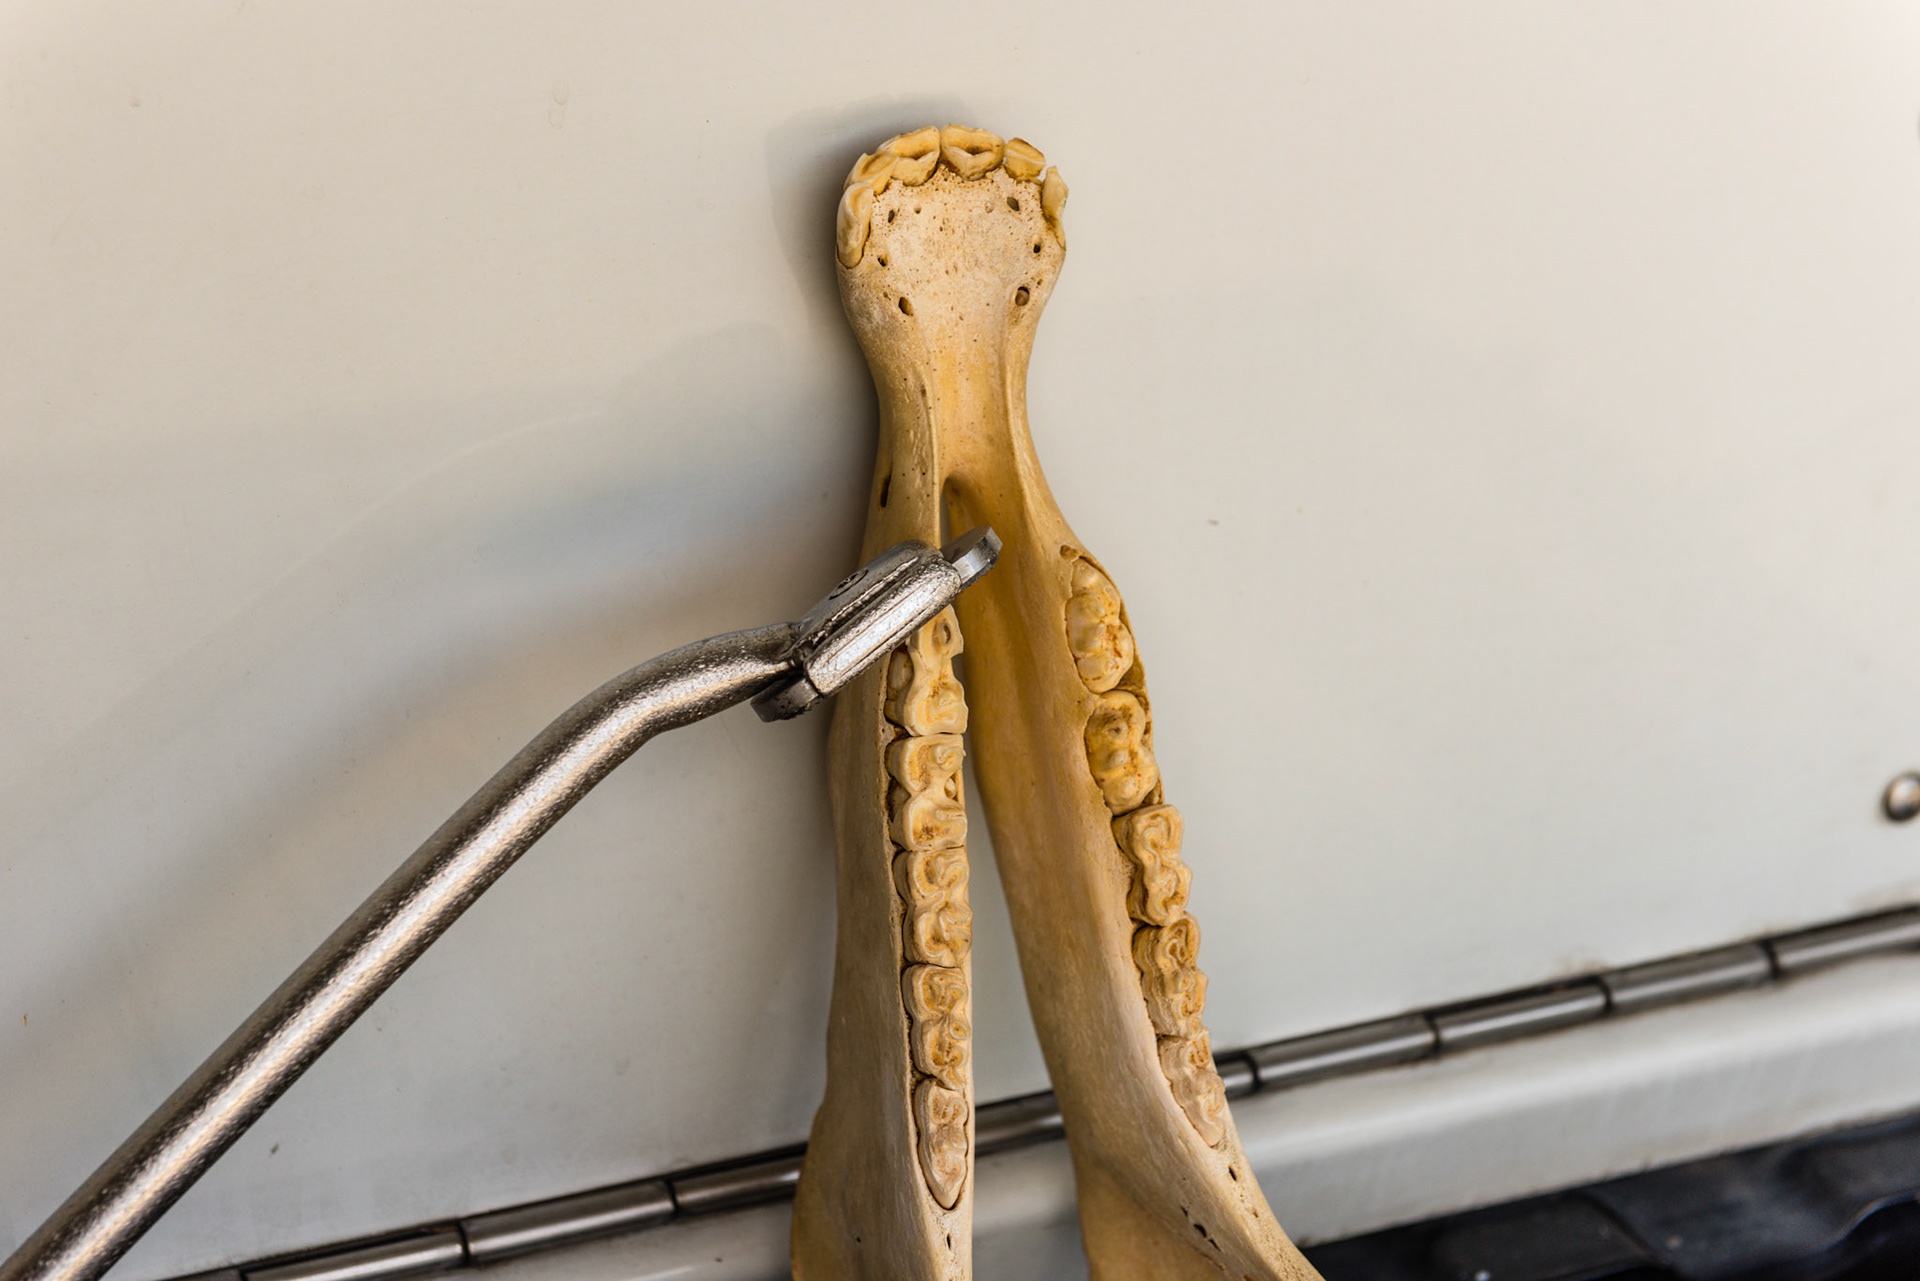
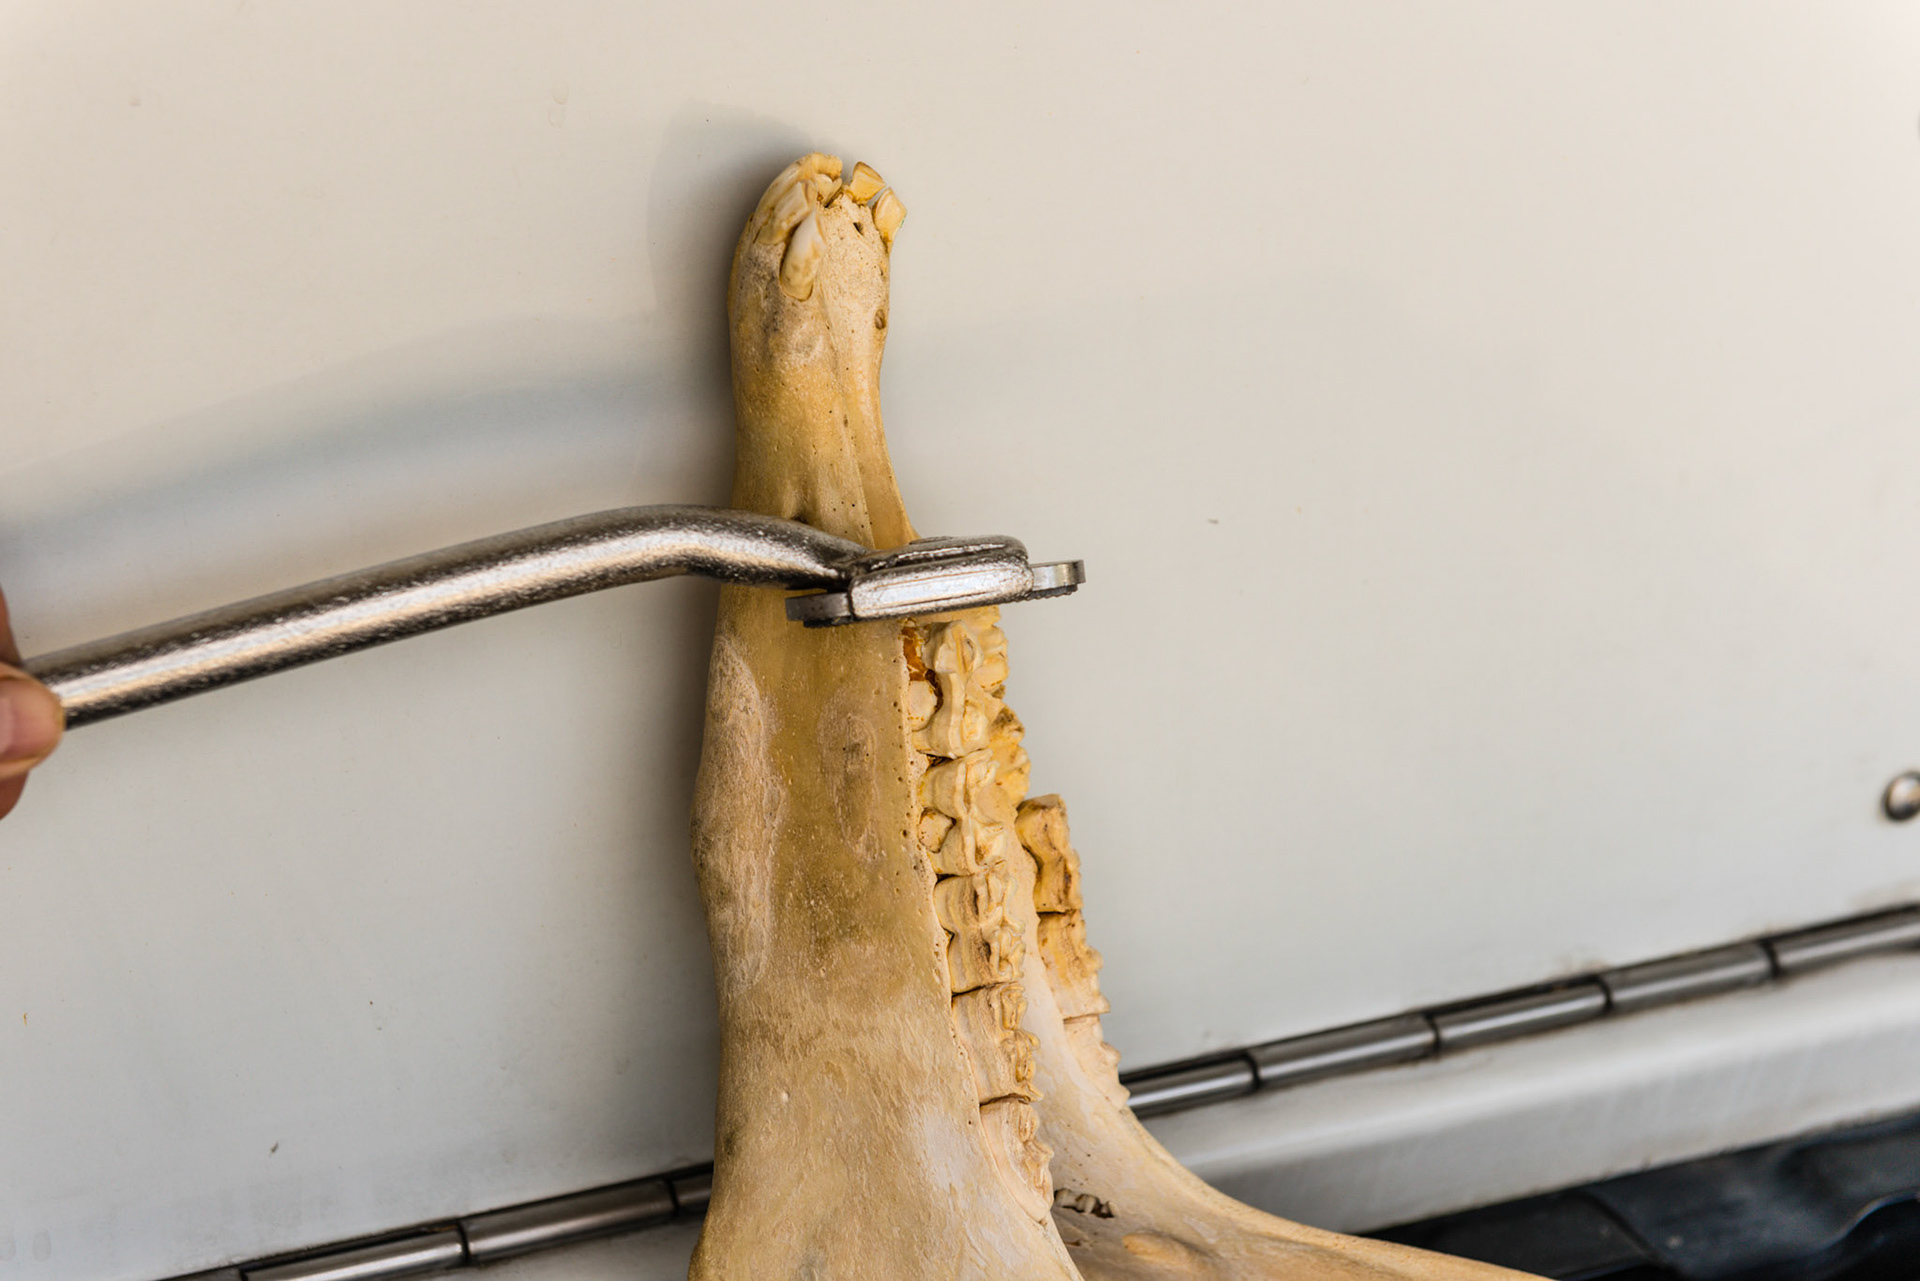
Yaw out - tip of blade moves away from the arcade relative to the side of the arcade being worked on.
No yaw - blade is parallel to the arcade.
Yaw in - tip of blade moves towards the arcade relative to the side the arcade is being worked on.
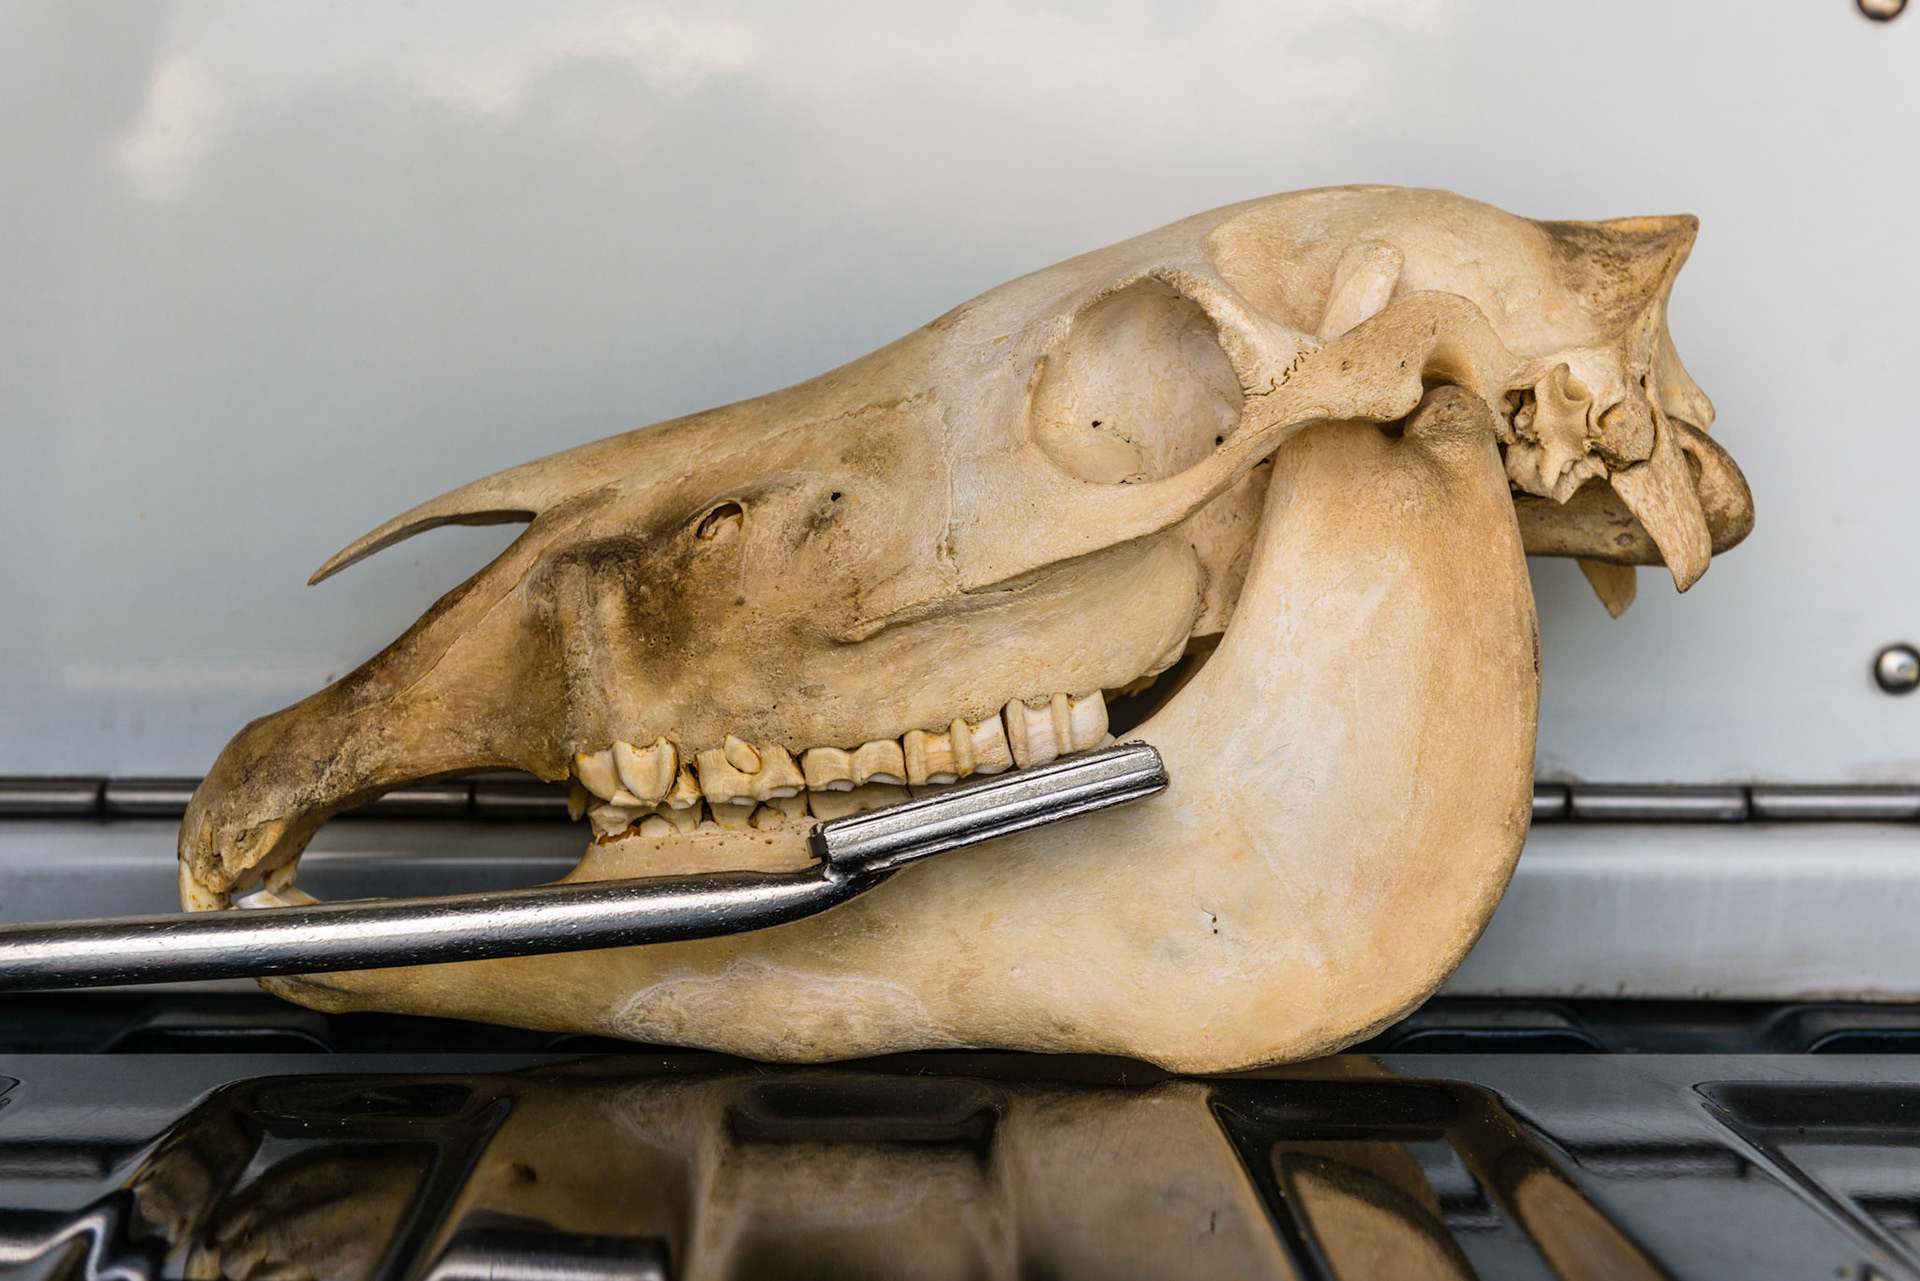
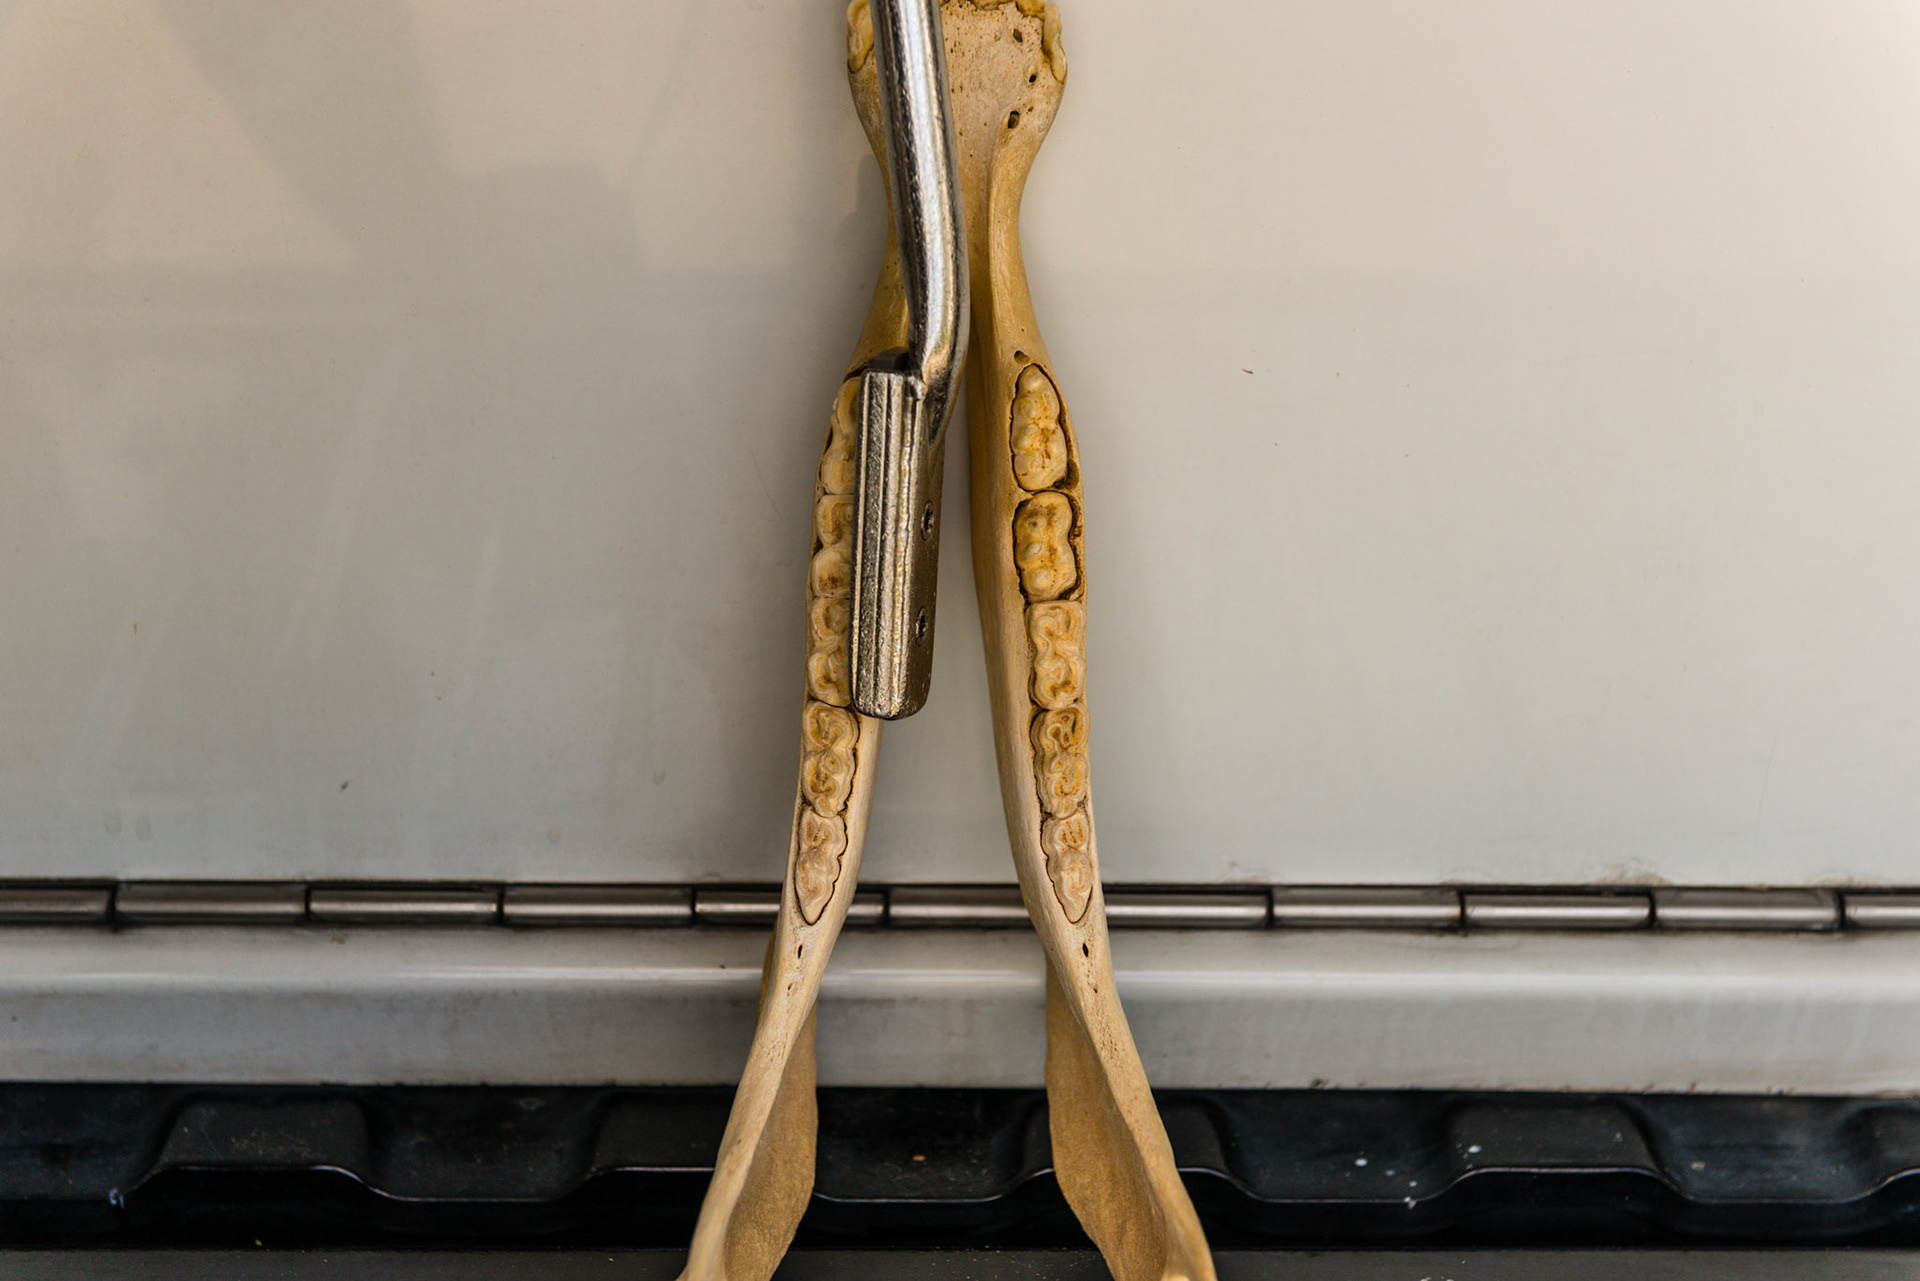
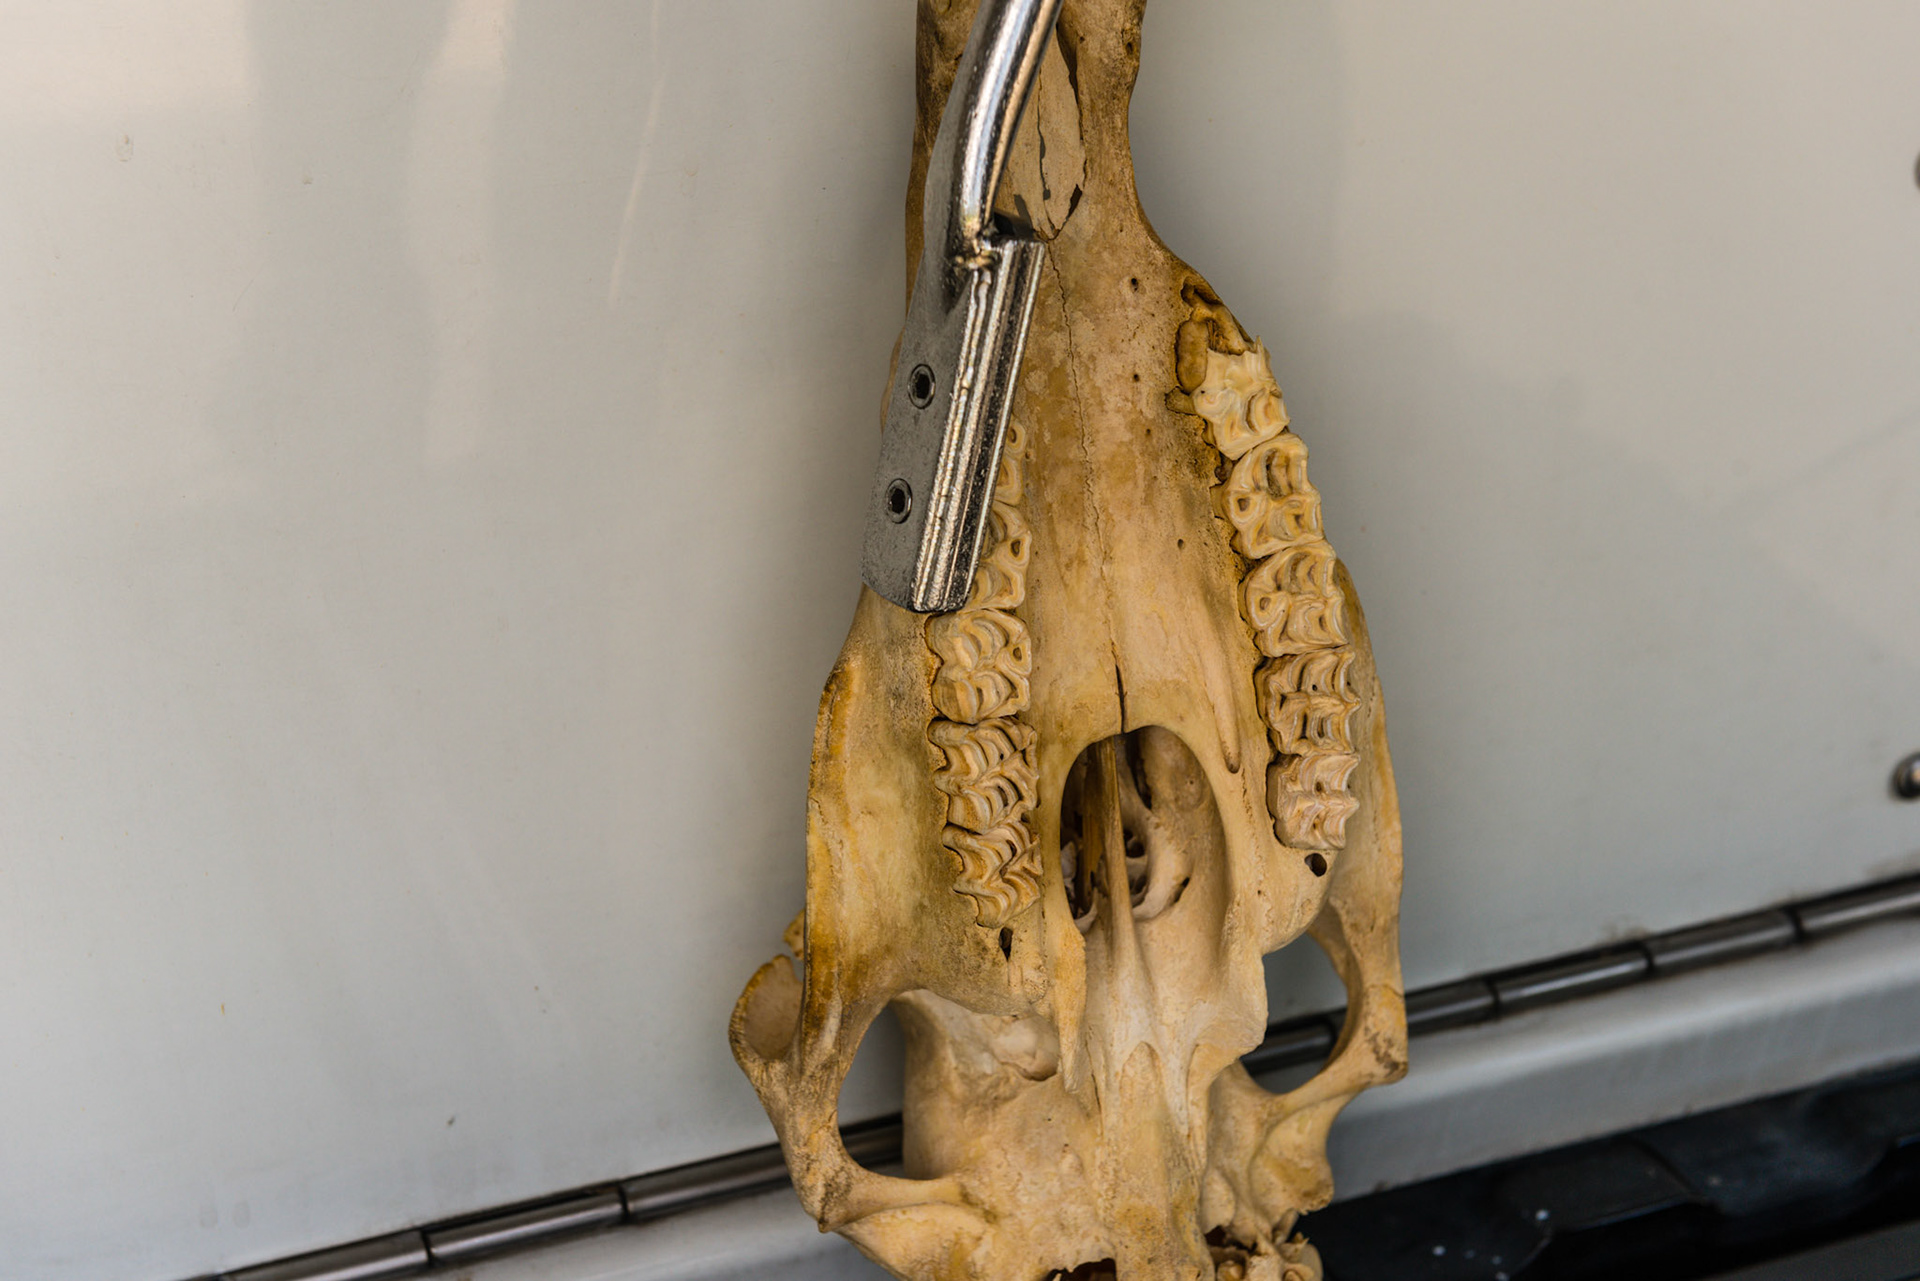
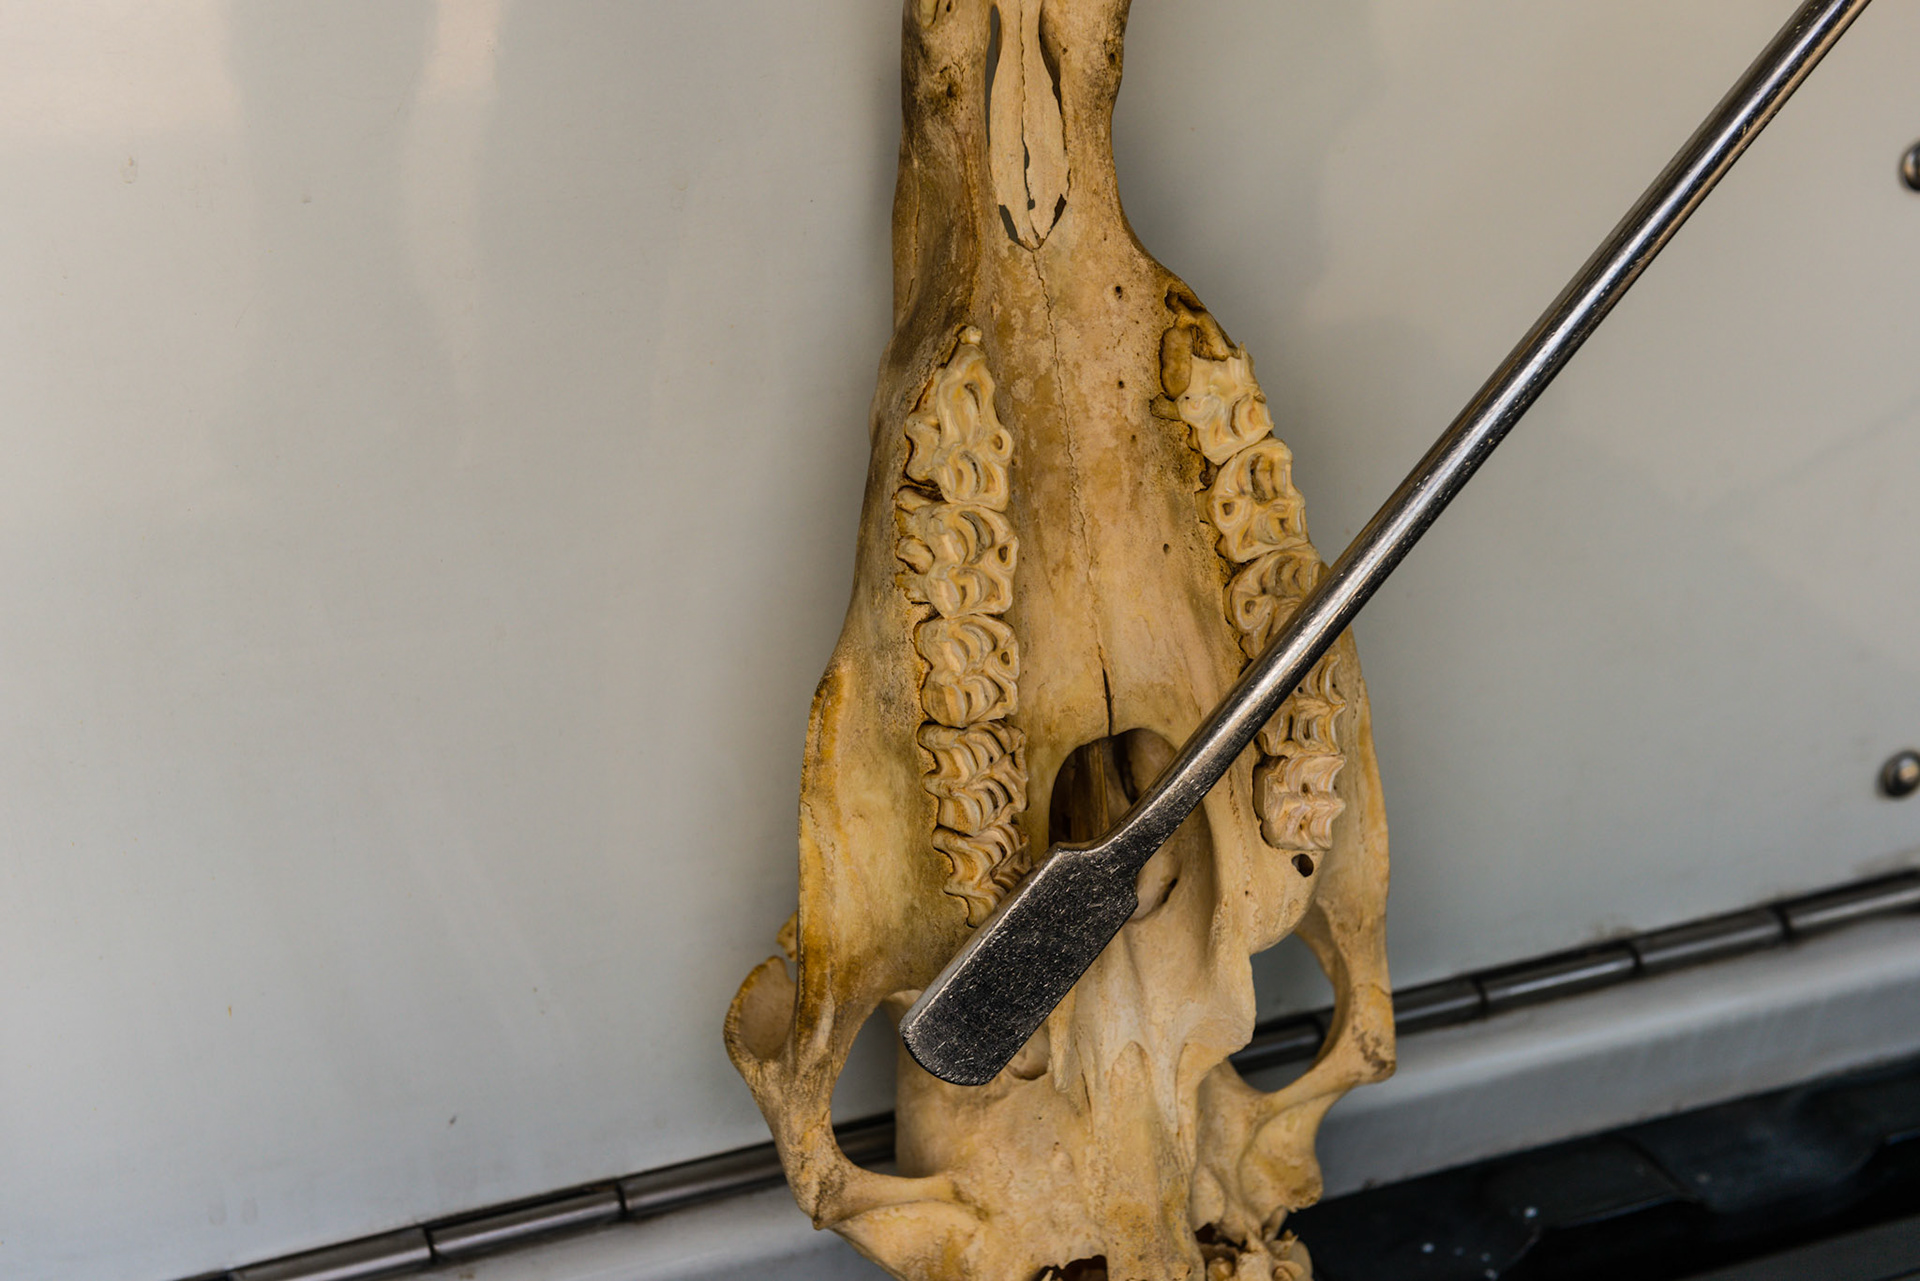
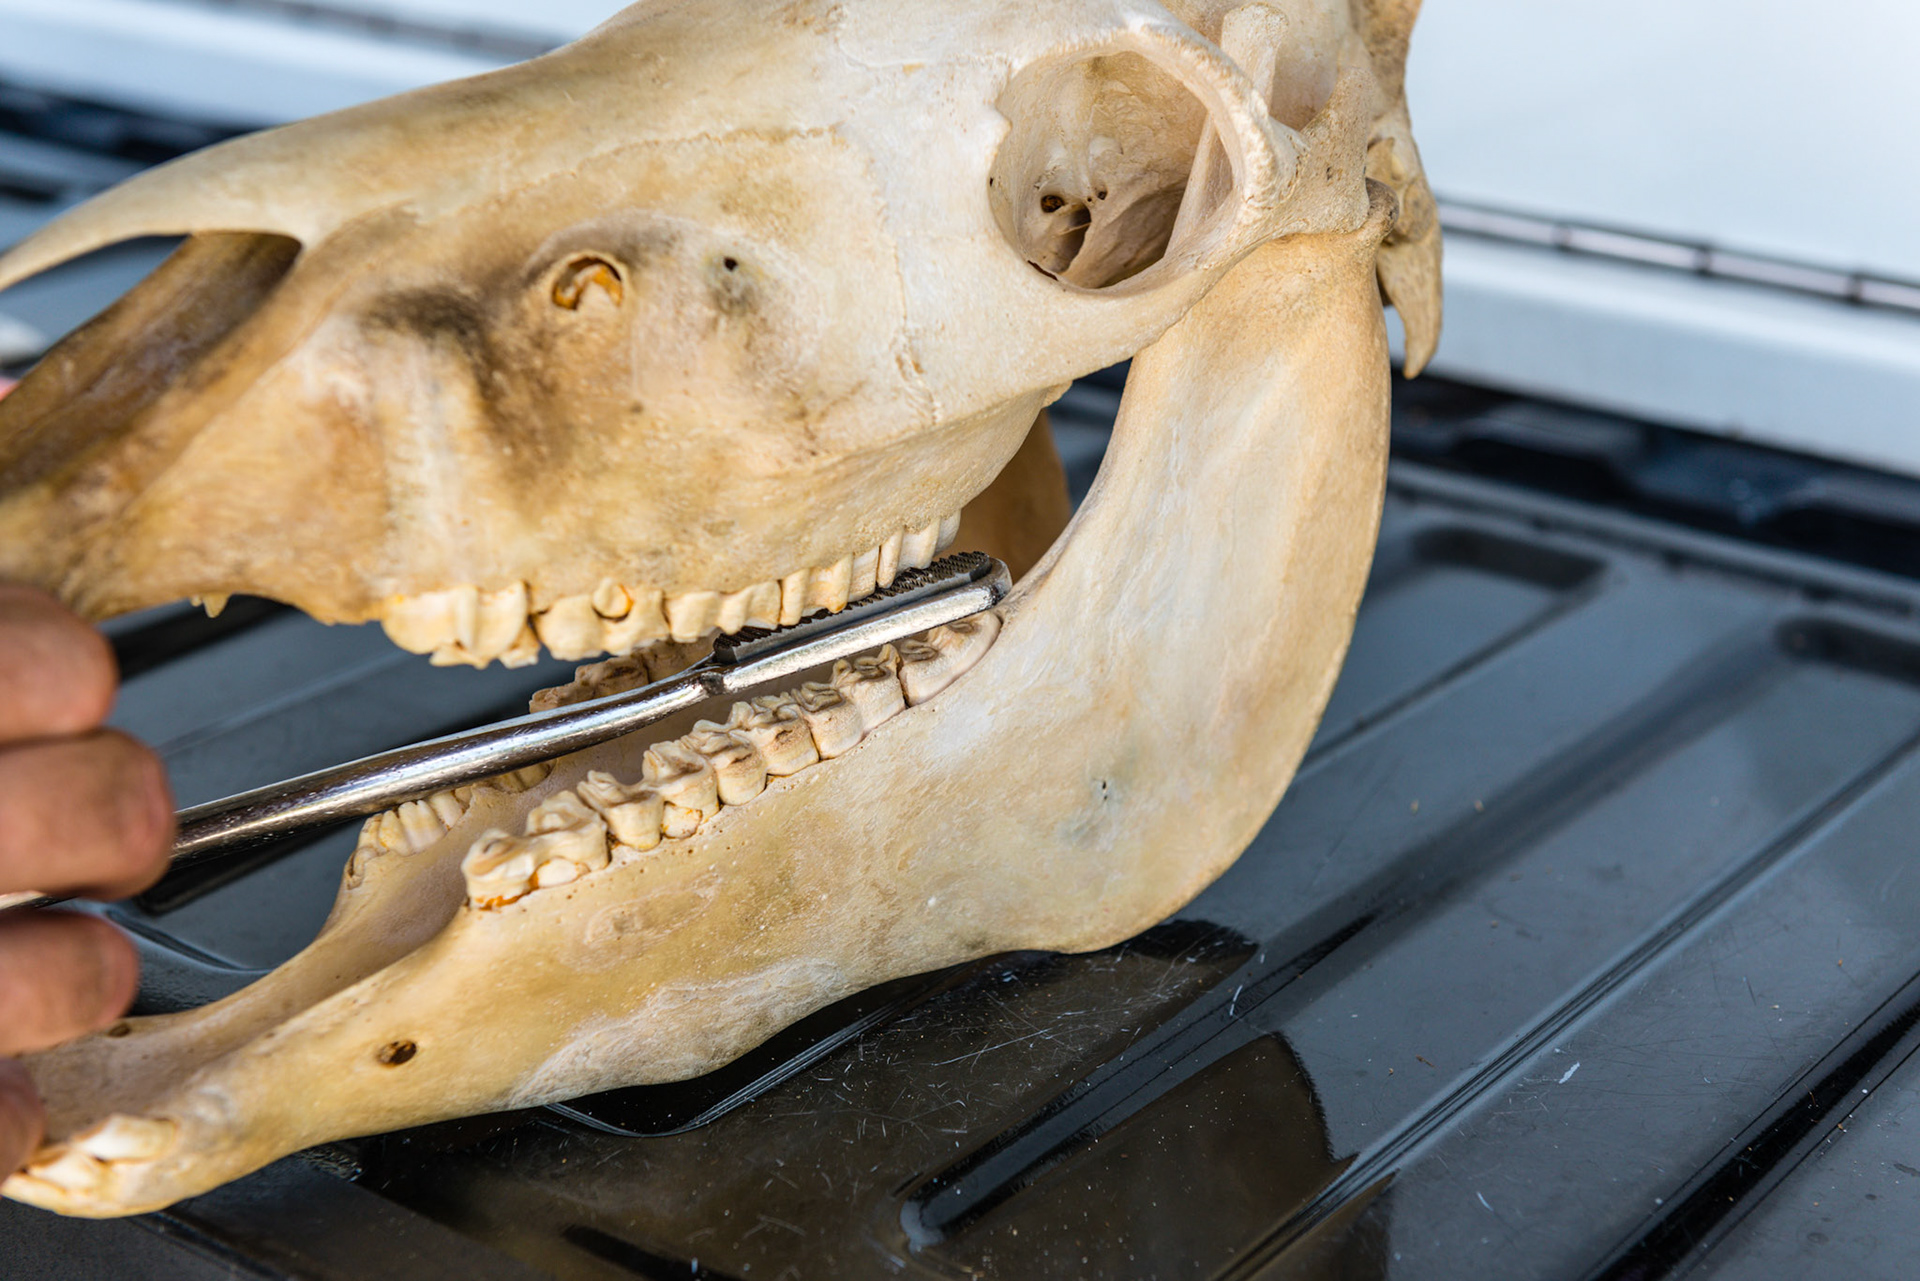
No yaw - blade is parallel to the arcade.
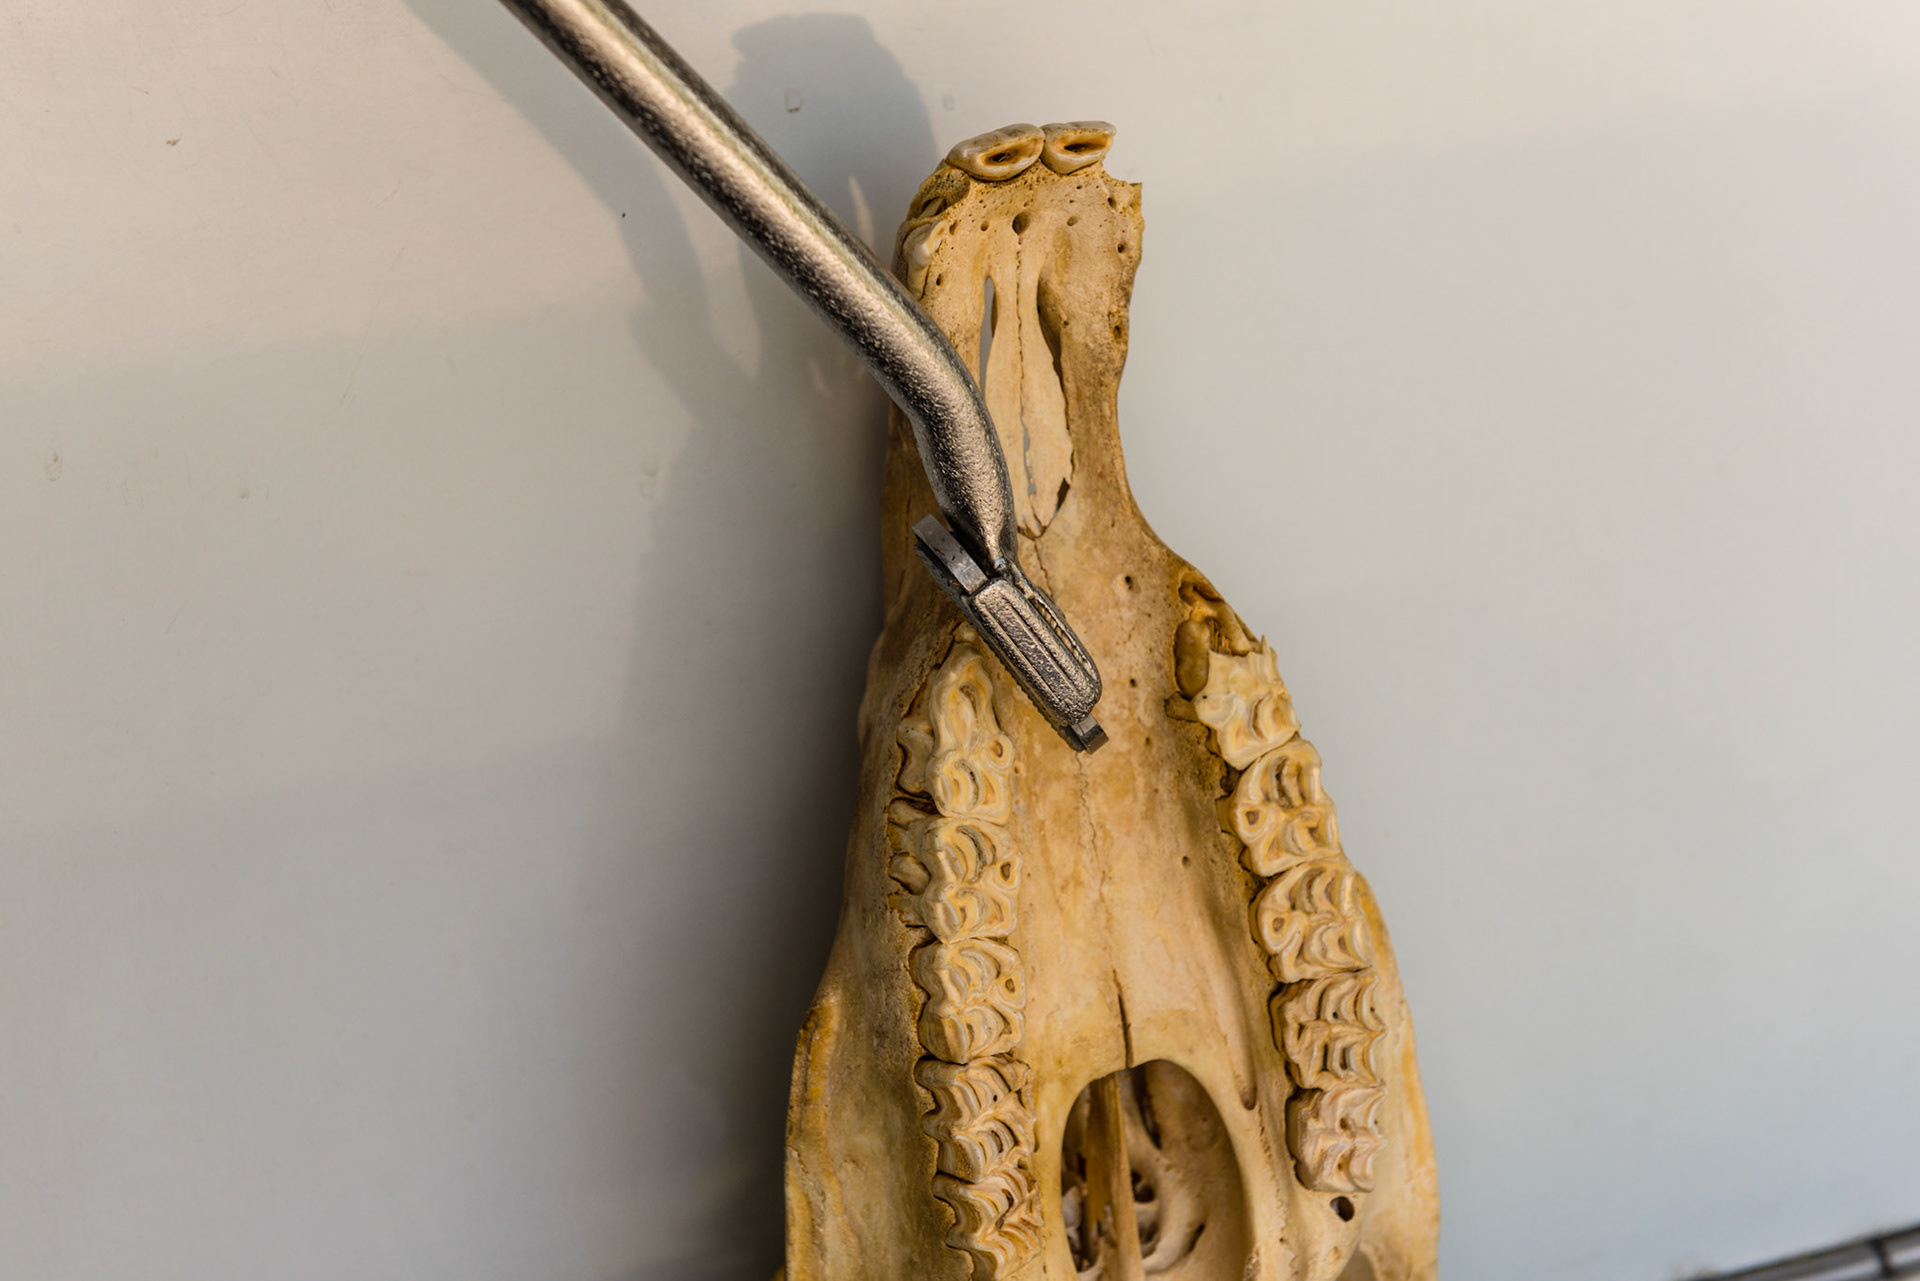
Yaw in - tip of blade moves towards the arcade relative to the side the arcade is being worked on. Good for nooks and crannies.
Yaw in - tip of blade moves towards the arcade relative to the side the arcade is being worked on. Good for palatal side of upper 11's.
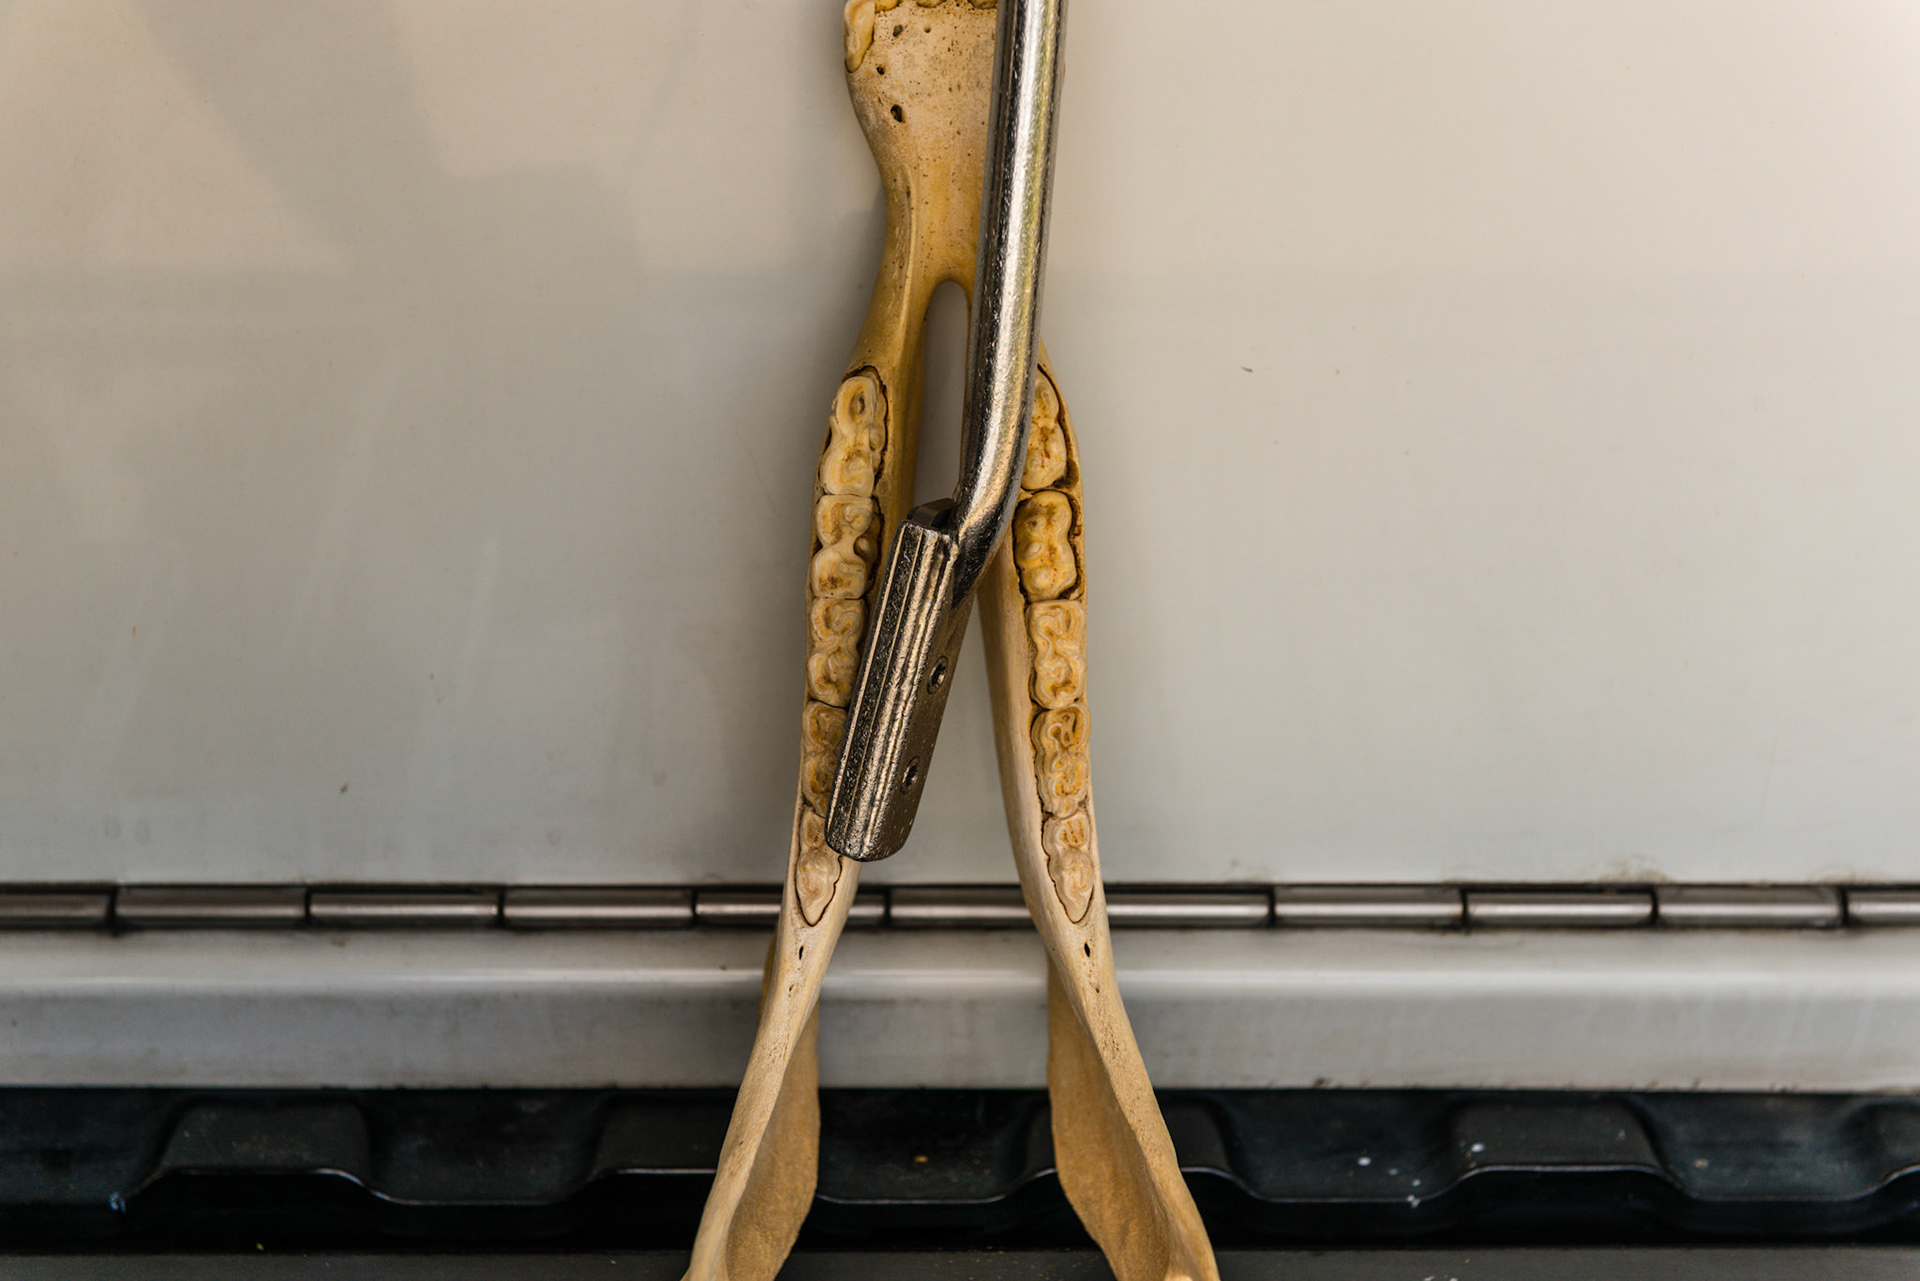
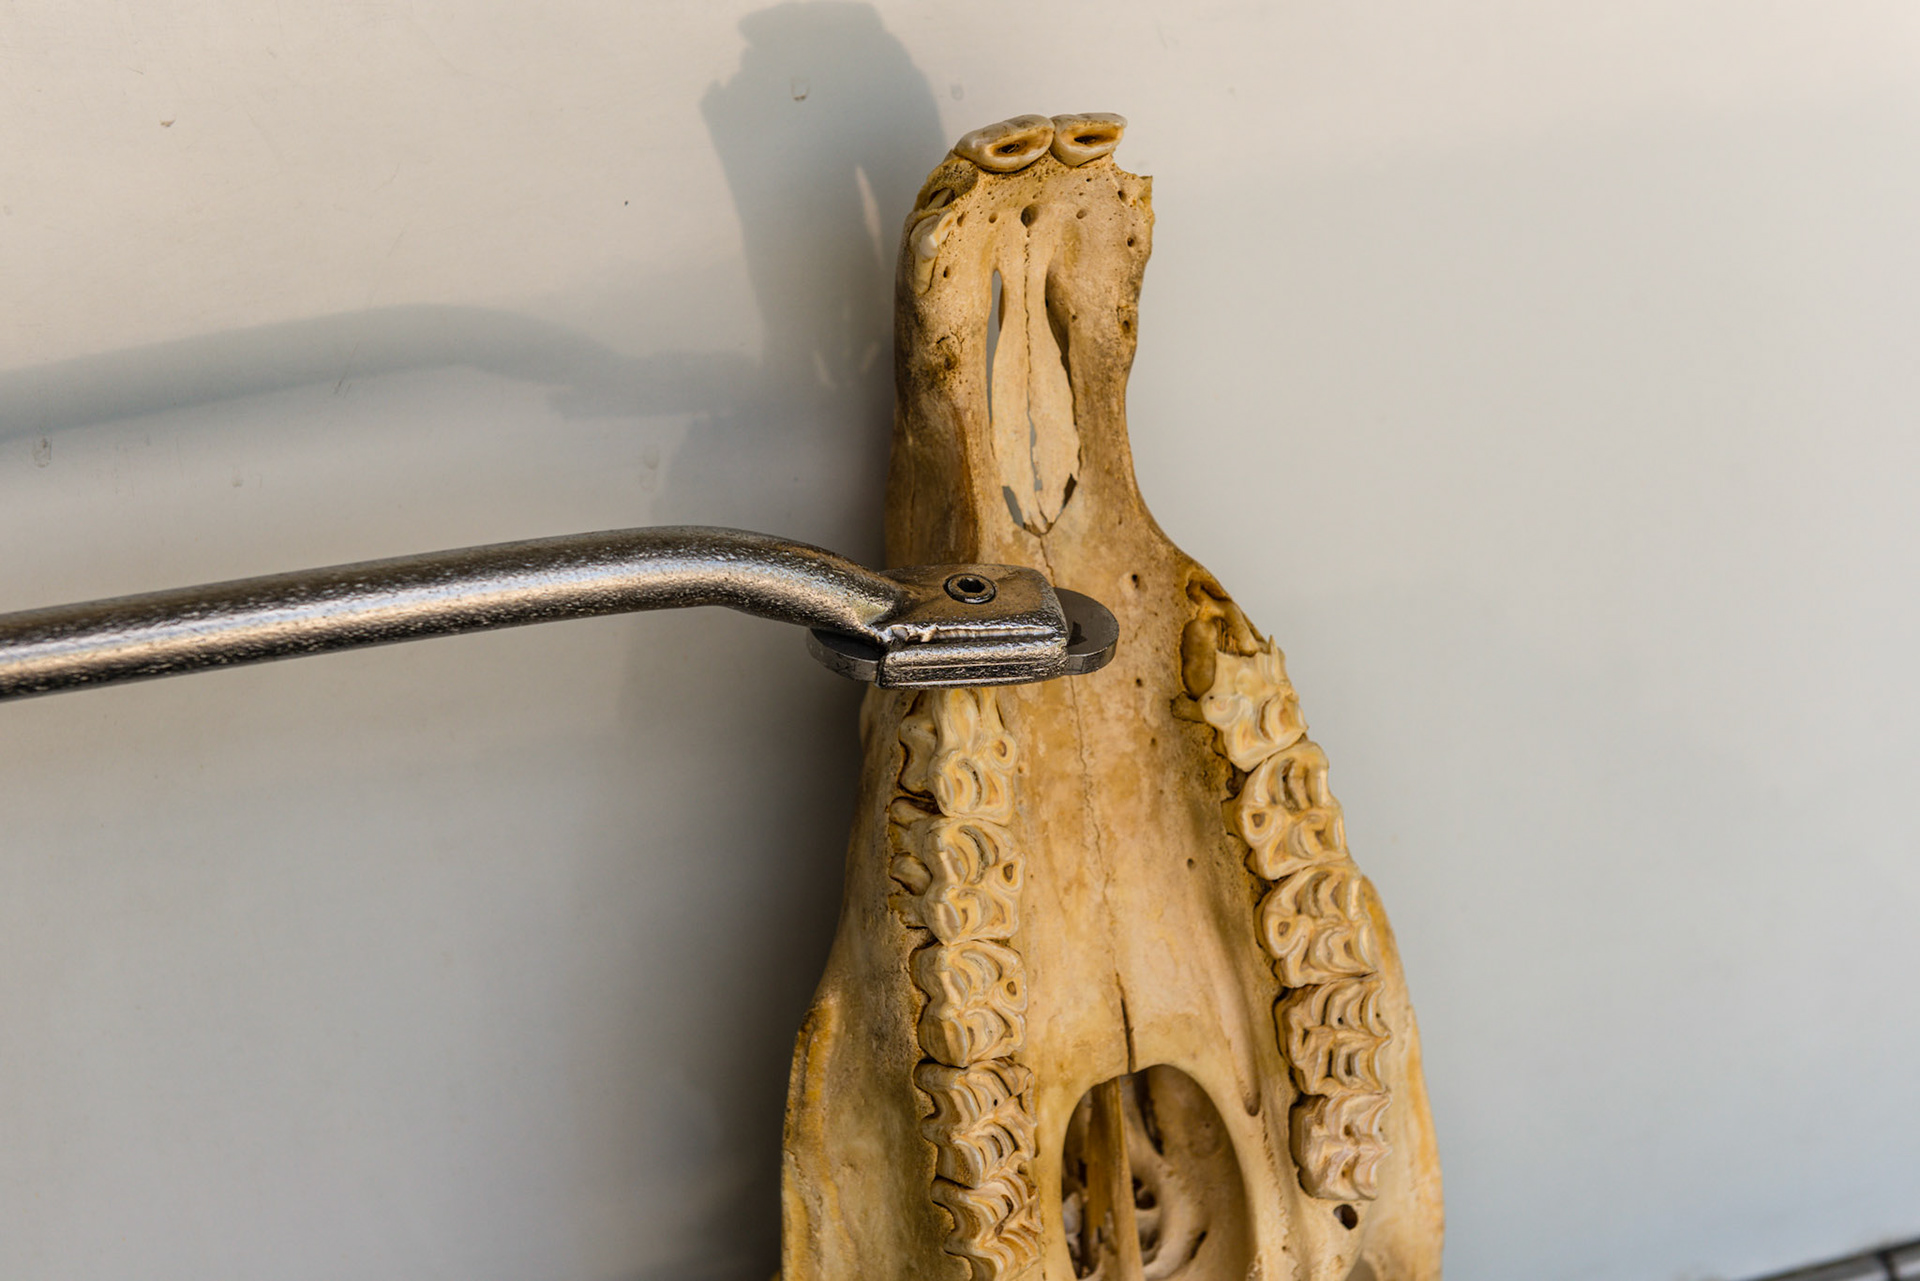
No yaw - blade is parallel to the arcade.
Yaw in - tip of blade moves towards the arcade relative to the side the arcade is being worked on. Good for lower nooks and crannies.
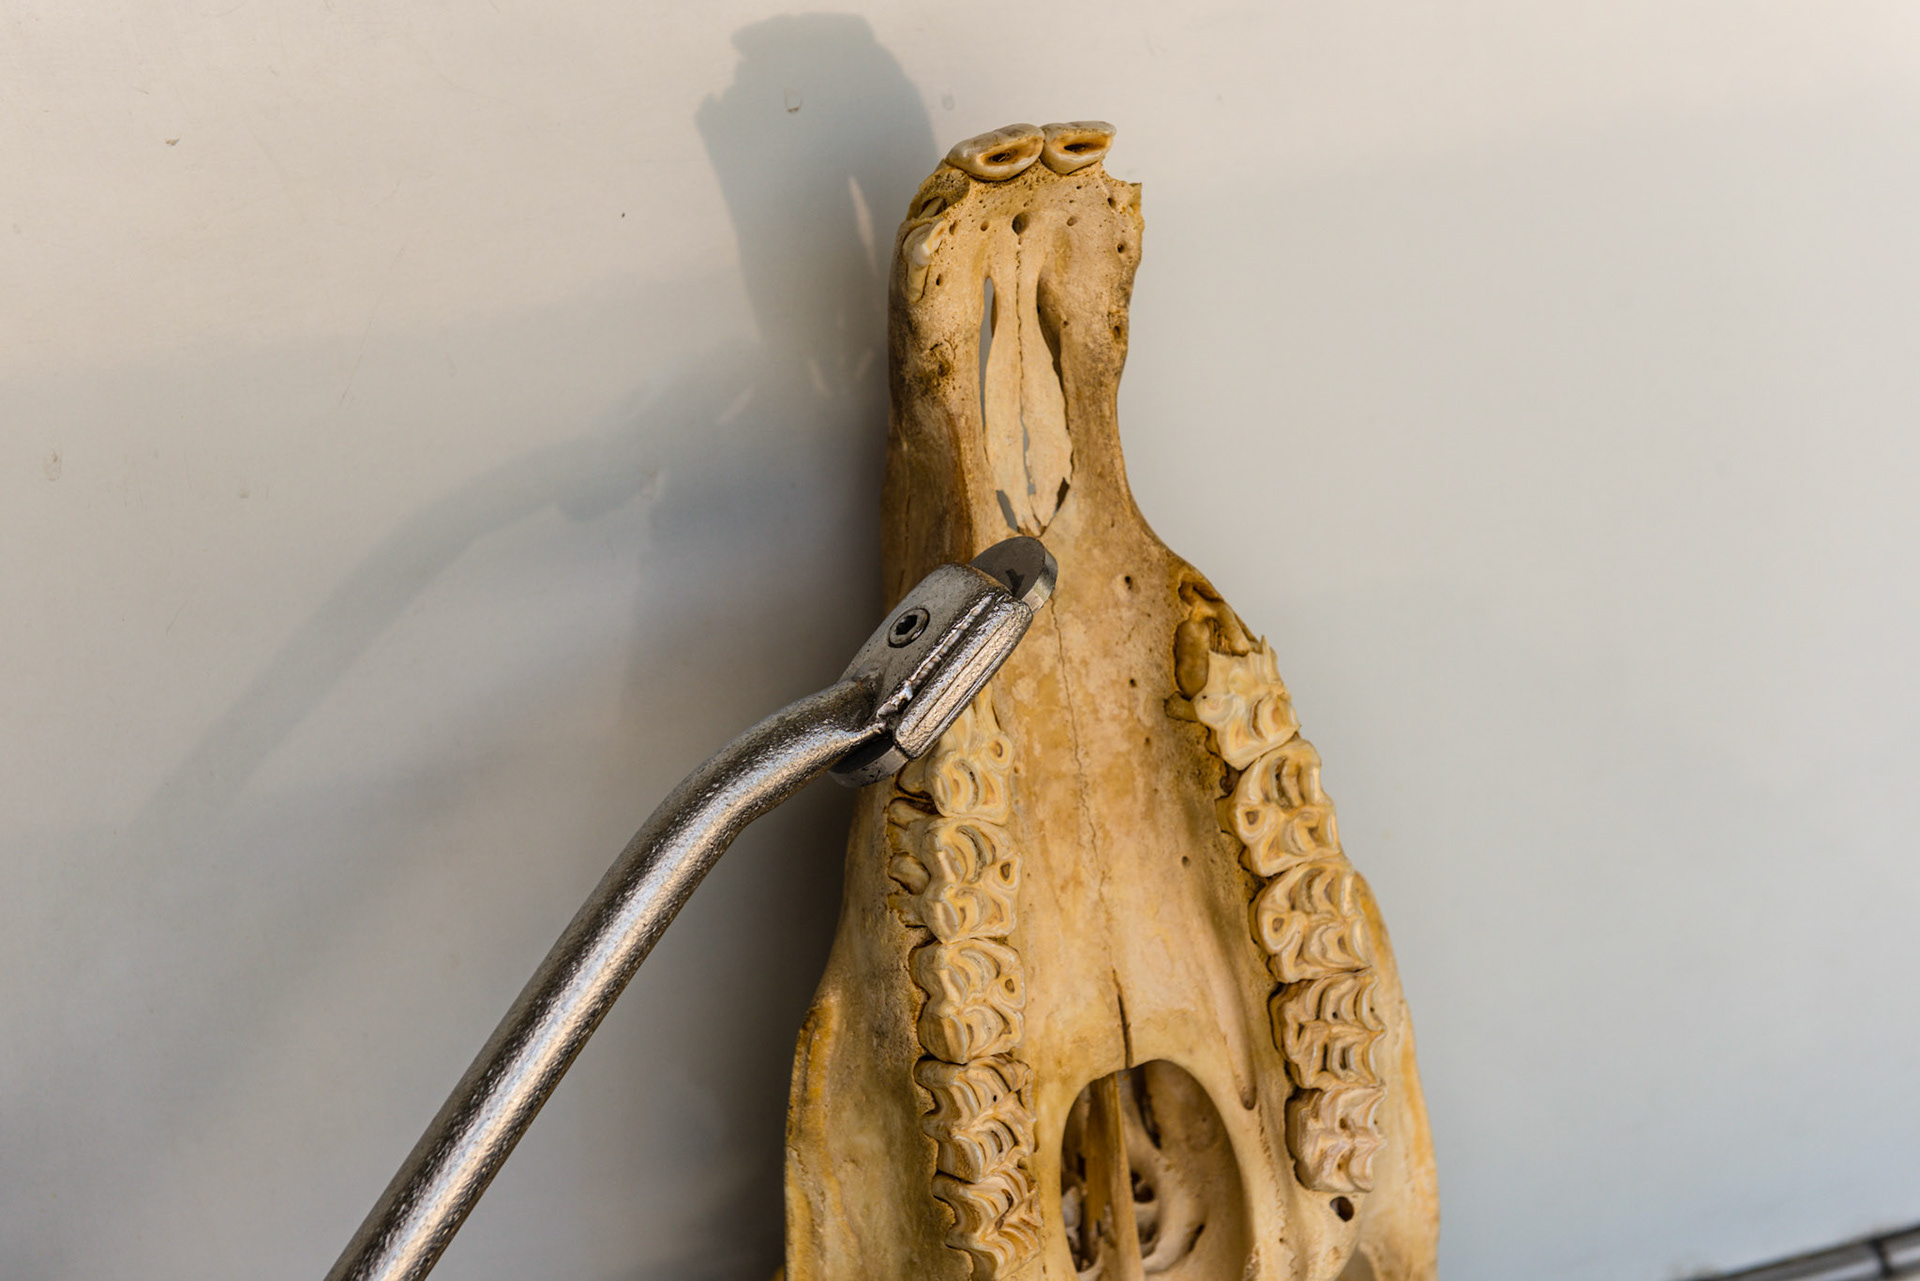
Yaw in and pitch down - good for rounding lower 11's to make a safe place for the tonge to set.
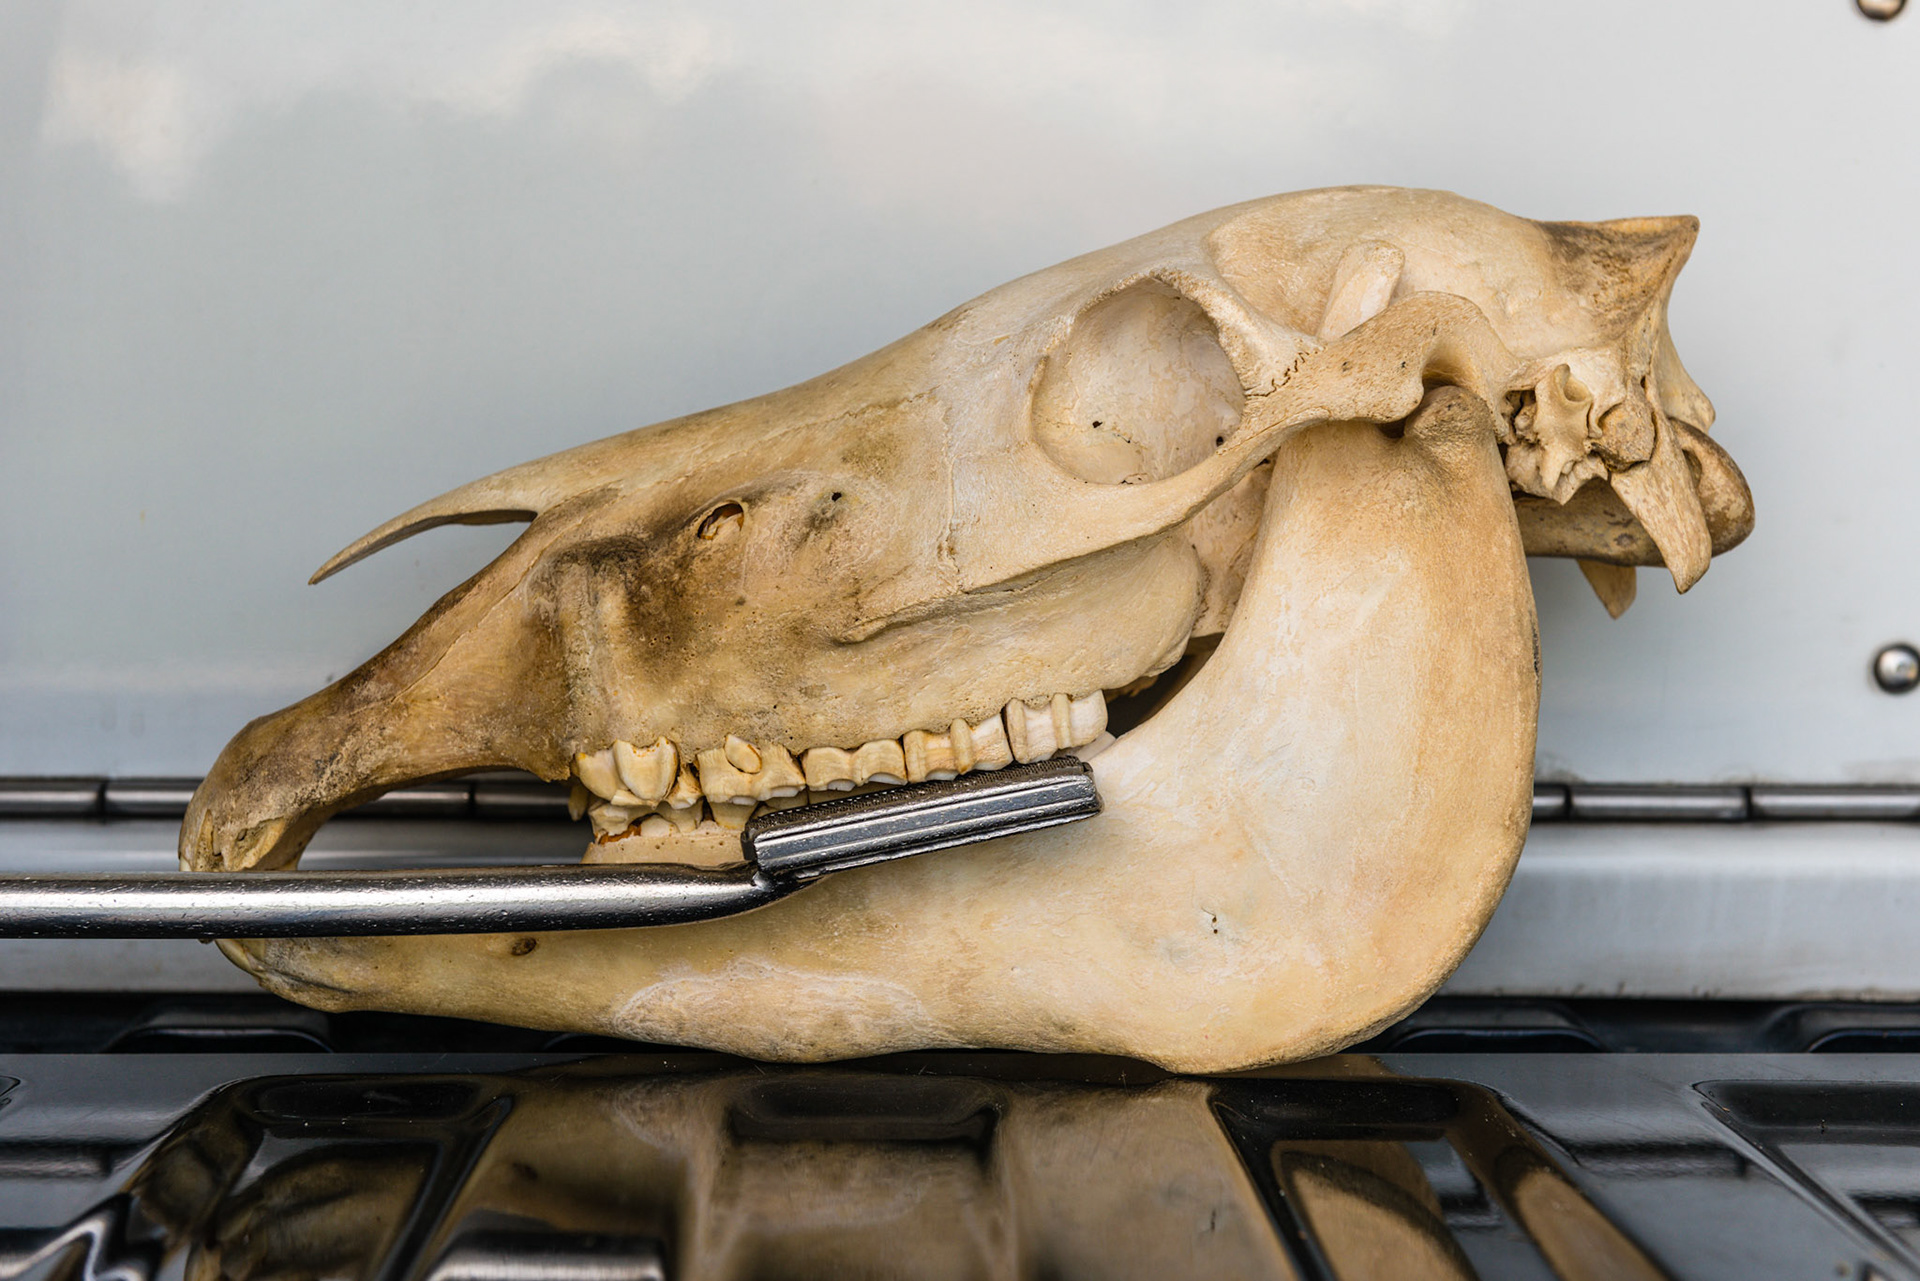
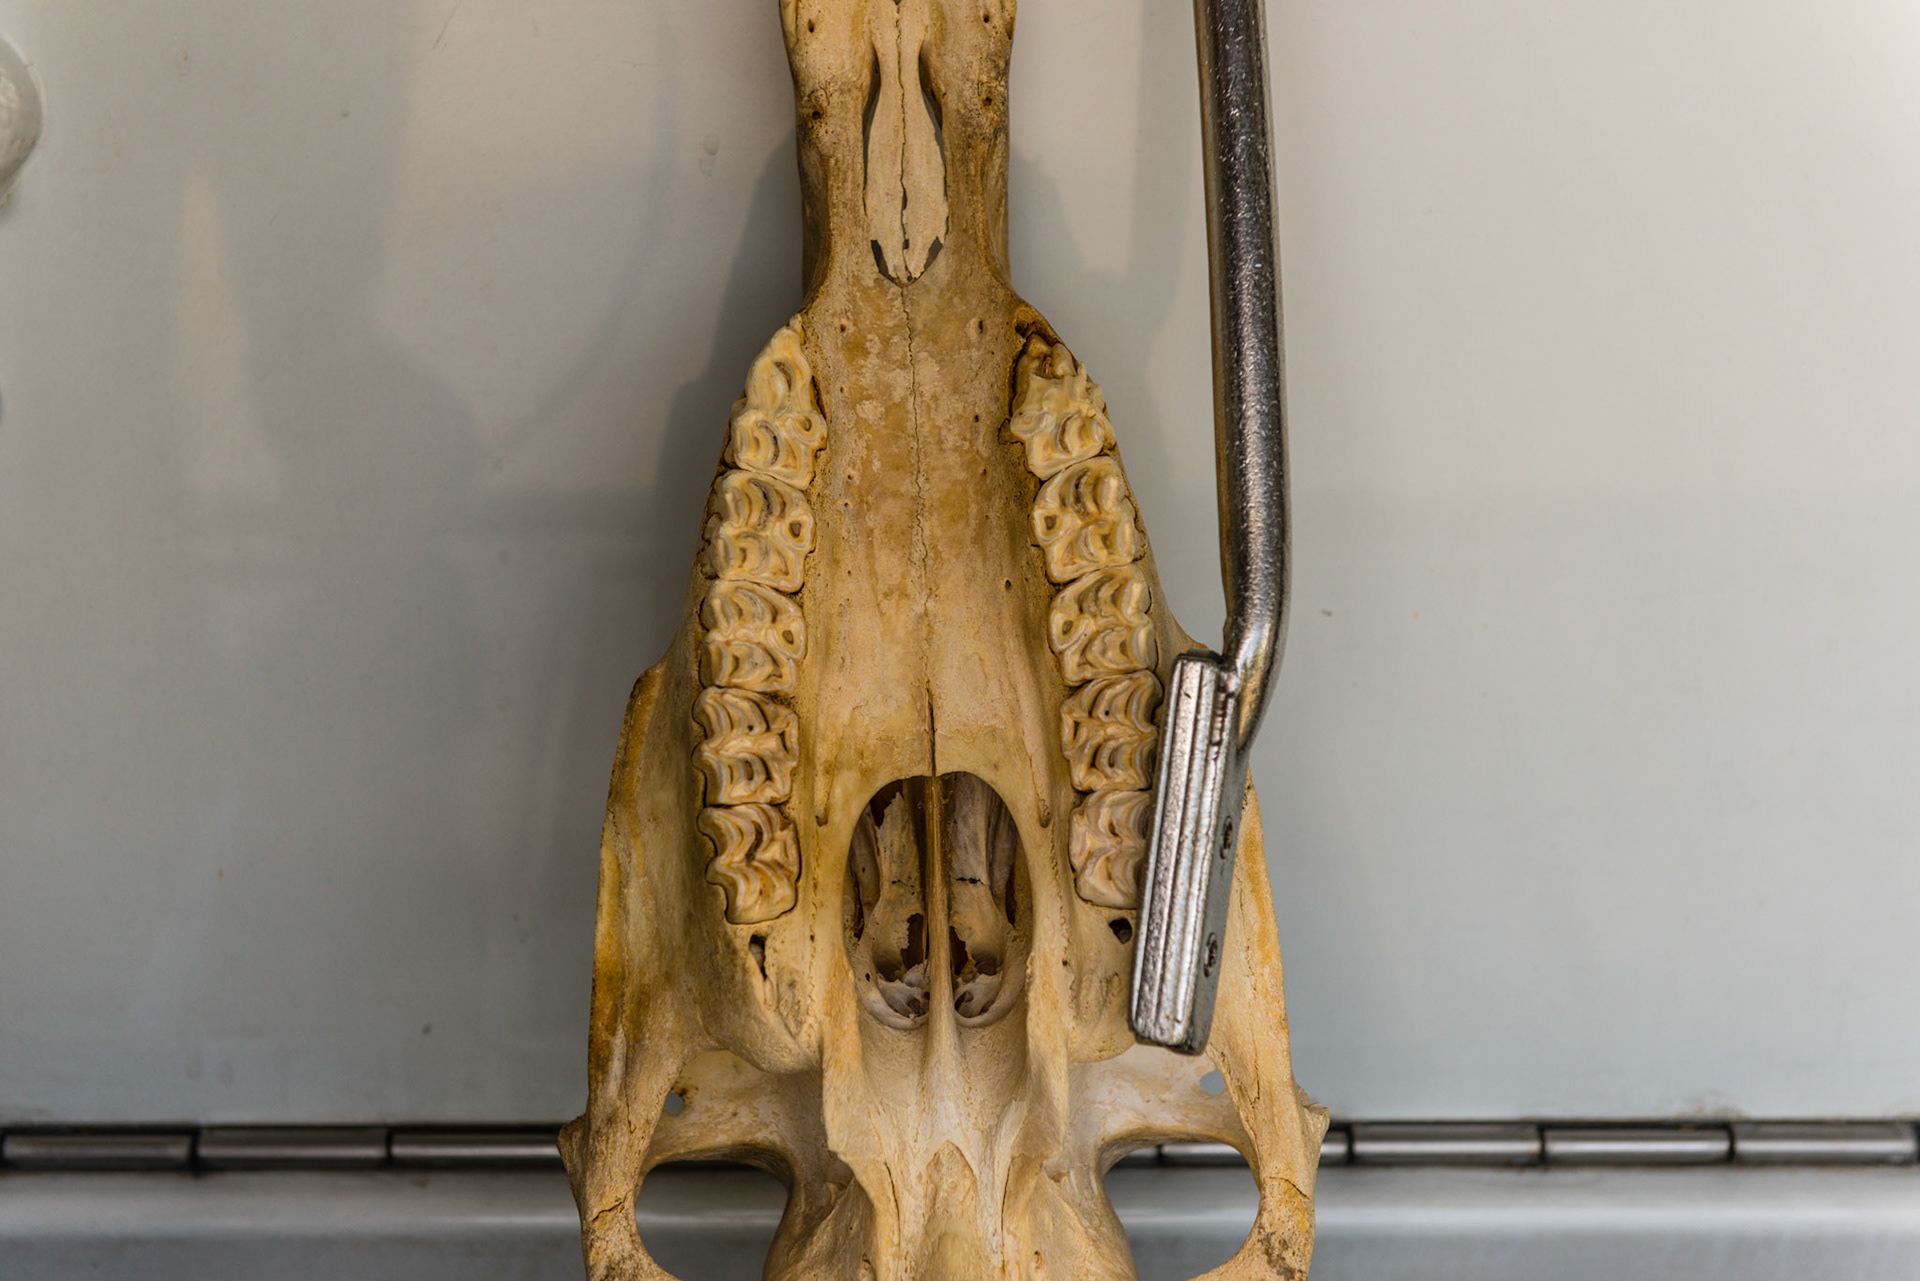
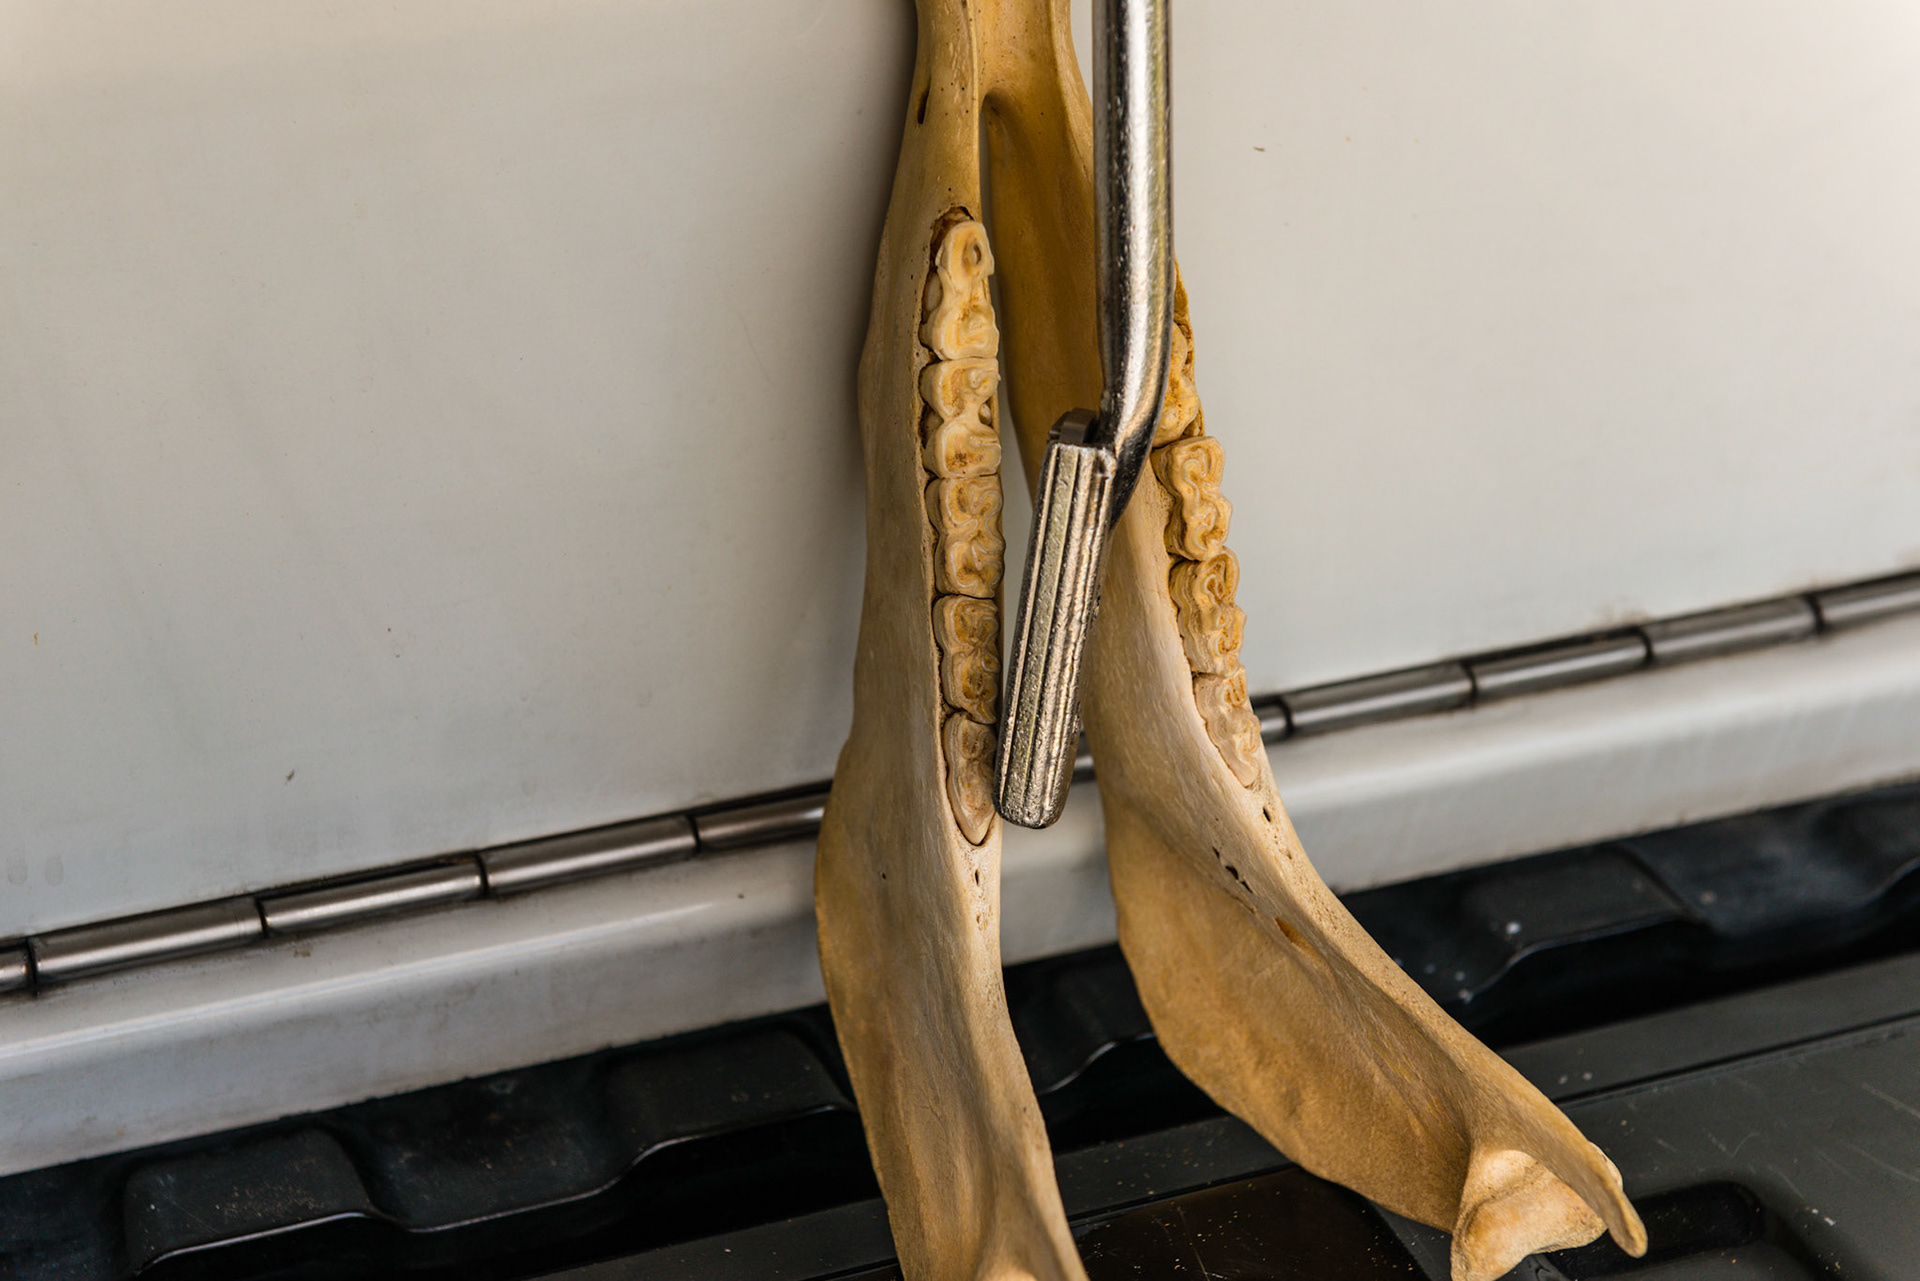
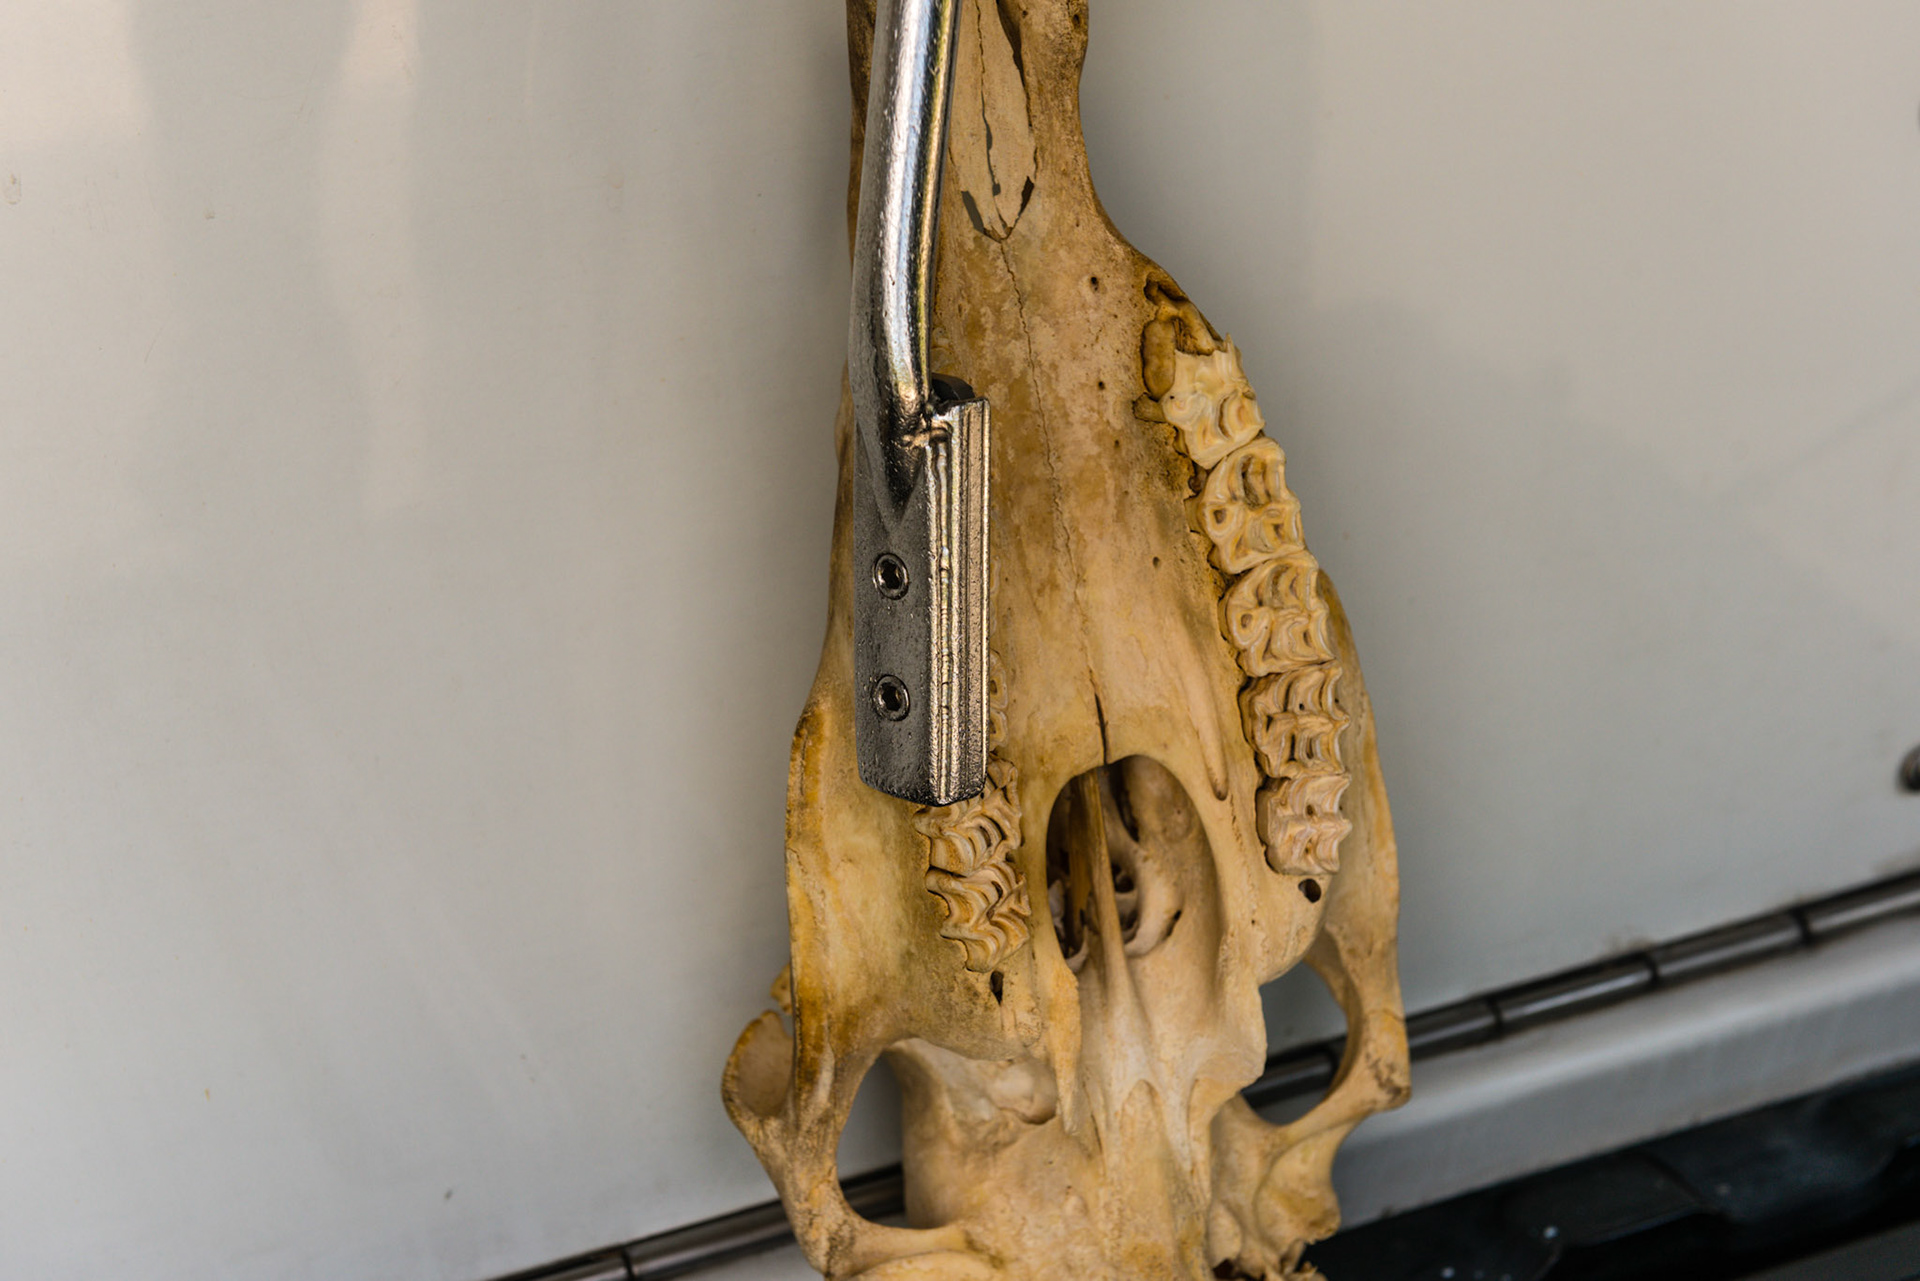
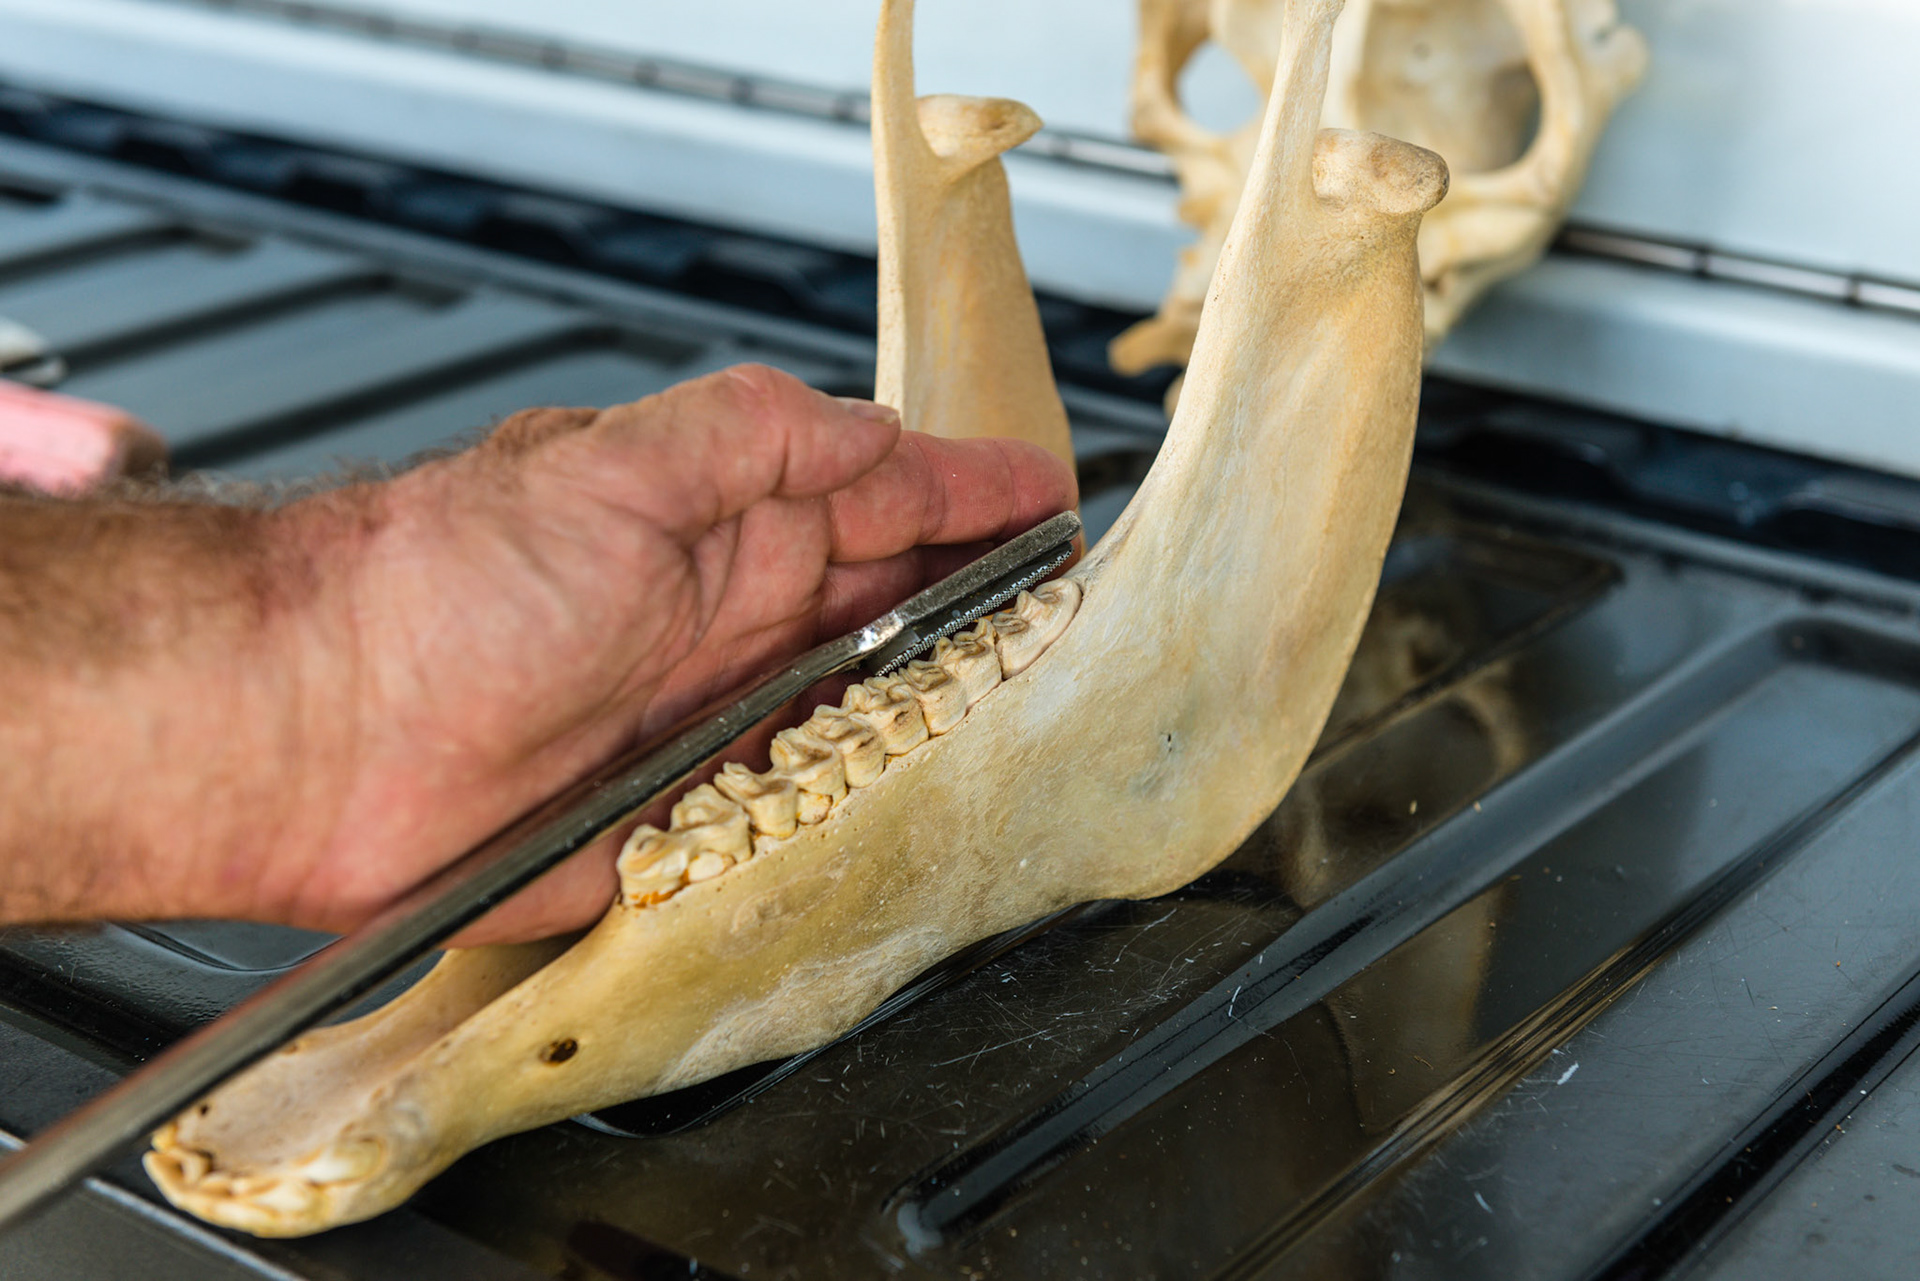
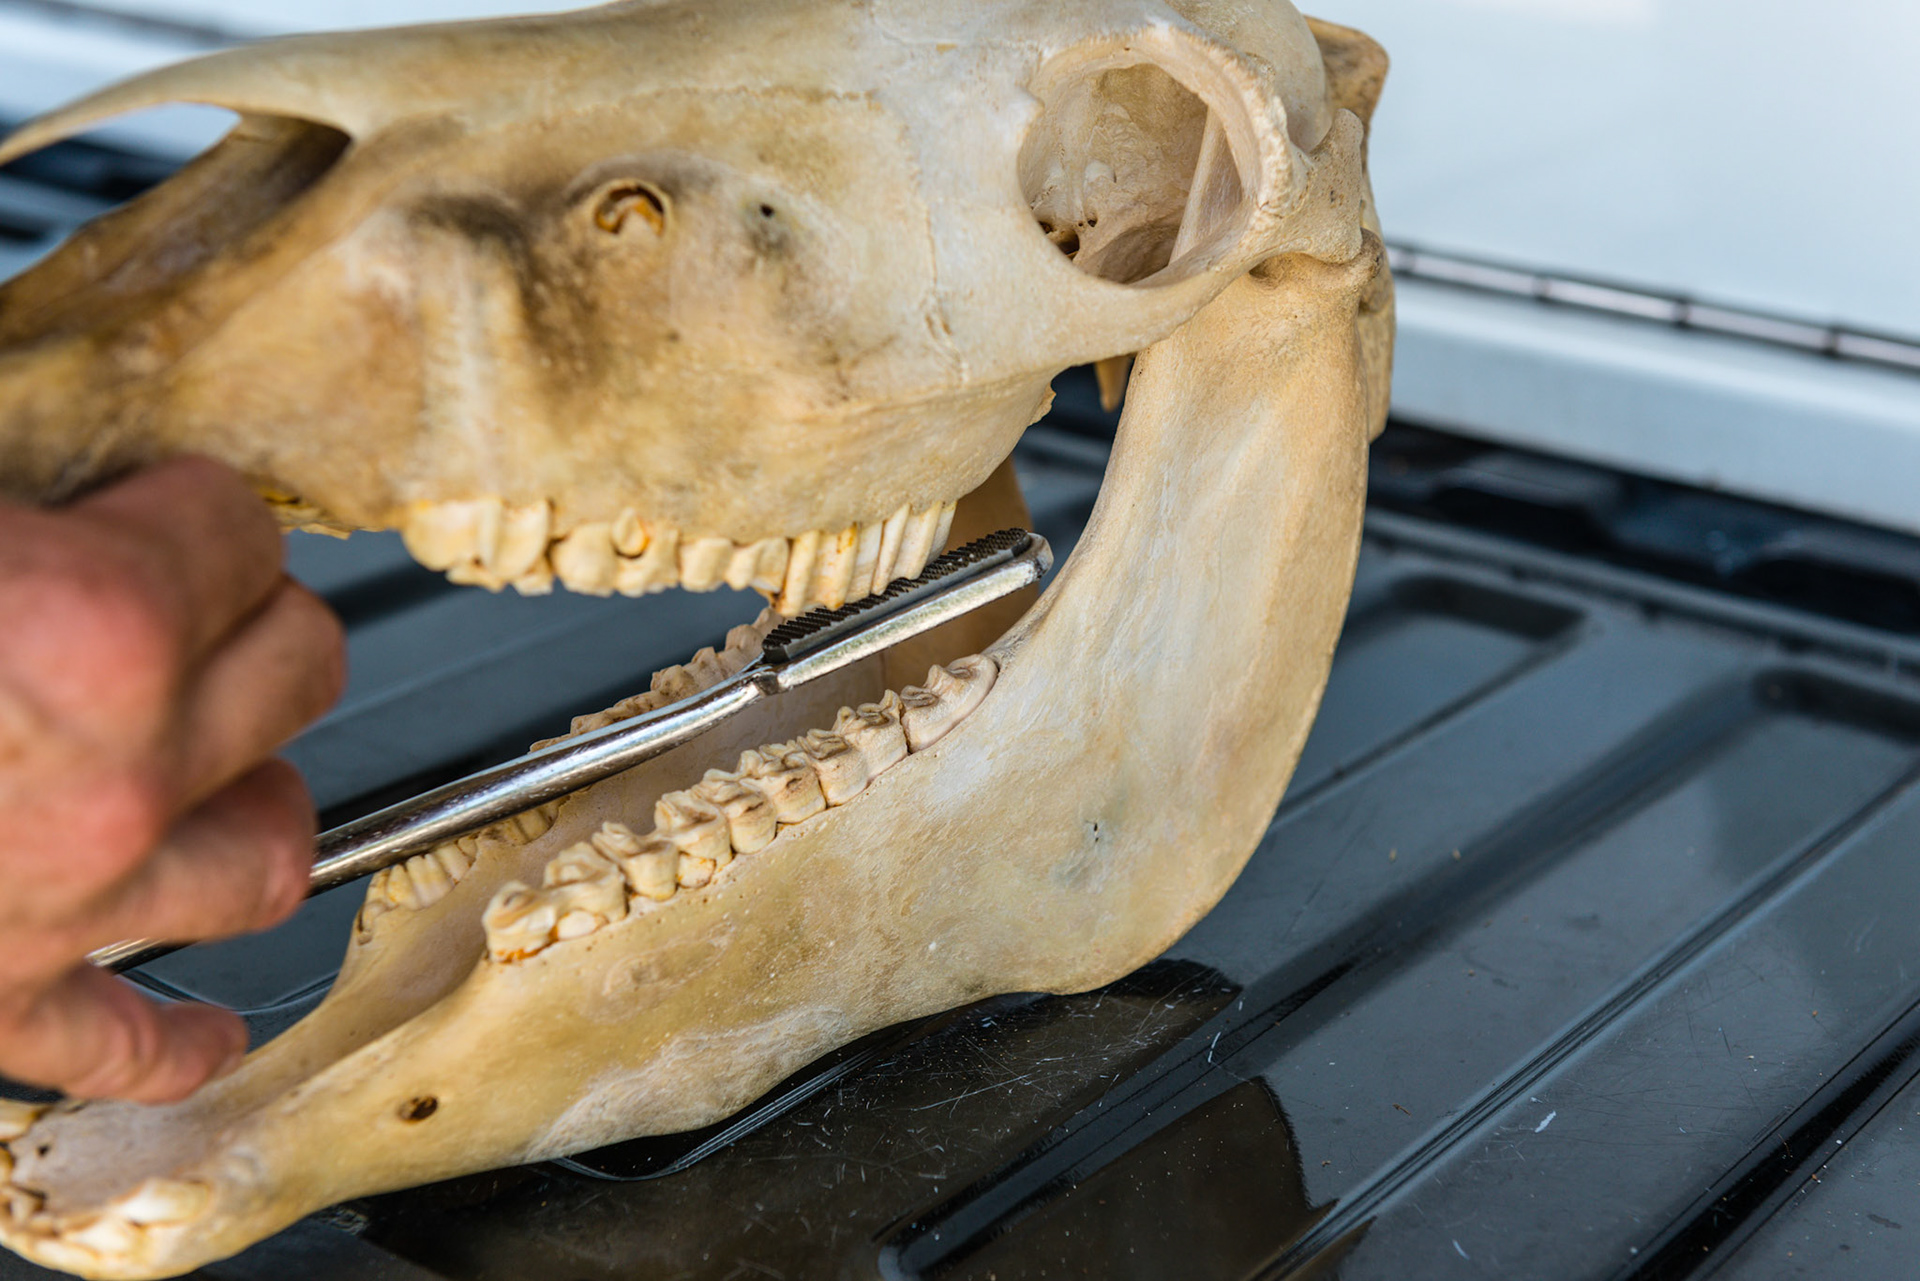
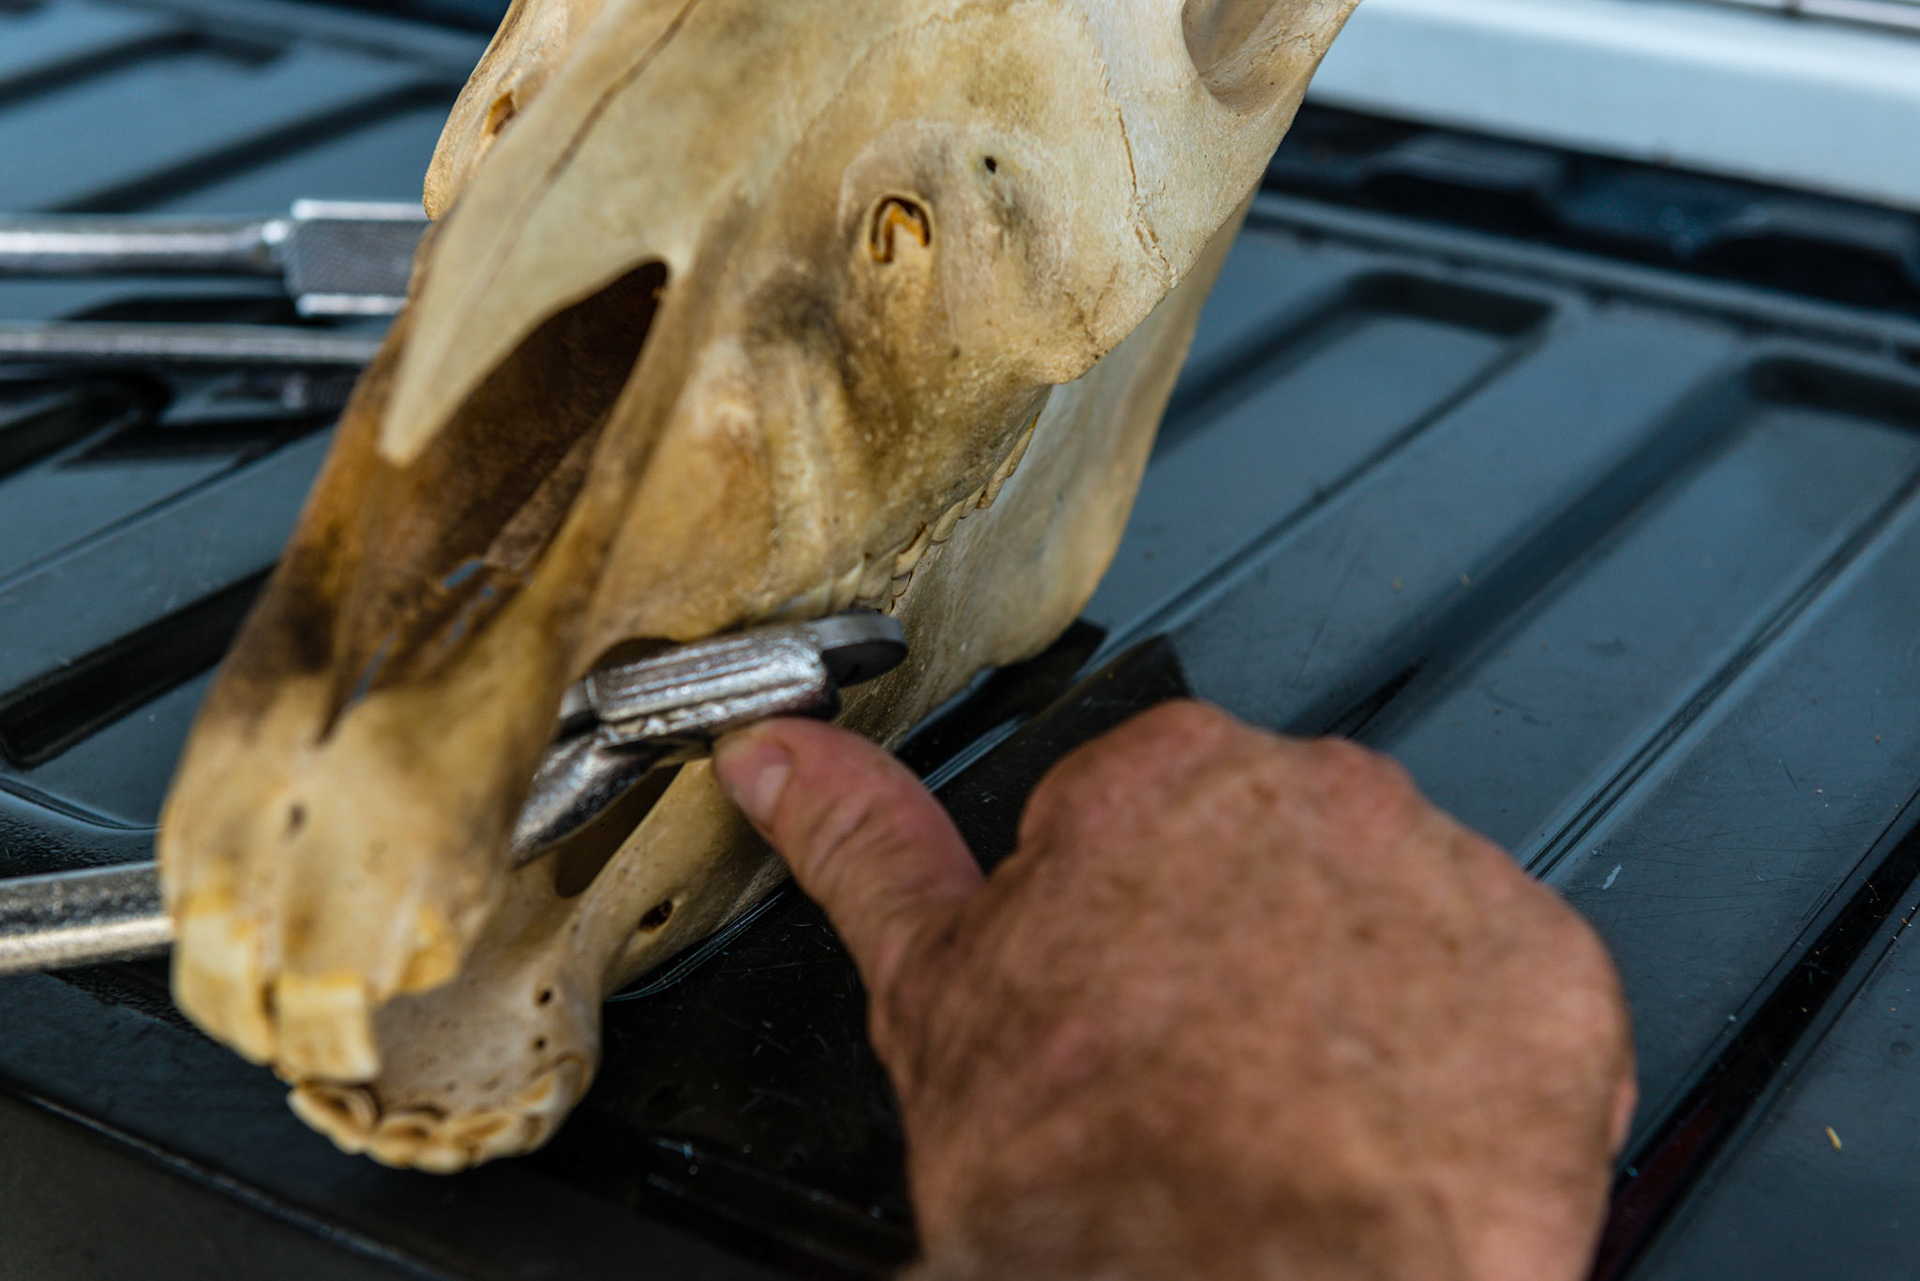
Shortie - yawed out on the lower 6.
Shortie - yawed out more on the lower 6 to round the rostral sharp and pointed edge.
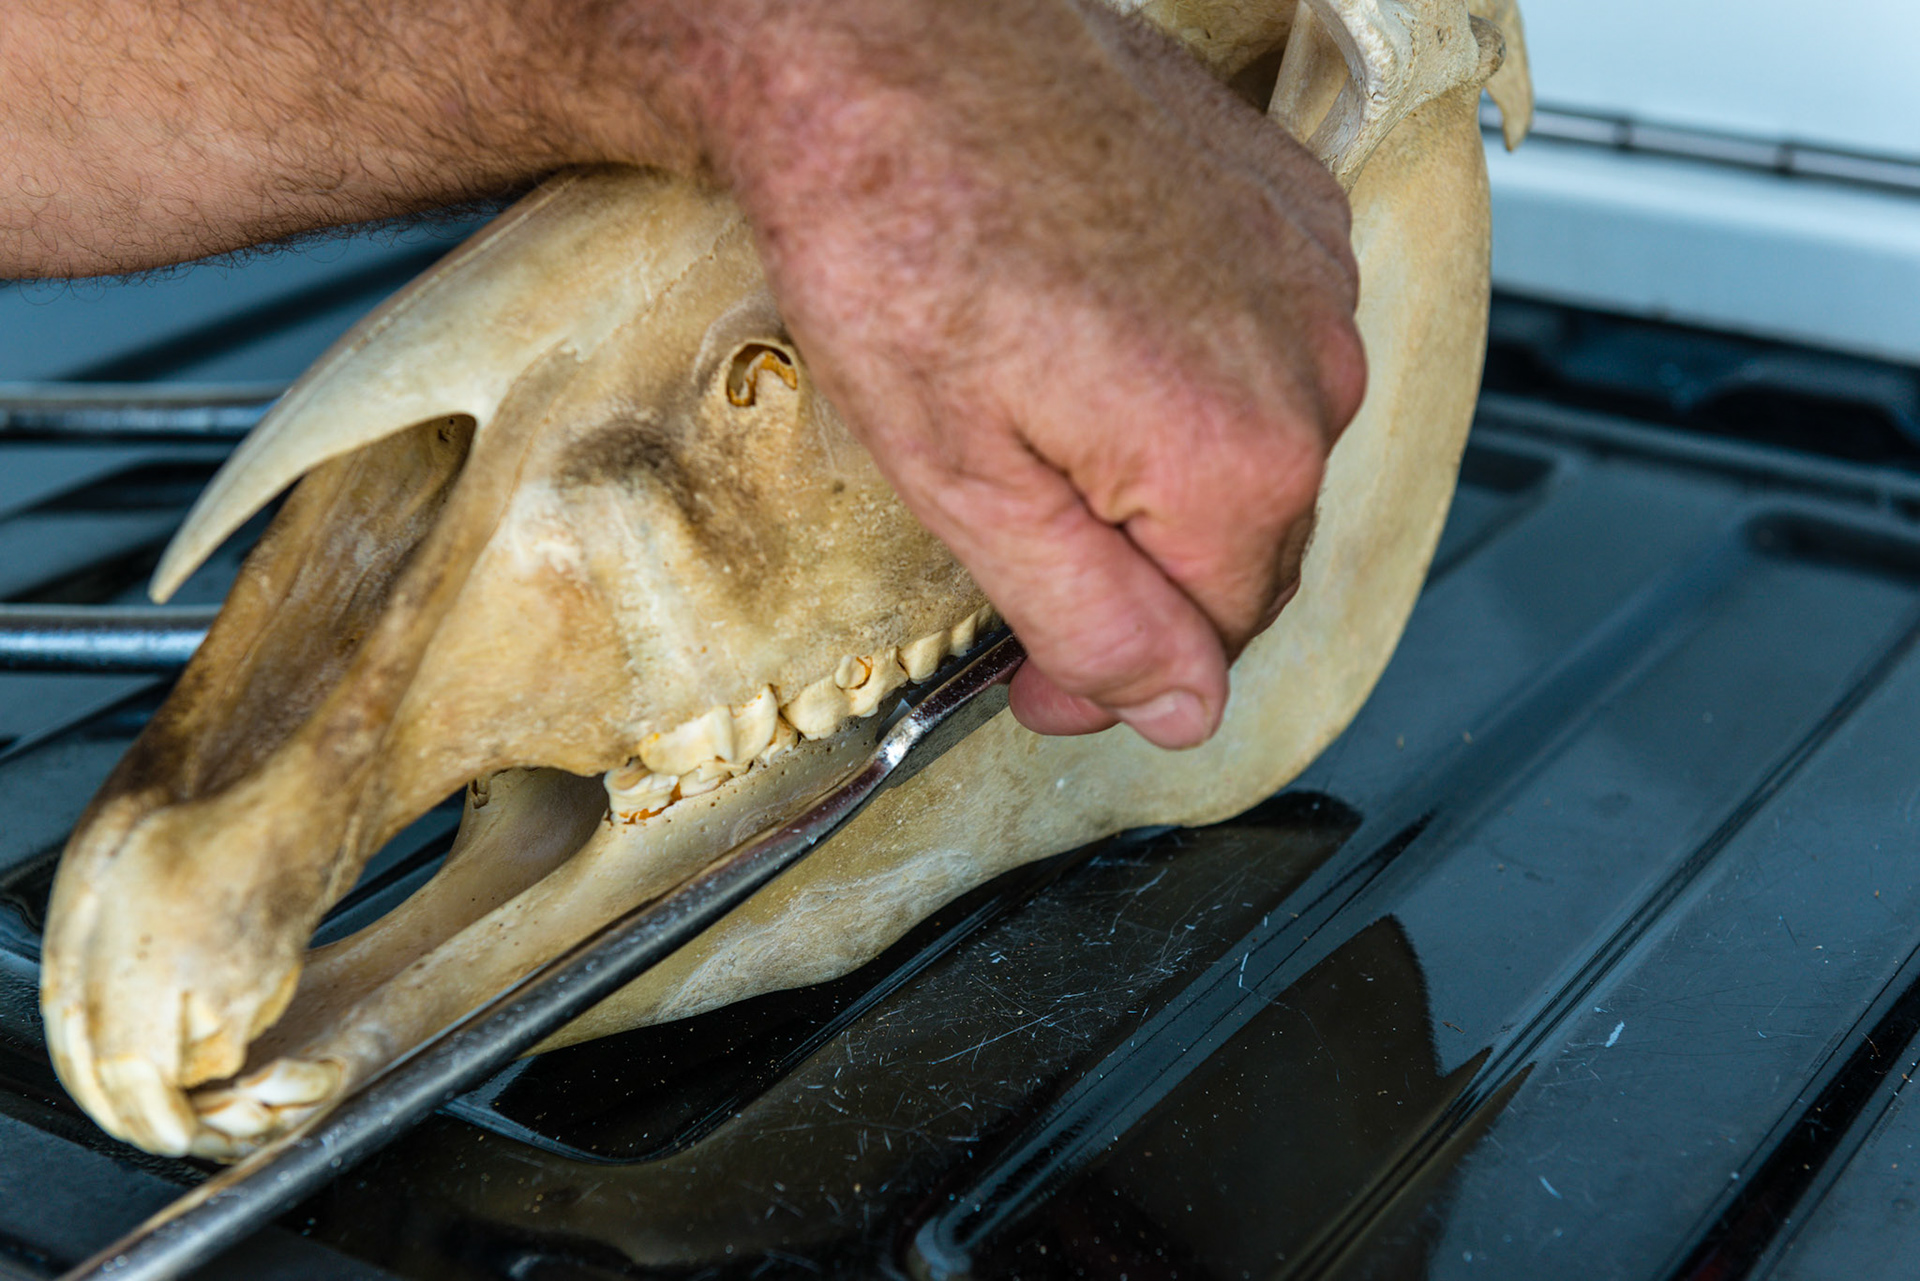
Shortie perpendicular to the rostral edge of the lower 6. The blade is also rolled to smooth the edge in a vertical fashion.
Shortie perpendicular to the rostral edge of the lower 6. The blade is also rolled to smooth the edge in a vertical fashion.
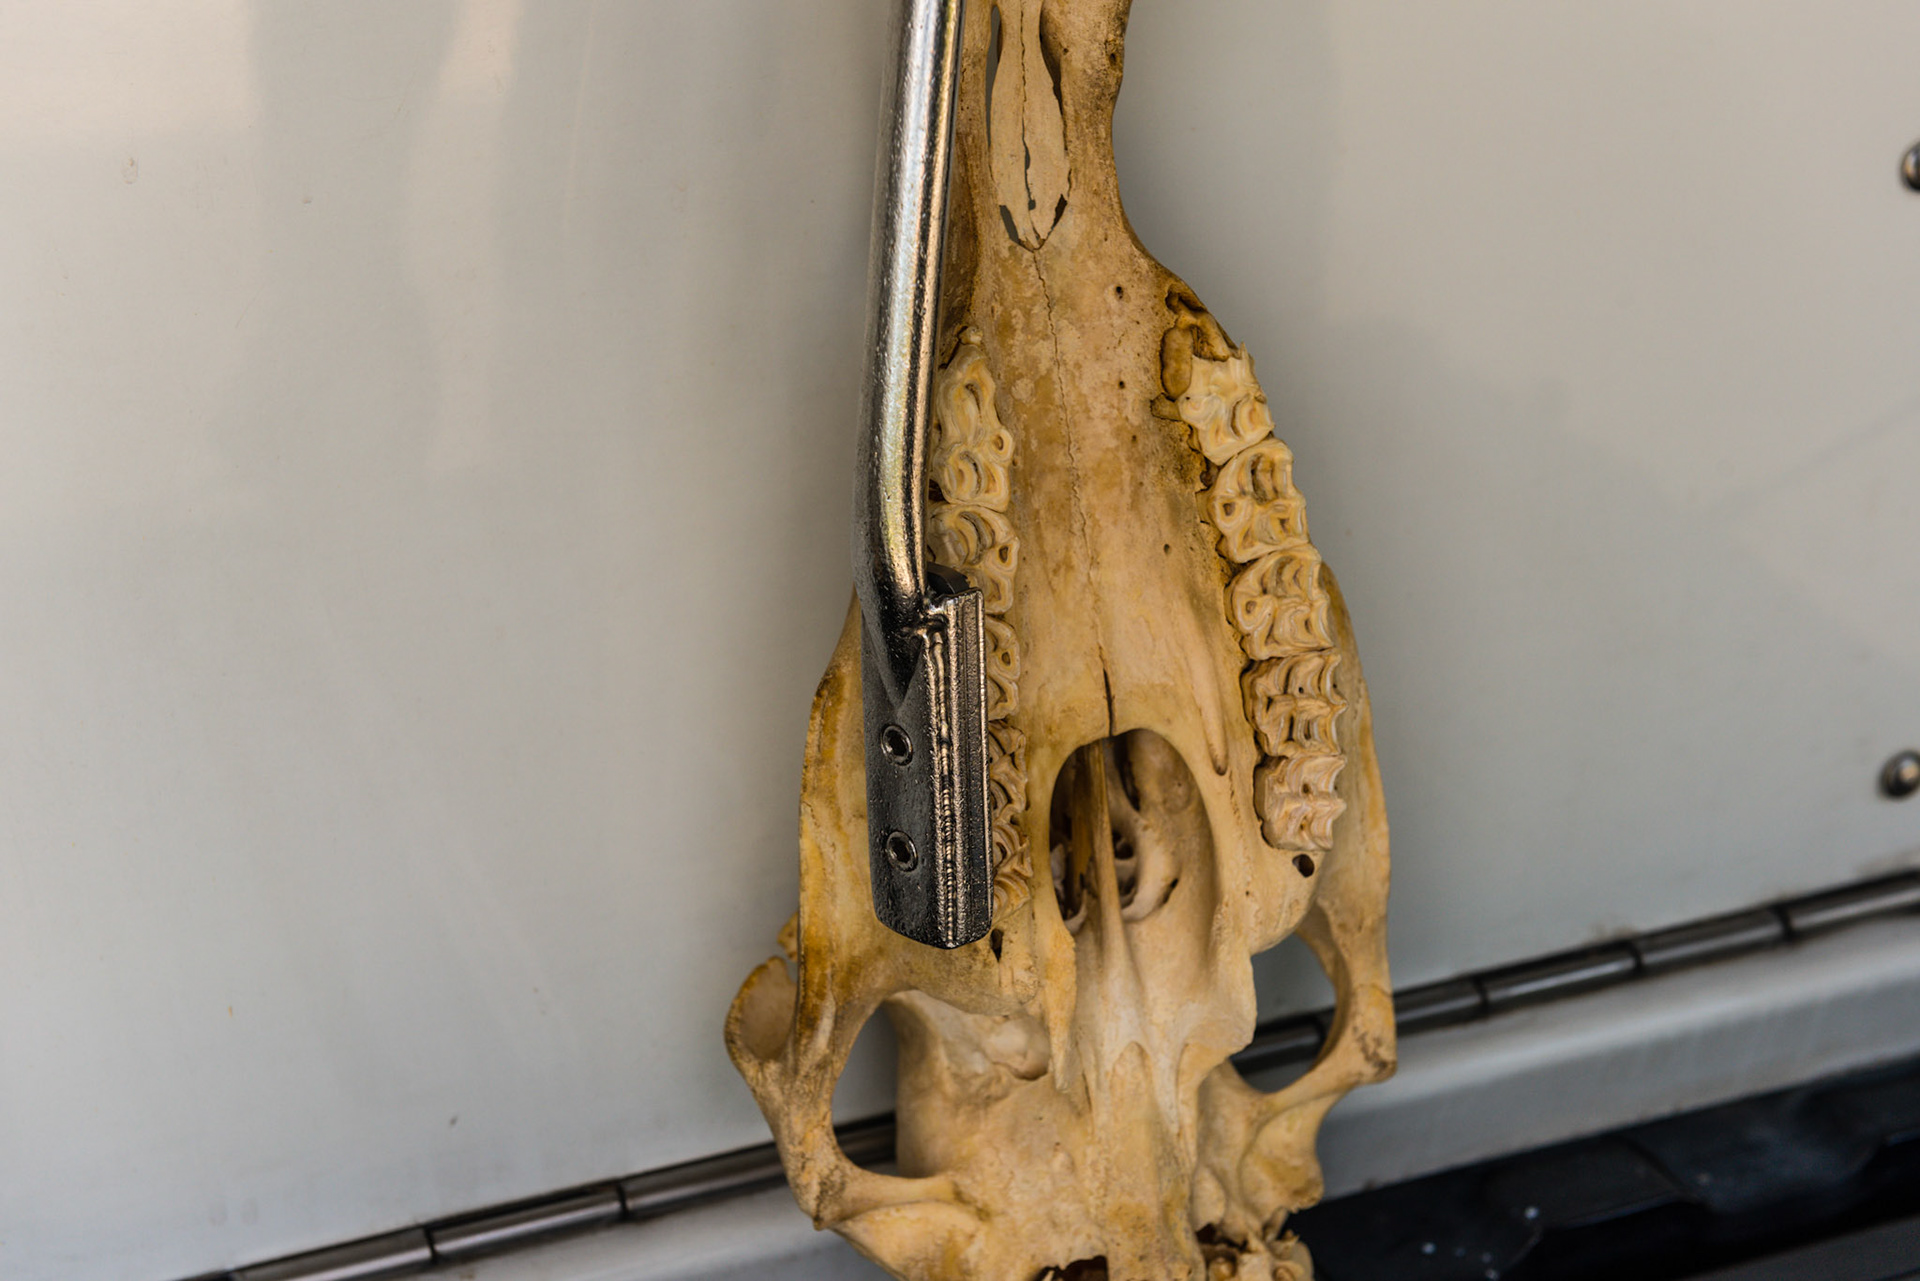
Shortie now on the buccal side of the lower 6 finishing the rounding of the rostral point. At this time, the blade handle is rotated to the vertical position for a few strokes then repositioned to come across the mouth to continue blending the buccal edge into the #7 tooth.
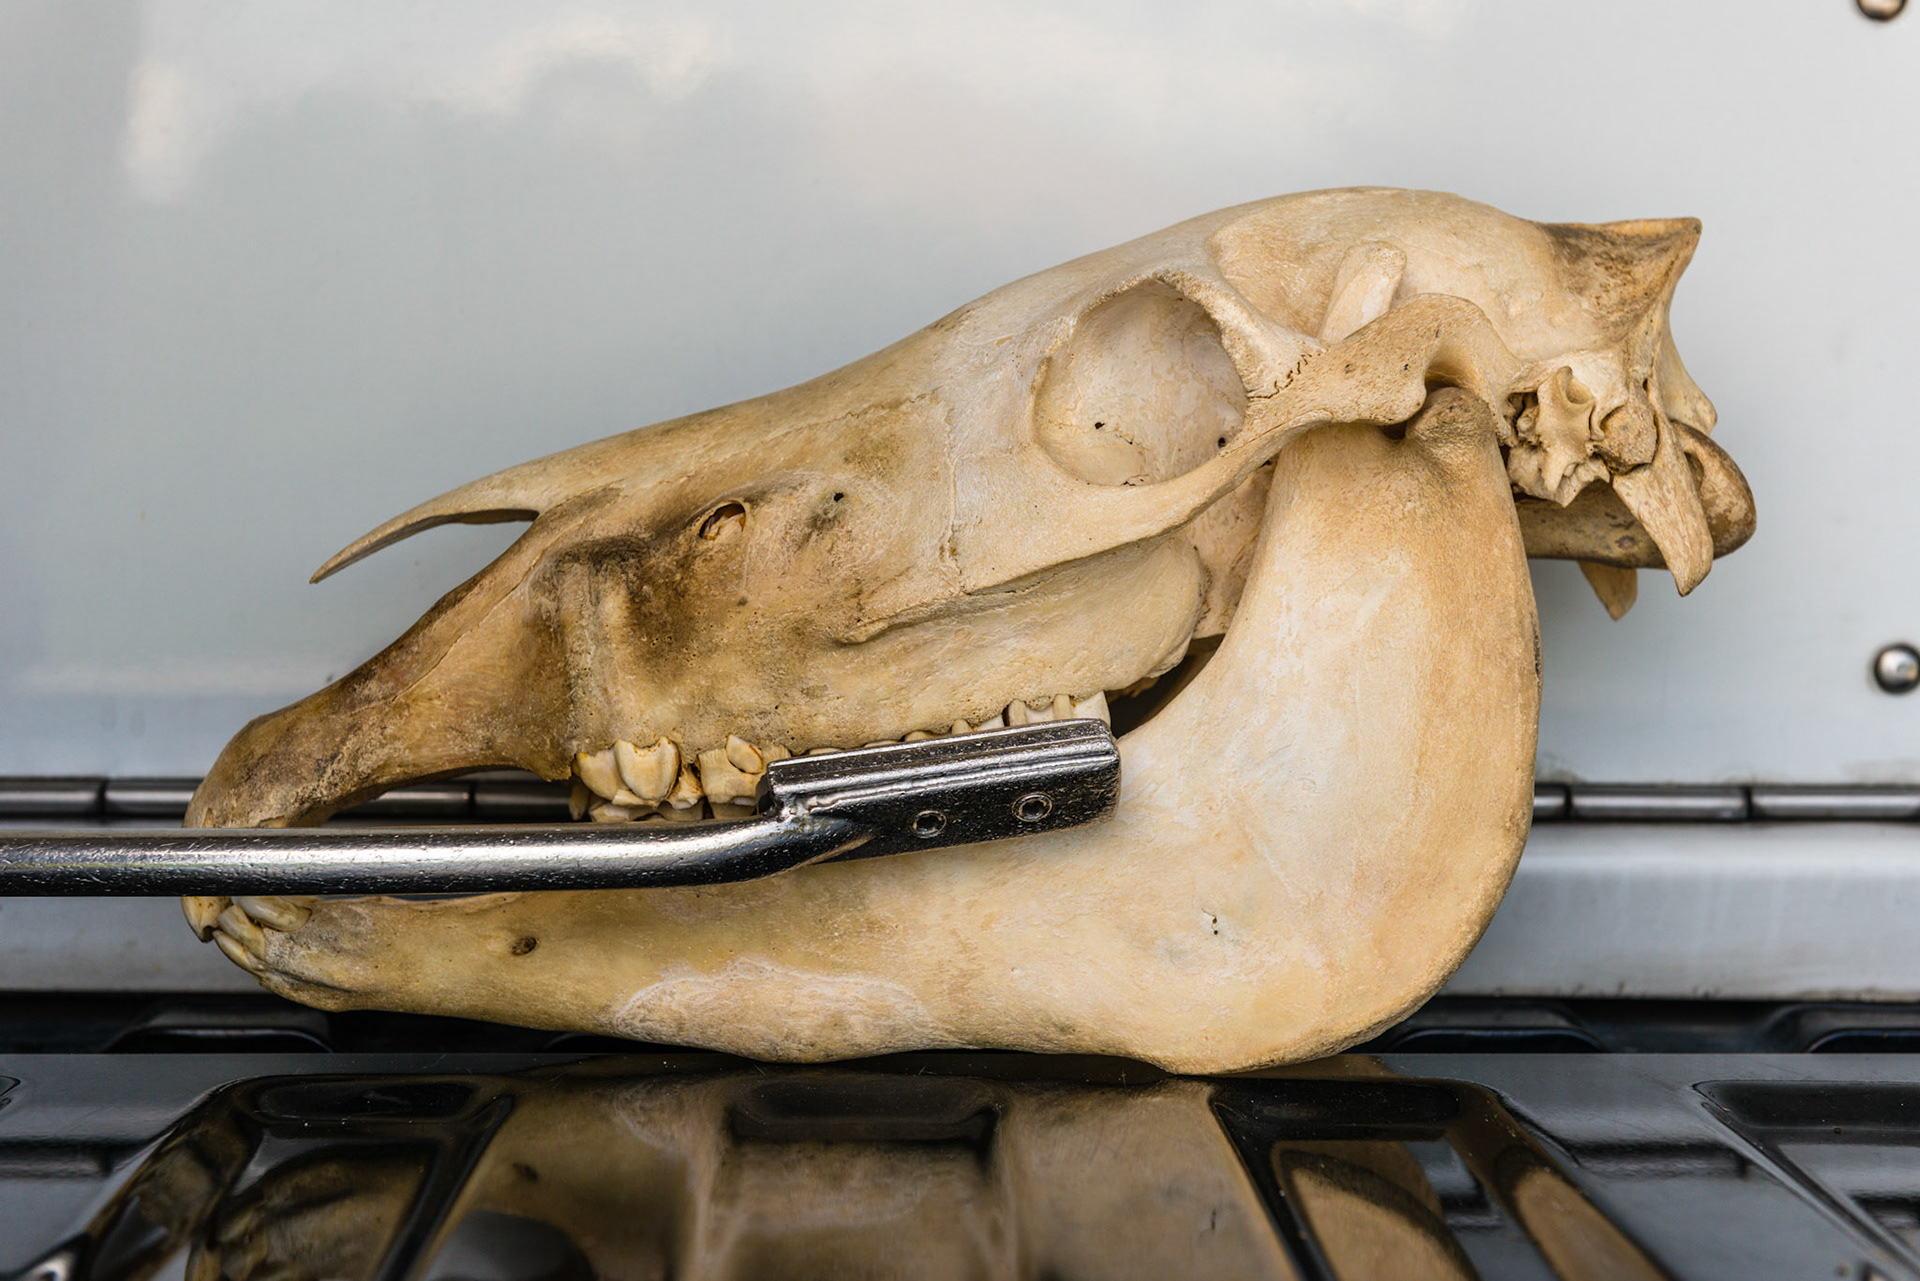
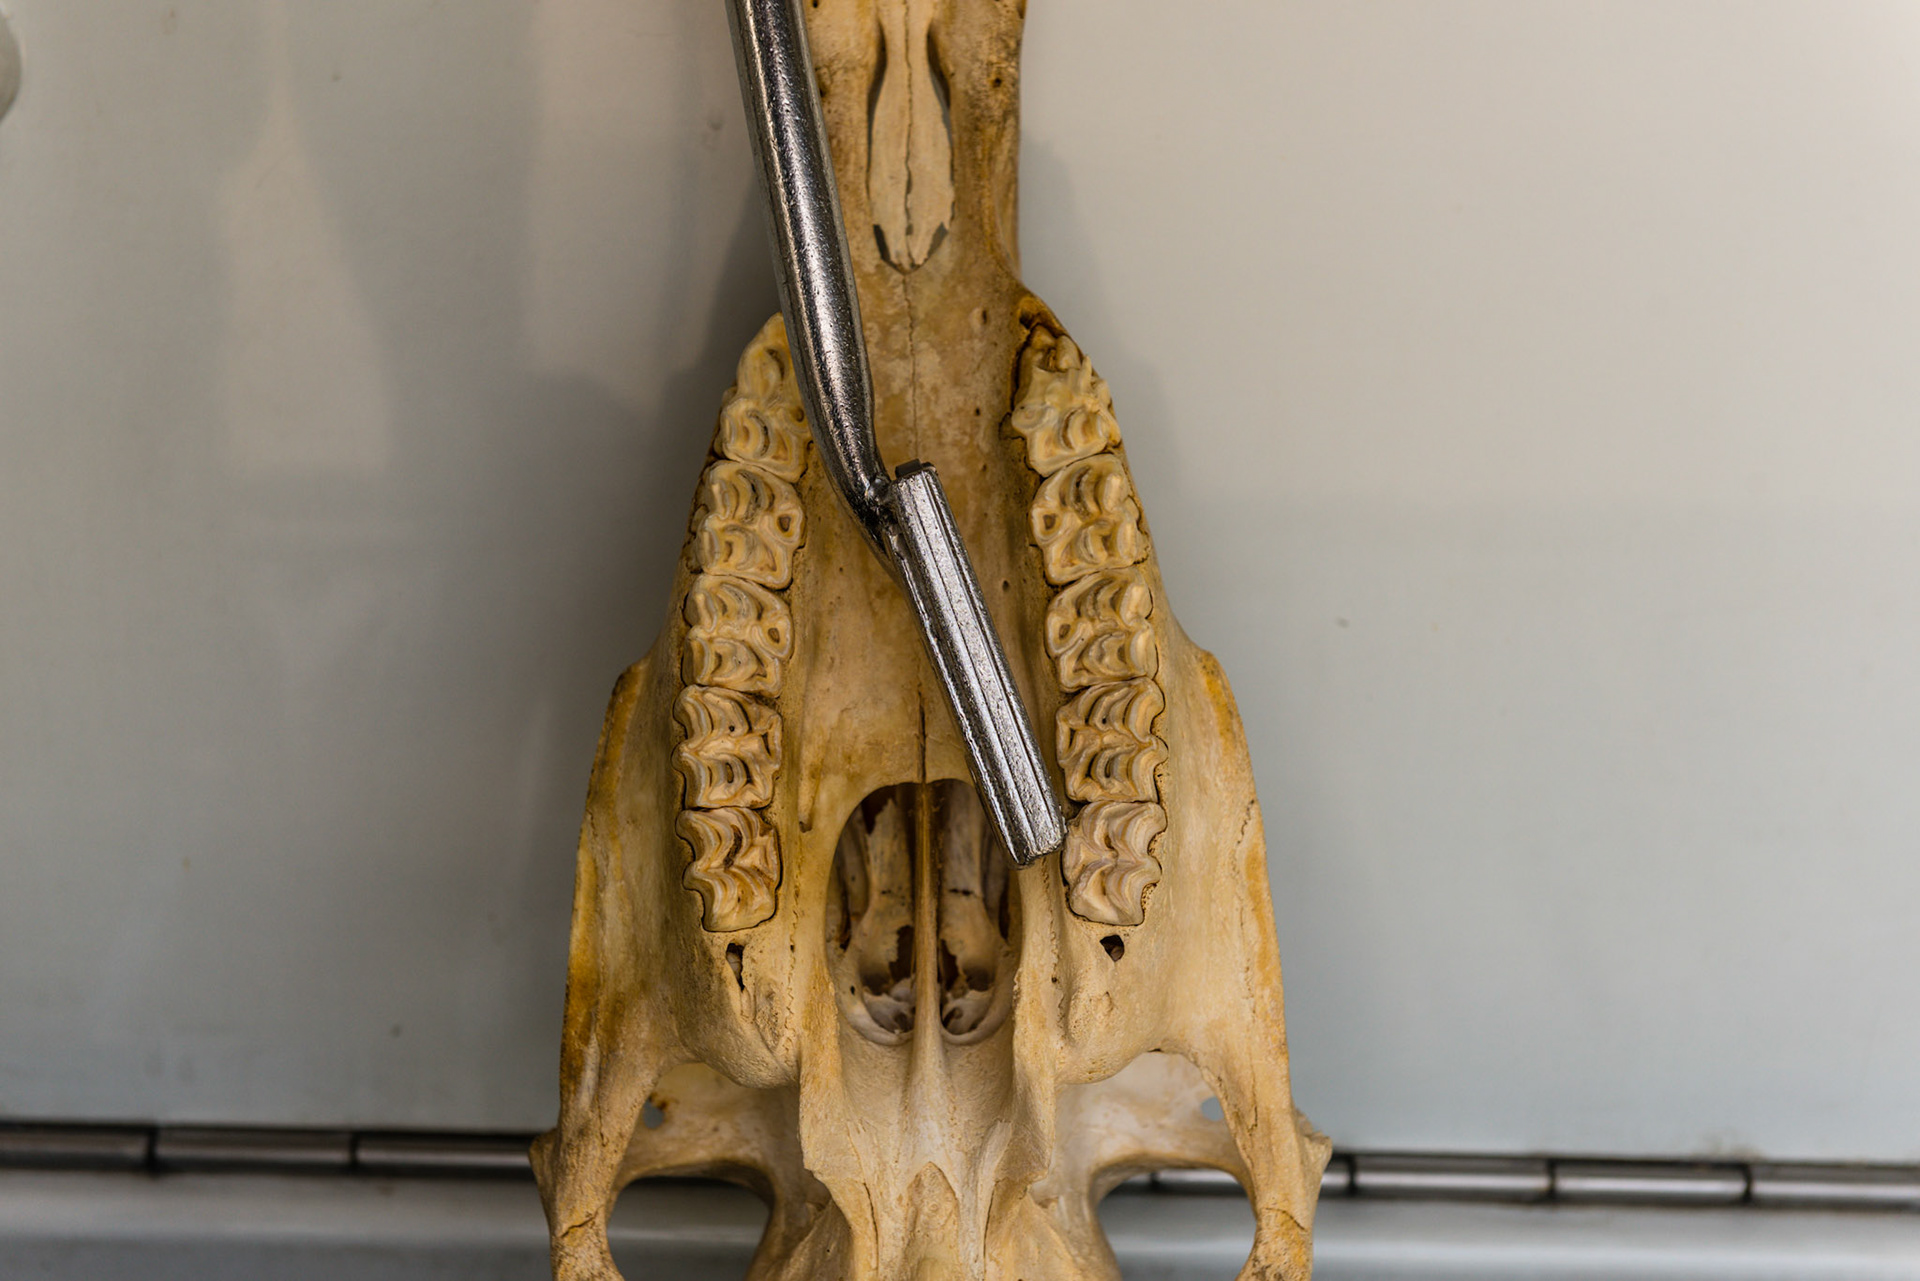
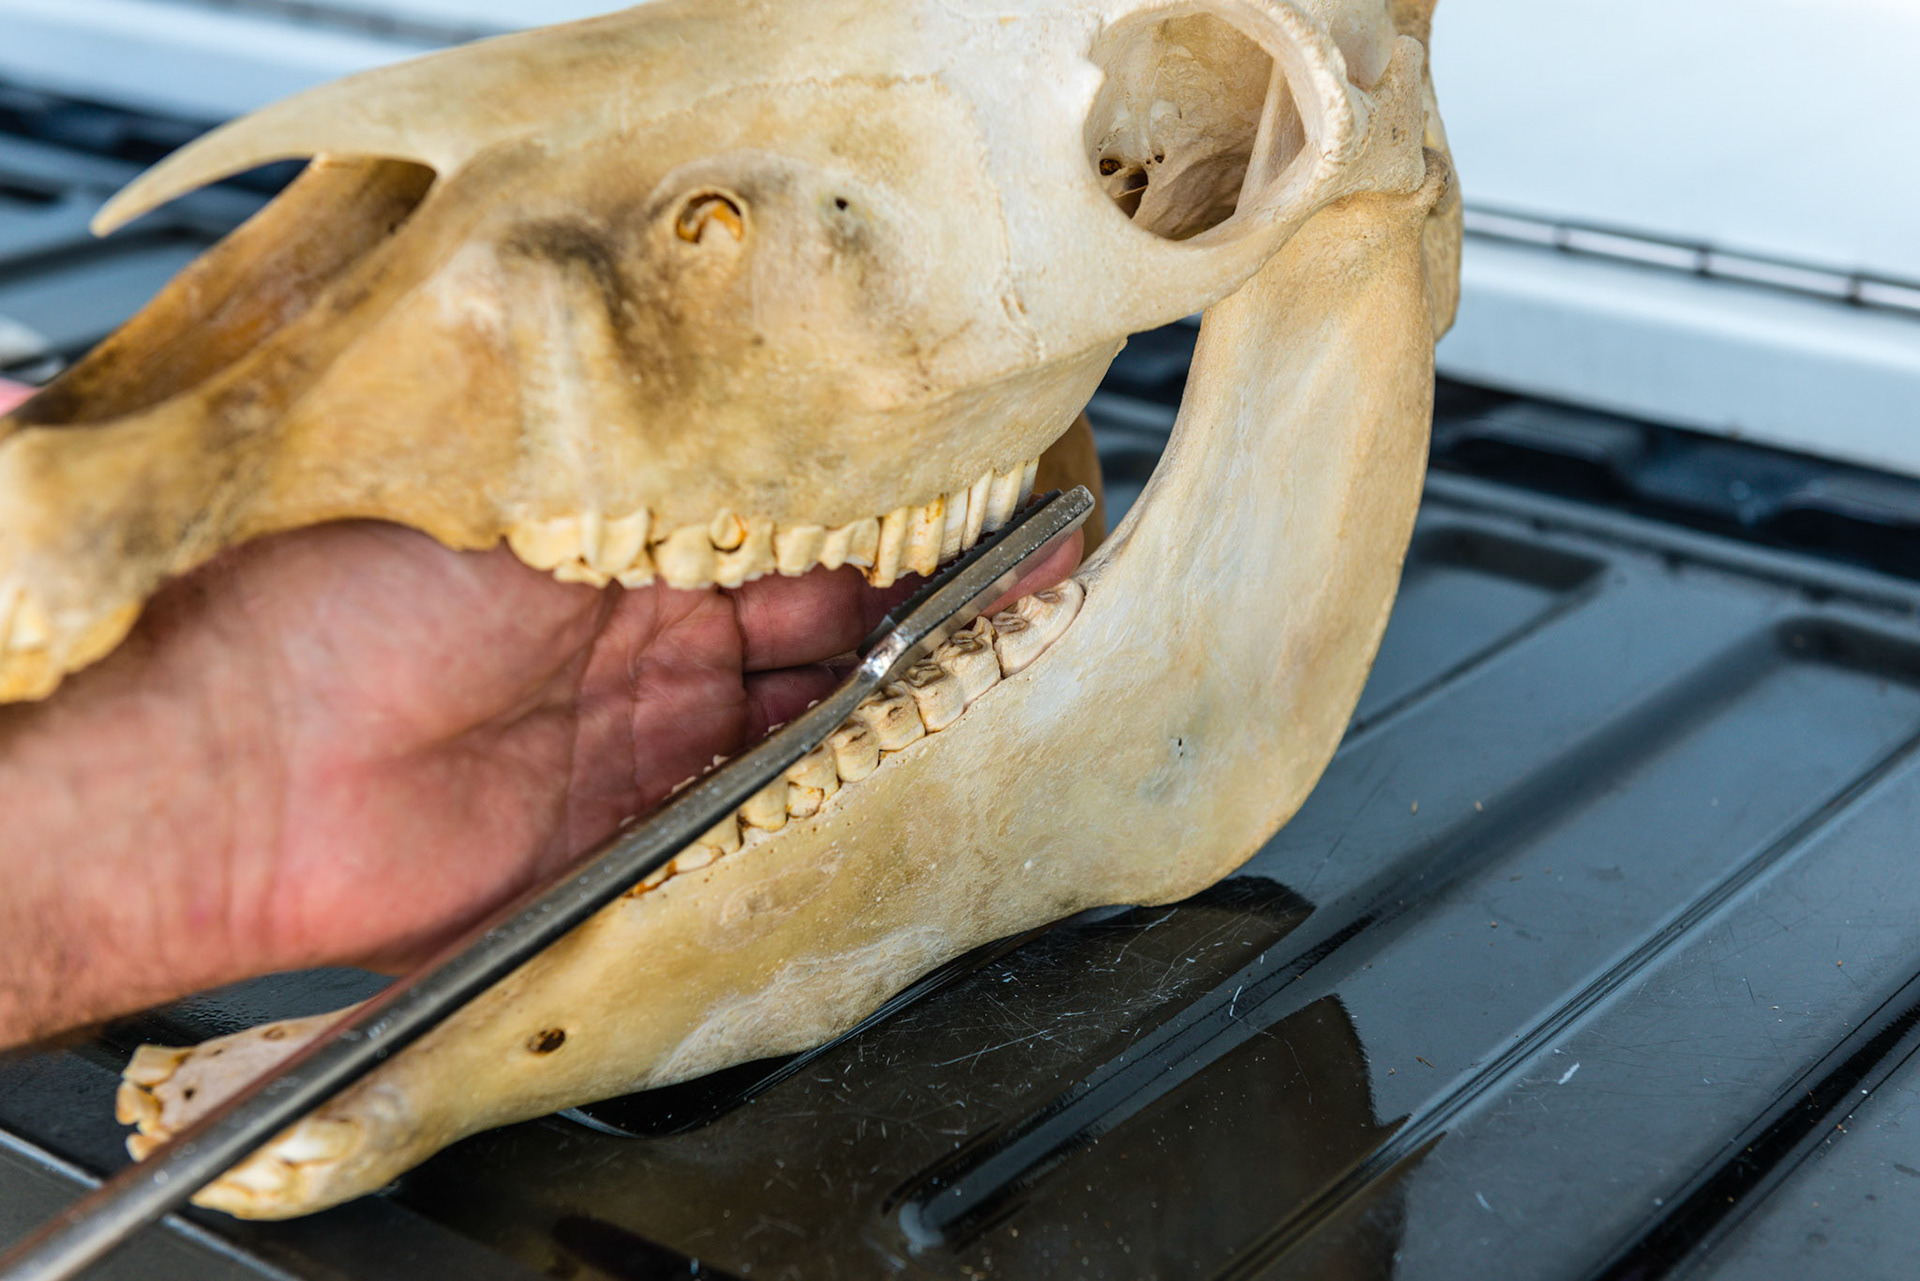
Here the shortie has been rotated into the vertical position. The blade cuts in the push direction and this demonstrates why this is done. If it were curring on the pull, the soft tissues would be cut on the stroke.
The shortie still in the vertical position is starting yo pitch down and yaw in to follow the curve of the #6 tooth.
The shortie still in the vertical position is starting yo pitch down and yaw in to follow the curve of the #6 tooth.
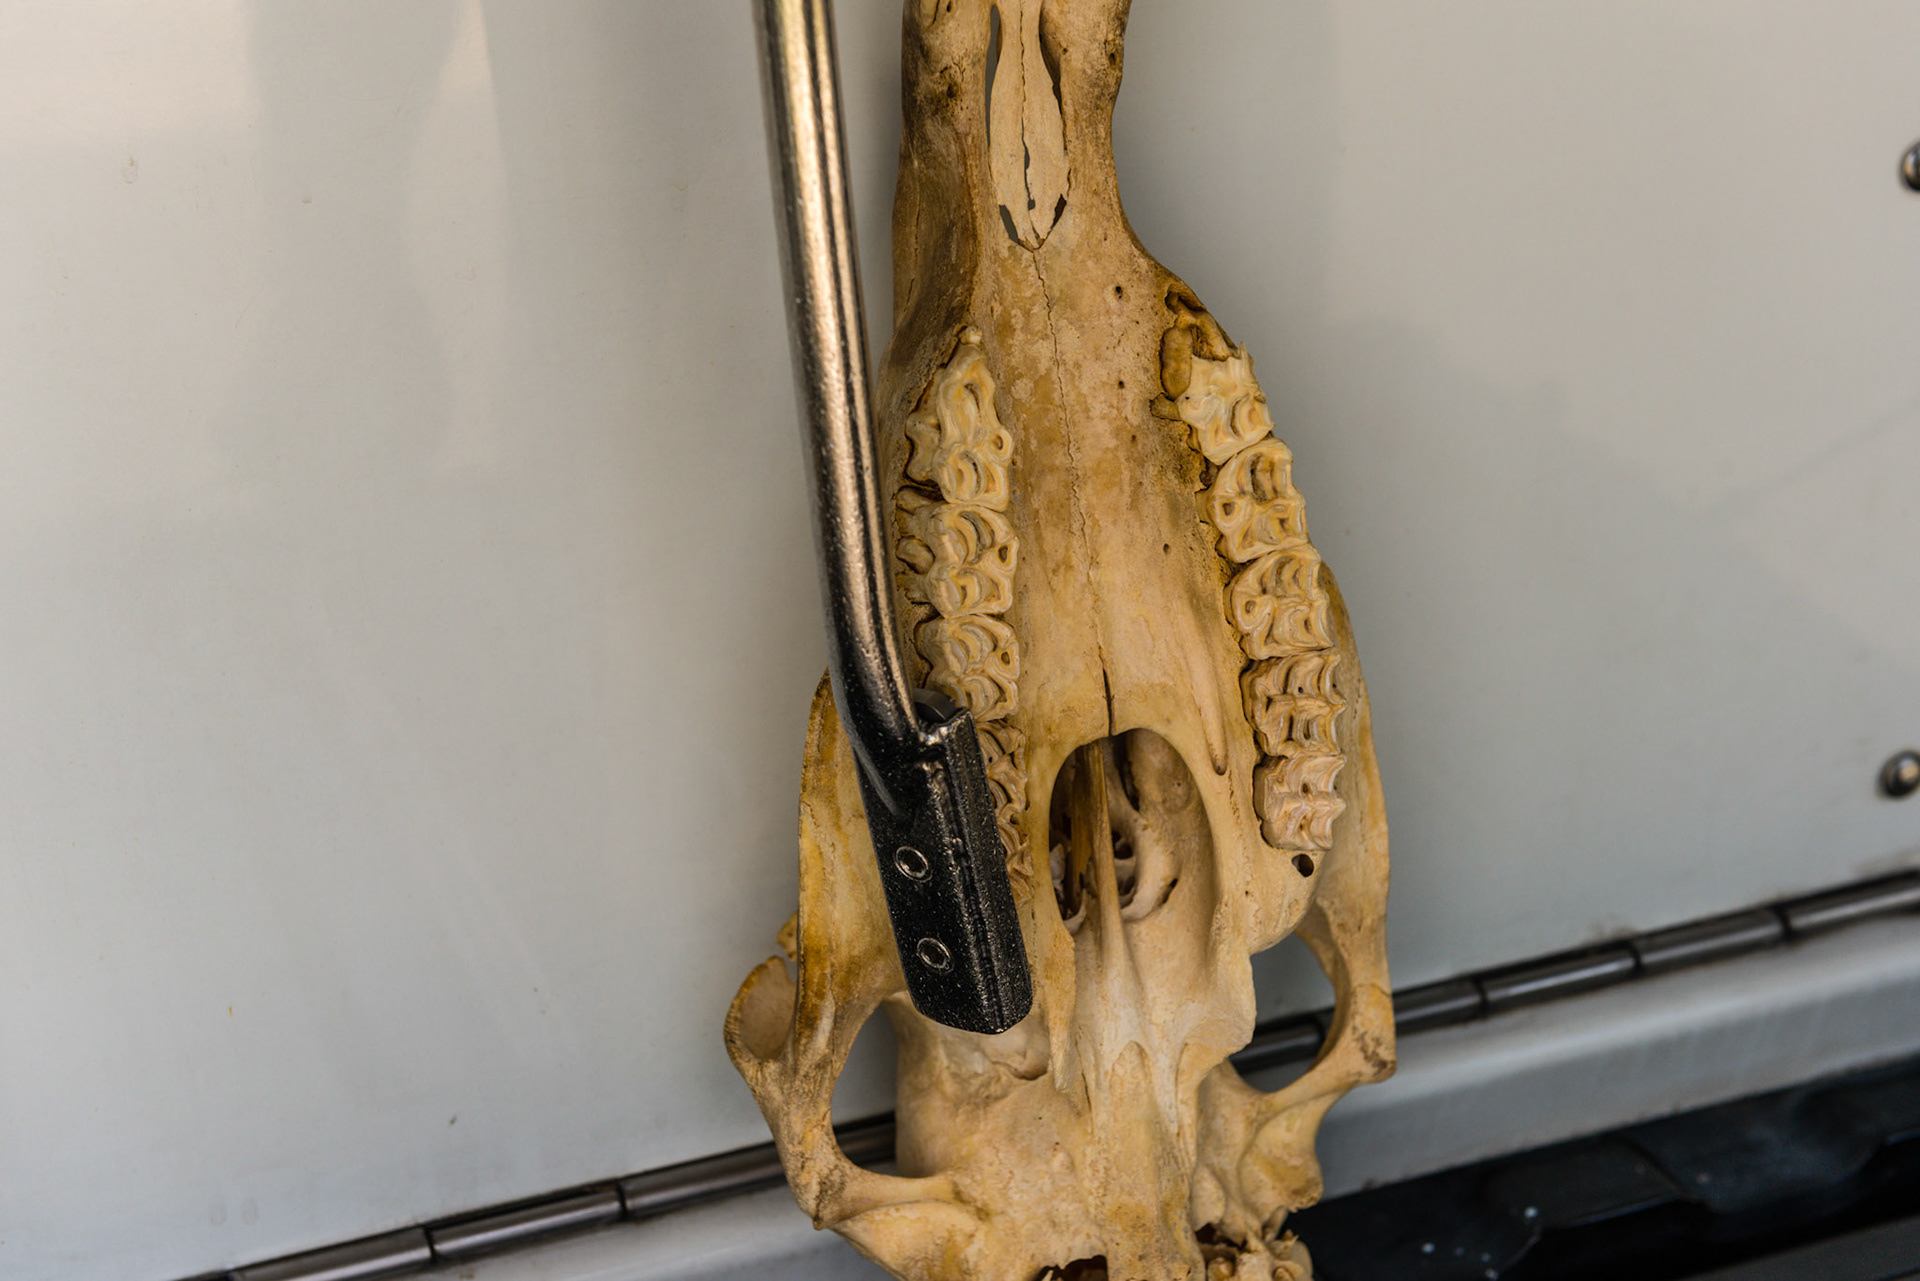
Thge shortie being pushed on the palatal side of the upper 6. Note that the wolf tooth there would rattle if it had been missed in the exam. Also note that it is impossible to round this 6 with the wolf tooth present.
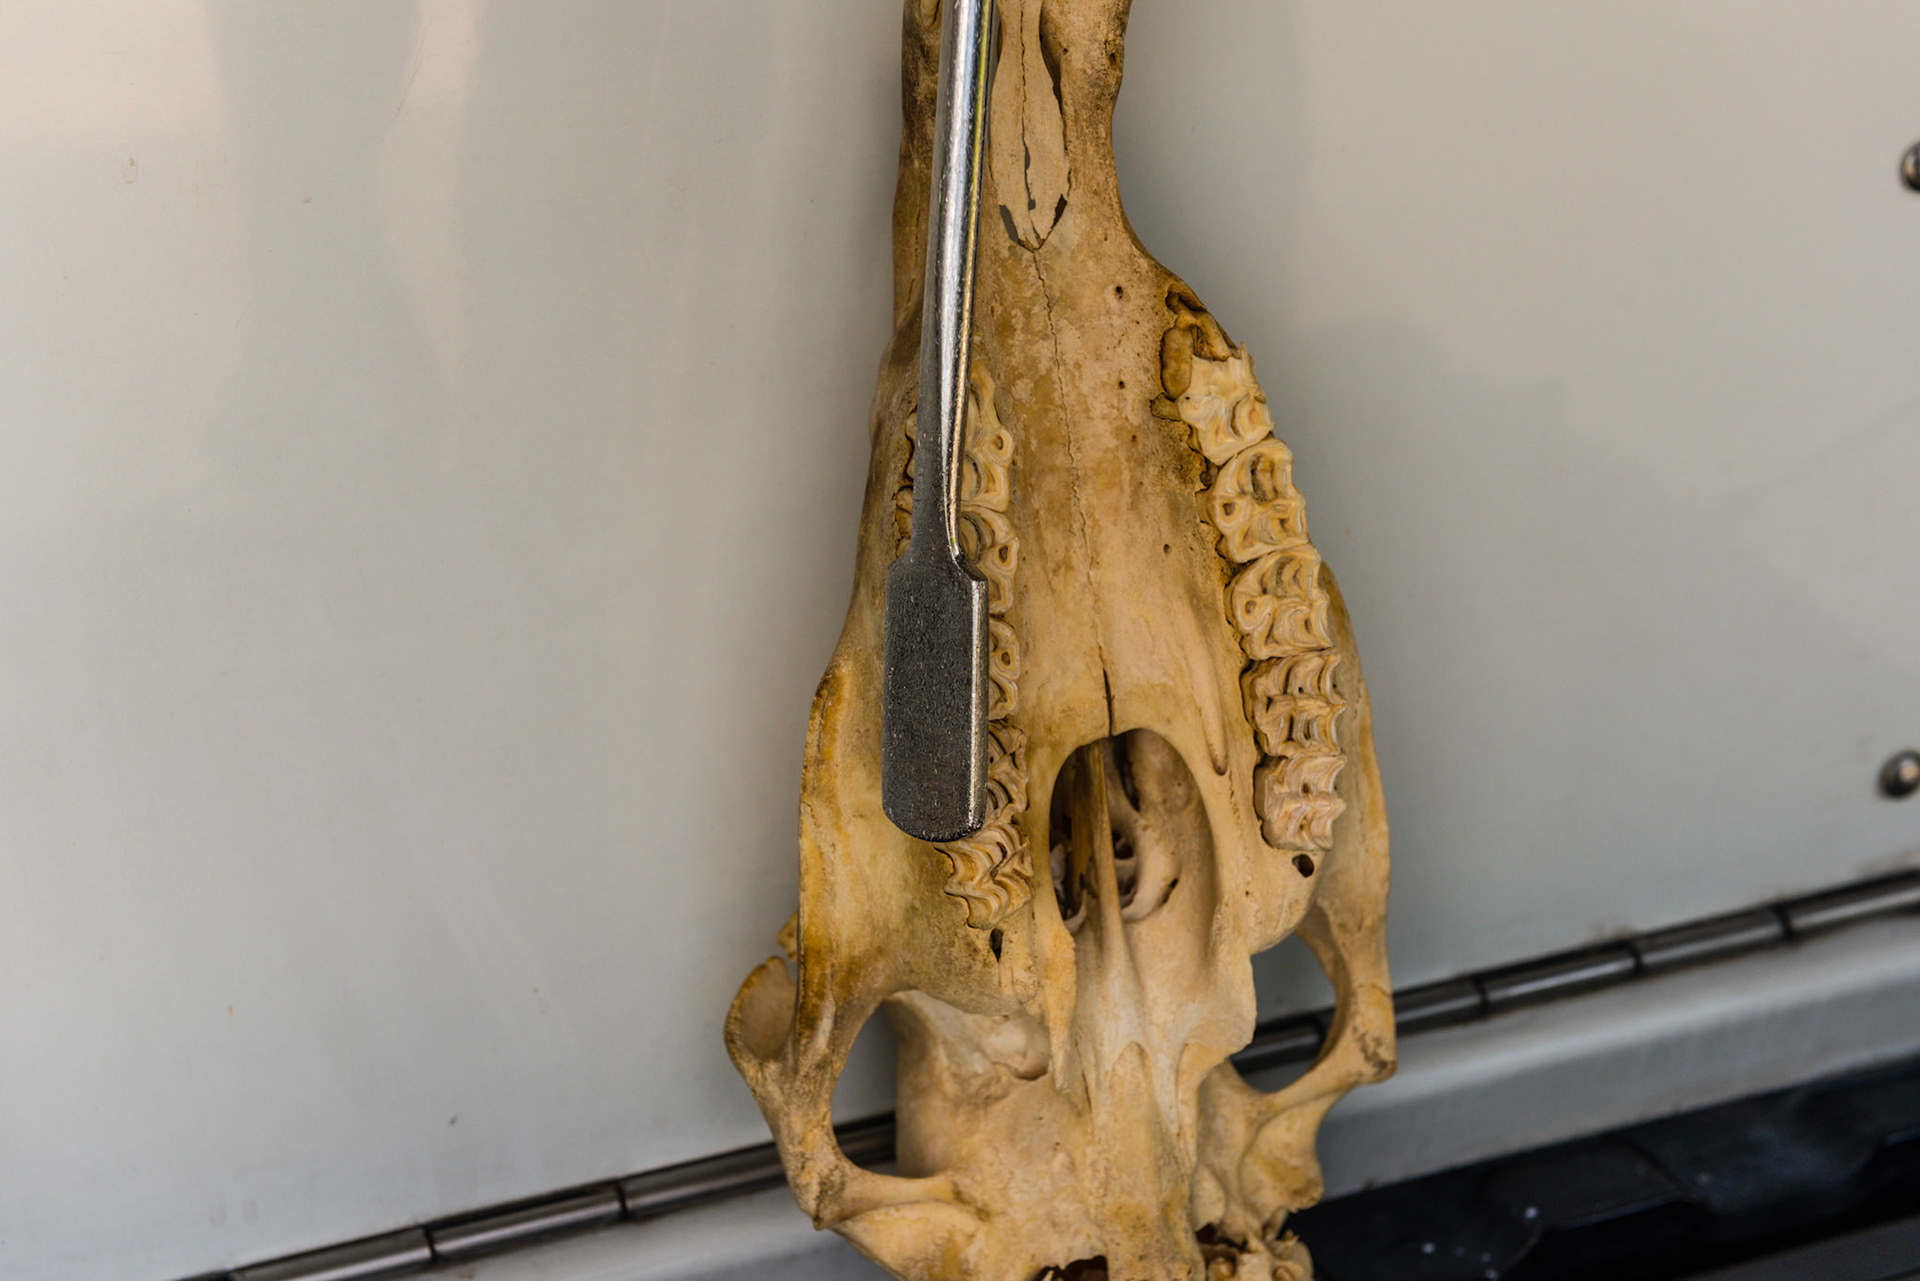
The shortie is yawed out and is rolled towards horizontal to follow the curve of the upper 6.
The shortie is yawed out and is rolled towards horizontal to follow the curve of the upper 6. It is now working on the buccal side of the upper 6.
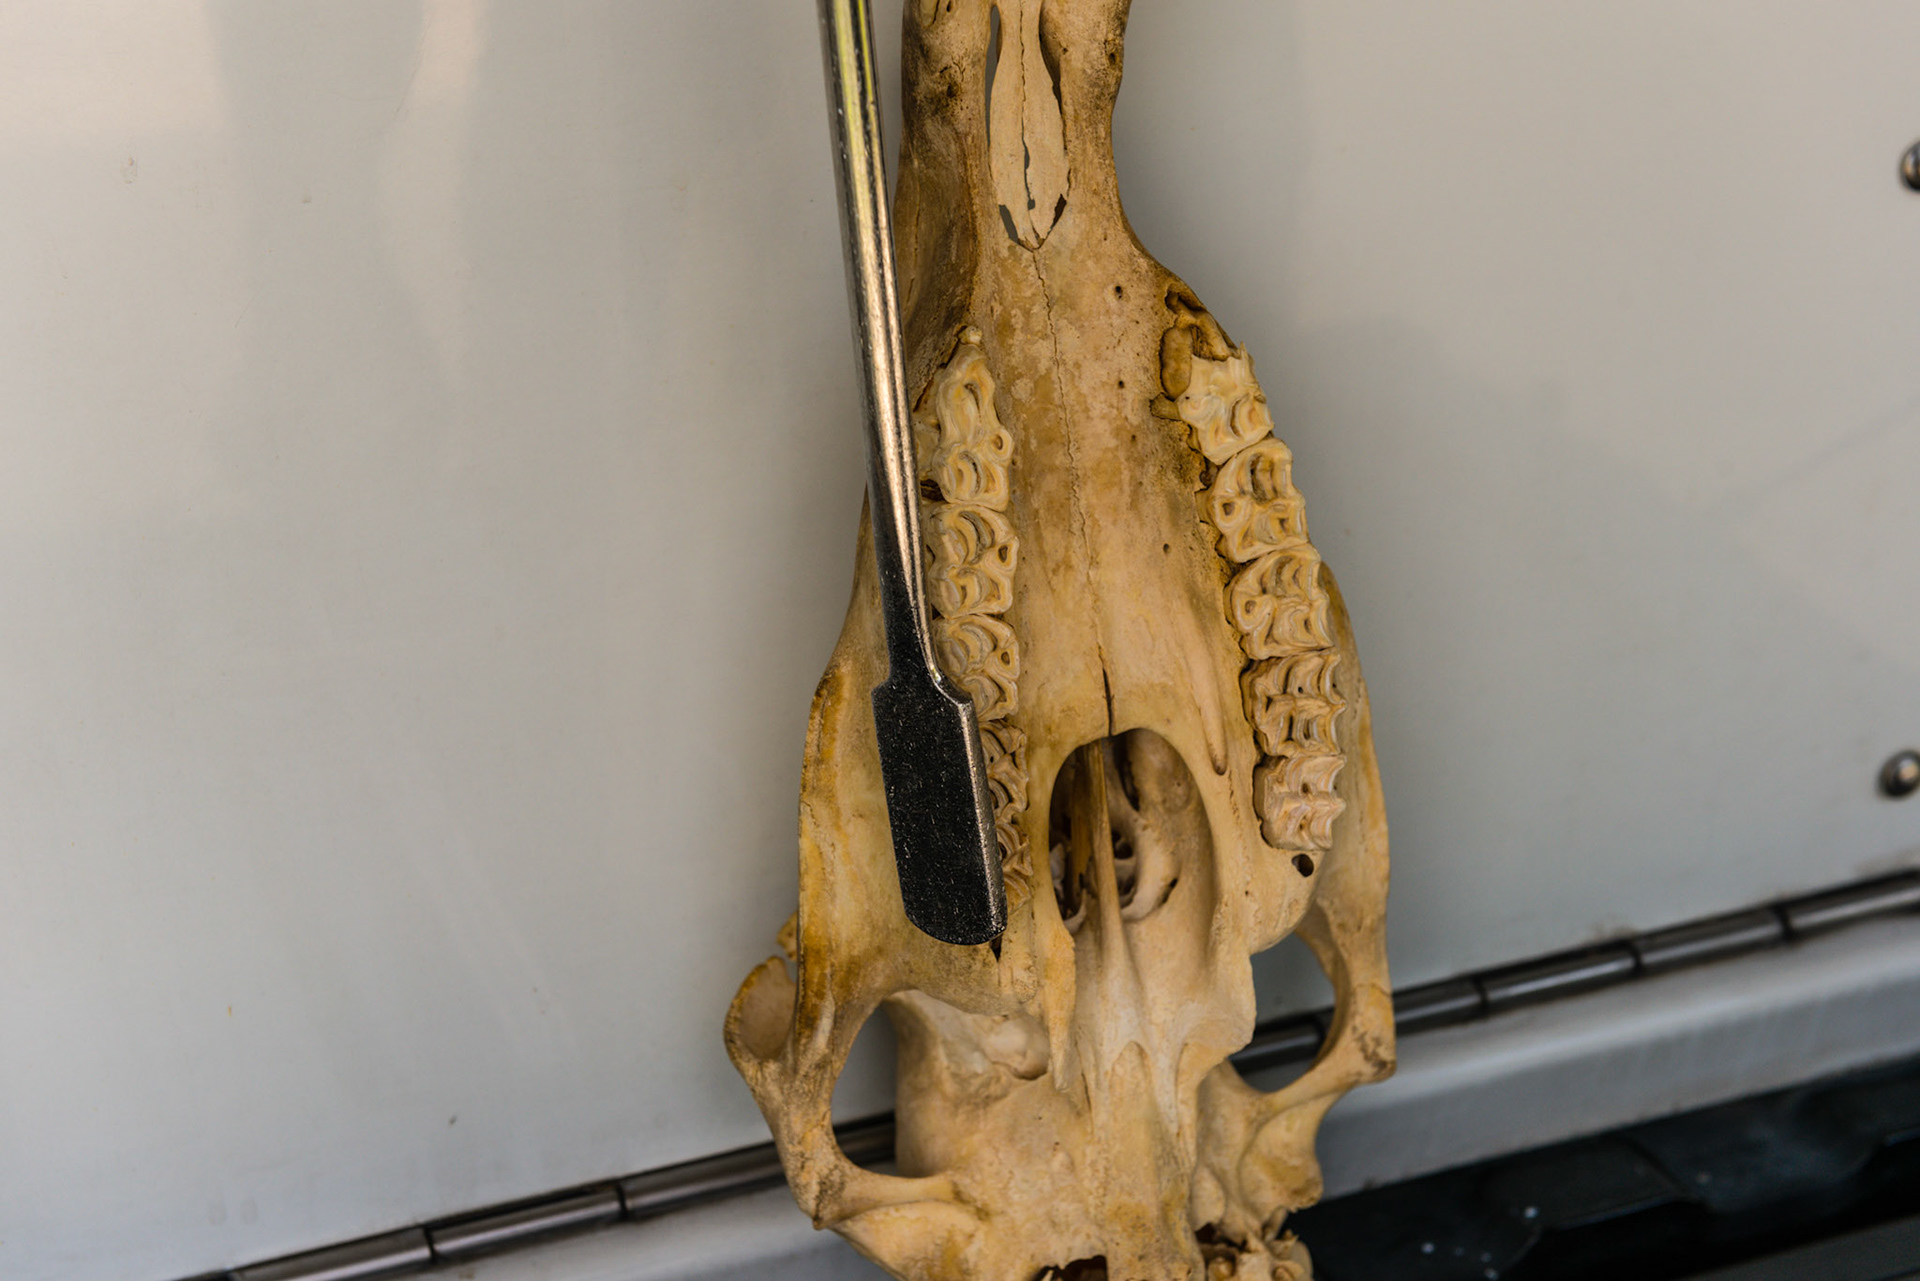
The long float is coming across the mouth parallel to the angled rostral part of the upper 6. This is done after using the shortie to smooth the 6. This stroke ties in the shortie's work with the rest of the arcade.
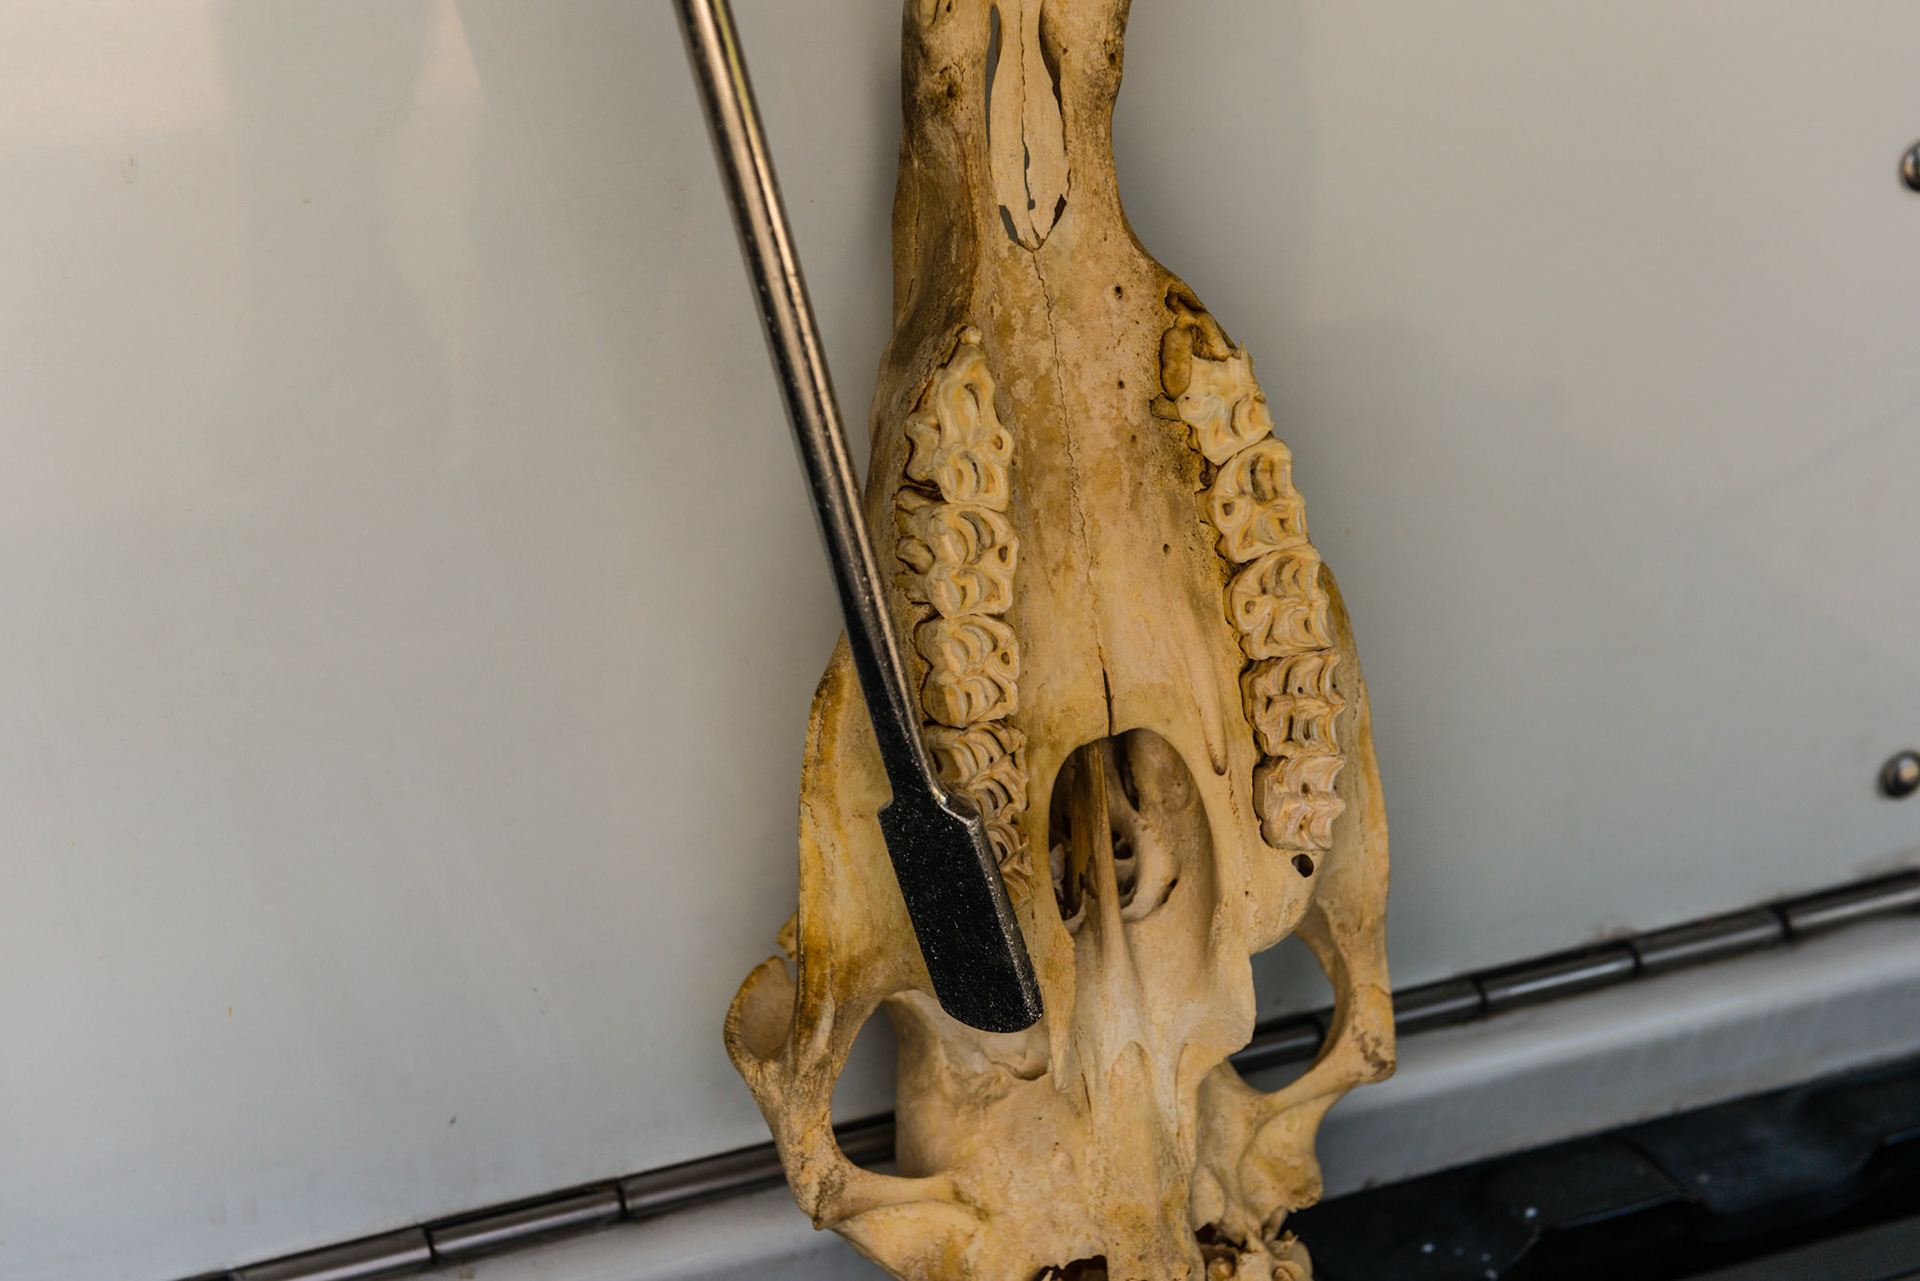
The long float has continued to yaw in in the vertical position to tie in the 6 with the 7.
After tying in the 6 with the 7, the long float continues in a parallel position back along the rest of the upper arcade. This helps to maintain the smooth edge for a longer period of time by reducing the cingulae further up the tooth.
The long float continues in a parallel position back along the rest of the upper arcade. This helps to maintain the smooth edge for a longer period of time by reducing the cingulae further up the tooth.
Now the long float yaws in and remains parallel to finish the arcade.
Here the skinny float repeats the long float's work but because it is thinner, it can often get inbetween the teeth and cheek better than the long float.
Now the skinny has yawed in to get the caudal cheek teeth. It will also be rolled to bevel the edge and will be pitched up to slip into the tight space between the cheek and teeth.
Now the skinny has yawed in even more to get the caudal cheek teeth. It will also be rolled to bevel the edge and will be pitched up to slip into the tight space between the cheek and teeth.
This is the skinny being used in the "over-under" technique. The float comes in from the opposite side, over the tongue, and under the caudal upper cheek teeth. By pitching the tip up and rolling from horizontal to vertical, many horses objecting to floating at the upper 11's will be comfortable with this approach.
This is the skinny being used in the "over-under" technique. The float comes in from the opposite side, over the tongue, and under the caudal upper cheek teeth. By pitching the tip up and rolling from horizontal to vertical, many horses objecting to floating at the upper 11's will be comfortable with this approach.
The skinny can be yawed in and pitched up to catch the stubborn point on the palatal side of the 11's.
The hand and float technique being used on the mandibular caudal cheek teeth. The blade is rolled at a 45 degree angle but in motion, is rolled from vertical to horizontal to remove this stubborn and often painful excess tooth. Note that the hand protects the tongue from the work area, but it also compresses it against the opposite arcade. Choose to work on the sharpest side for this reason.
The hand and float technique being used on the upper caudal cheek teeth. The blade is yawed in and rolled to a 45 degree here. Often it helps to also pitch the blade up in addition to yaw in and rolling vertical to get the points on buccal upper 11's.
Here is the over-under technique as the blade is almost parallel to the occlusal surface. The handle is pulled which reduces the points without rubbing against the painful buccal ulcers. Often, just before the pull, the blade is pitched up as far as possible to reach higher on the outside of the tooth.
The over-under technique with the skinny slightly rolled toward vertical and positioned with a yaw that is more parallel to the arcade. This is useful after a few short pulls when the blade is yawed more perpendicular to the arcade. The next few strokes after this can me more parallel to the arcade along the edge often with a more compliant horse.
This shows the over-under technique with a more aggressive pitch up. It requires the mouth to open more but with 1 or 2 well placed pulls this way, most of the horses that are fractious in the area immediately become compliant and finishing work can be accomplished.
This is another view of the long float coming from the opposite of the mouth to be in the right yaw out position to remain parallel to the upper 6 and tie in the shortie's work with the rest of the arcade.
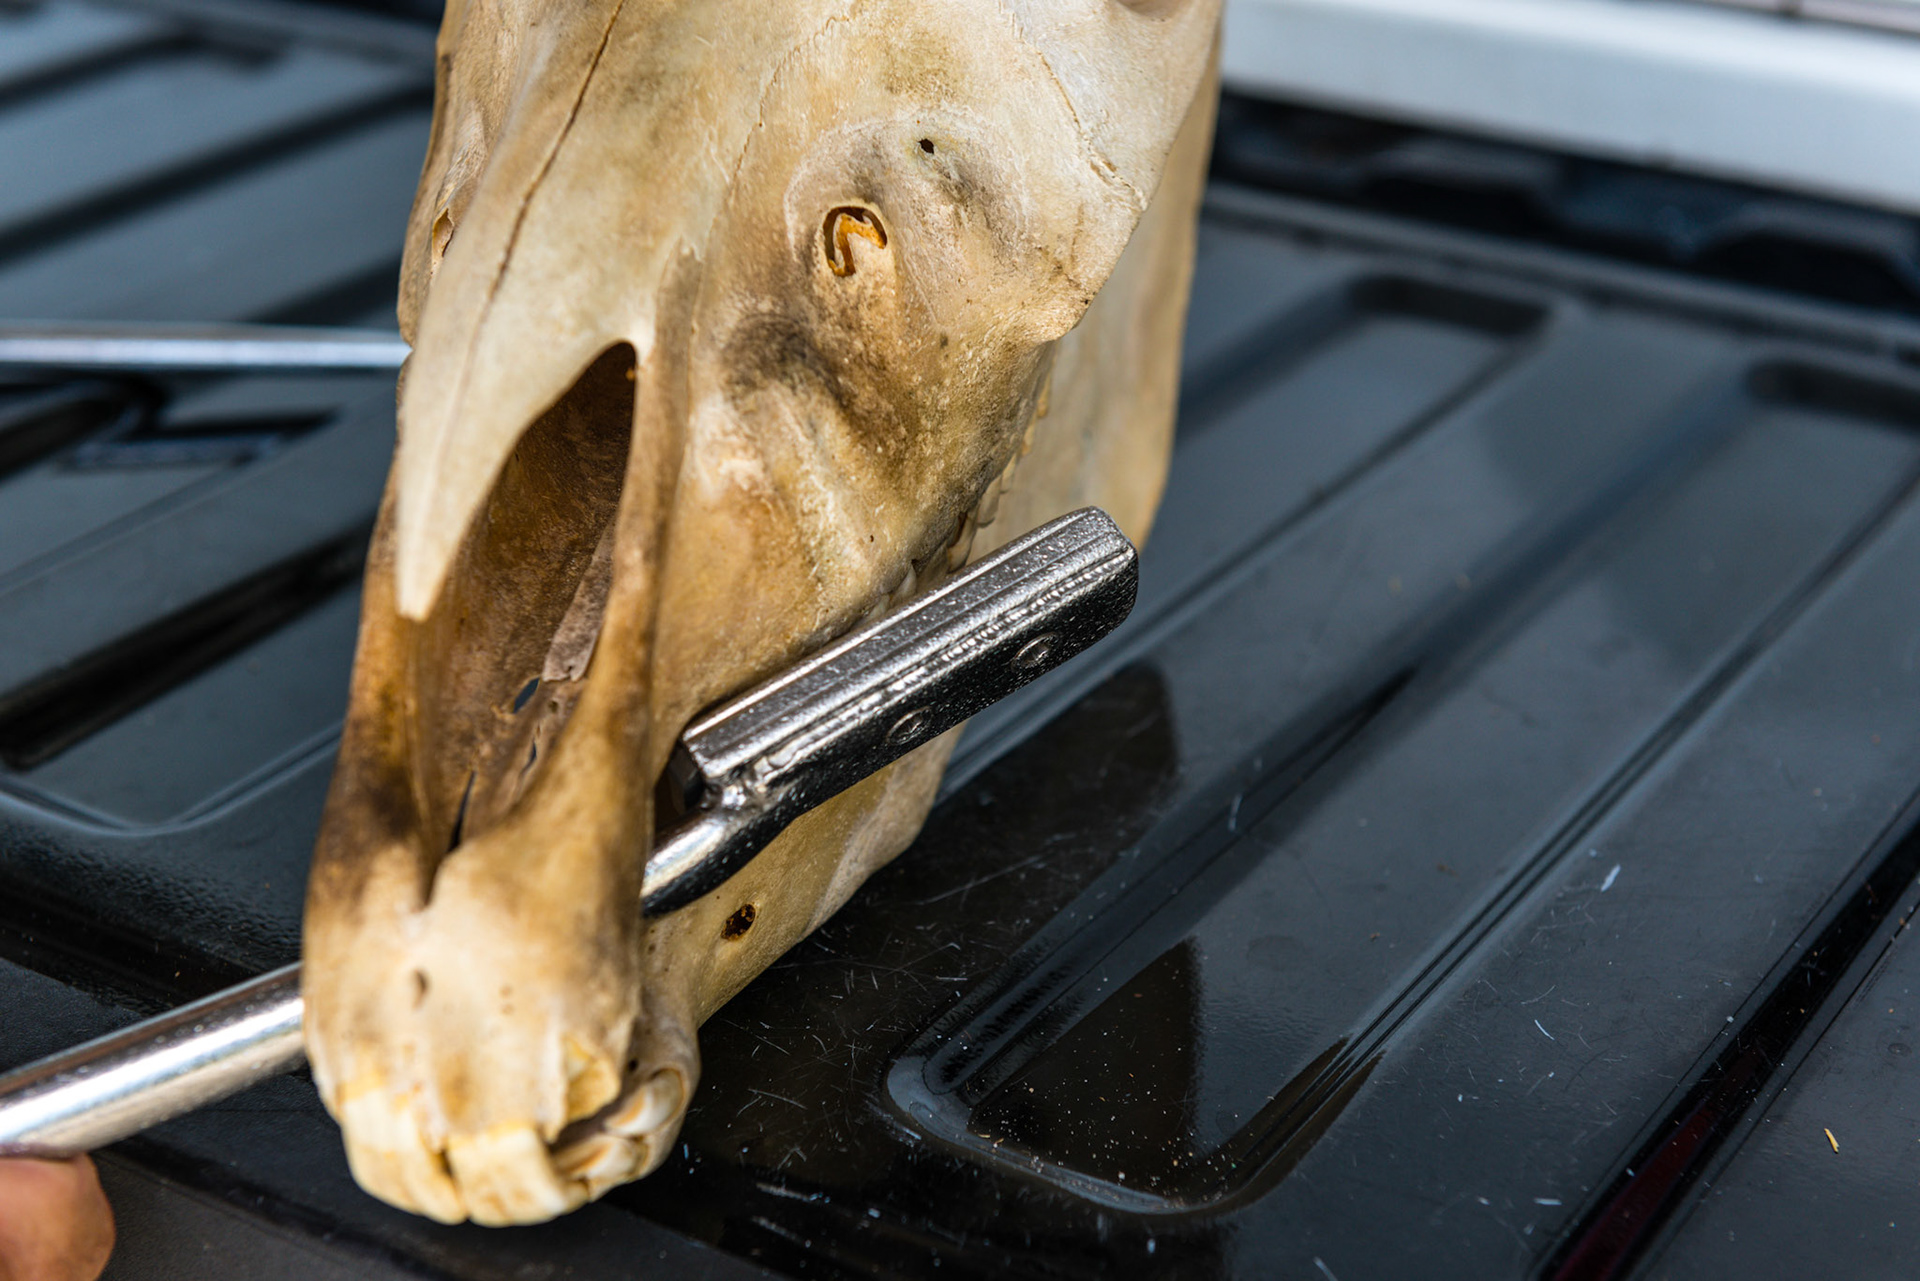
This is the shortie being pushed from the other side of the mouth with a 45 degree roll (rolling from horizontal to 45 and back again. The thumb is applying pressure to the blade to help it rasp the tooth. The strokes are very short in this area and the thumb offers a lot more control to the stroke which protects the soft tissue.
This is the nose in chest technique. The finger tips are applying pressure to the blade through the skin and cheek. This helps the blade get into the maxillary swale as well as comforts a lot of horses that become worried as you progress caudally towards the 11's.